Make Your Own Choices is the ninth Main Story mission in Marvel’s Spider-Man 2. It’s a mission with quite a mix of challenging activities, including puzzle solving, stealth, and combat. So you might need a walkthrough.
So, here’s a guide to the trickiest parts of the mission, starting with one of those confusing molecular puzzles.
How to solve the Make Your Own Choices molecular puzzle
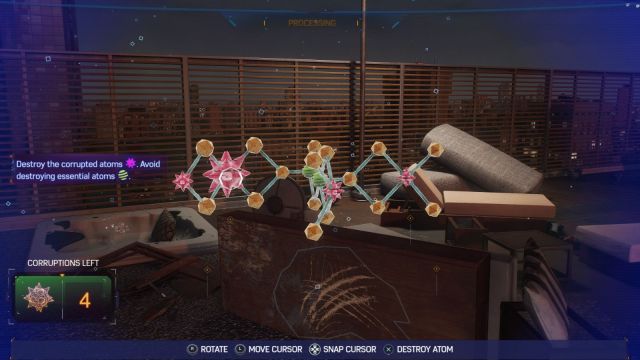
First, rotate the molecule until you can see two red atoms next to each other on one side. Of those two red atoms, destroy the one closest to the center of the molecule (highlighted in the above screenshot), and that’ll destroy the other one too. The other two red atoms are almost the same. So, rotate until you see one of them clearly, then destroy it. Then rotate until you see the other one, and destroy that too.
How to connect the electrical nodes to the generator in Make Your Own Choices
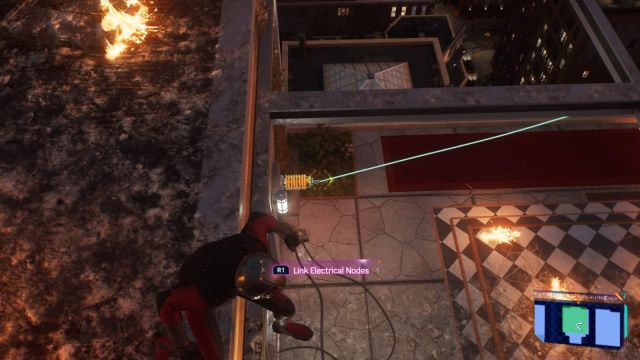
On the next rooftop, you find a stash box sealed with an electrical lock. In order to open the stash box, you have to find two more electrical nodes like the one above the stash box. Then you have to chain them together so that they power the lock. One electrical node is at the top of a pole on the southwest corner of the building, where all the flames are. The other is on the generator on top of the mini rooftop building.
To connect the electrical nodes, Hold L2, aim at the node on the generator, then tap R1. Keep L2 held down, aim at the electrical node in the northwest corner (you didn’t have to scan for that one), and tap R1 again. You’ll probably need to move about a bit to get a clear shot at all of these. With L2 still held down, aim at the electrical node in the southwest corner and tap R1. Then finally aim at the electrical node above the stash box and tap R1.
How to clear the Hunters using Camouflage
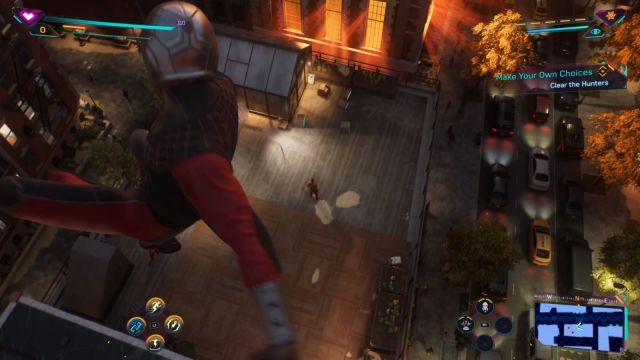
The next rooftop is guarded by several Hunter snipers, but fortunately, you’re also introduced to Miles’ Camouflage ability. You can now use Camouflage by tapping up on the D-pad whenever your Camouflage meter (the blue one in the top-right of the screen) is full. The first Hunter is directly below the water tower on which you start and can be taken down safely without any of the others seeing. Aim at him and press Triangle to take him down. The next Hunter is to the right of the first one, and can also be taken down safely in the same way.
I went left next. Zip to the top of the tall metal tower, then wait for the Talon Drone to land on the water tower before taking it down. Wait for the patrolling guard on the nearby rooftop to head to the right, then Camouflage and take down the sniper. Quickly zip back the way you came, wait for your Camouflage to recharge, then do the same to the patrolling guard. Now you can safely take down the other sniper on the other tall metal tower nearby.
Zip to the top of this metal tower and you’ll see a guard patrolling near the water tower to the west. Take this one down when they’re near the water tower, then Camouflage and take down the sniper on the leafy platform.
Zip to the top of the billboard to the west, and you’ll be overlooking a total of five Hunters, including two snipers. Shoot a web at the boxes below you and to the right so that the Hunter on the right is distracted, then Camouflage and take down the Hunter all the way over to the left. Quickly zip back to the top of the billboard, wait for your Camouflage to recharge, then take down the Hunter who goes to check on the one you just took down. Next, take down the remaining guard, followed by each of the two snipers here.
Now there are just two more snipers. The nearest one is unguarded, so you can just do a Web Takedown on him. But the second one has two guards; one standing behind him, and the other patrolling below. Zip to the water tower behind them, and take out the patrolling guard, then the stationary guard, then the sniper. Those last two were marked “Danger” when I scanned them, but nobody spotted me taking them down.
I thought at this point that I must have cleared all the Hunters, but I’d missed two Hunter guards near the start. I’d zipped over them when I’d headed to the left from the start; they’re on the low roof with a greenhouse on it. With all the snipers out of the way, they were easy to take down safely.
How to fend off the Hunters in Make Your Own Choices
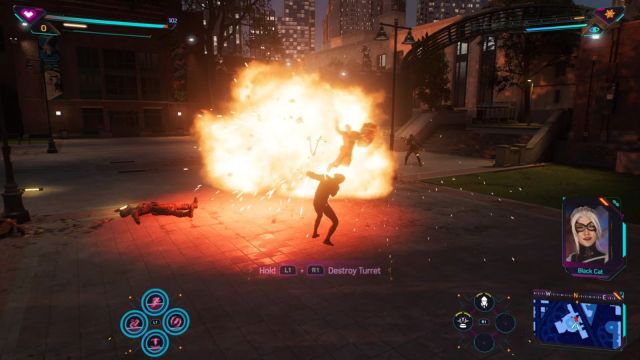
Make Your Own Choices climaxes with a big battle at Prospect Park Zoo (not as peaceful as it is for the Find Grandpa mission). It’s very chaotic, and I can’t really provide a walkthrough for it as such. Honestly, I died several times, but in the end, I found the best strategy was to prioritize enemies in this order: Deal with turrets first (spam R1 until you can destroy them with L1 and R1), then the Beast Drones (ideally before they disable your abilities), and then the gunners on top of the rock and the lamp posts. Also, I found that I needed to heal a lot, so I learned not to waste Focus on finishers. And I’d suggest only using your abilities and gadgets when surrounded by enemies. You don’t want to waste them on single enemies.
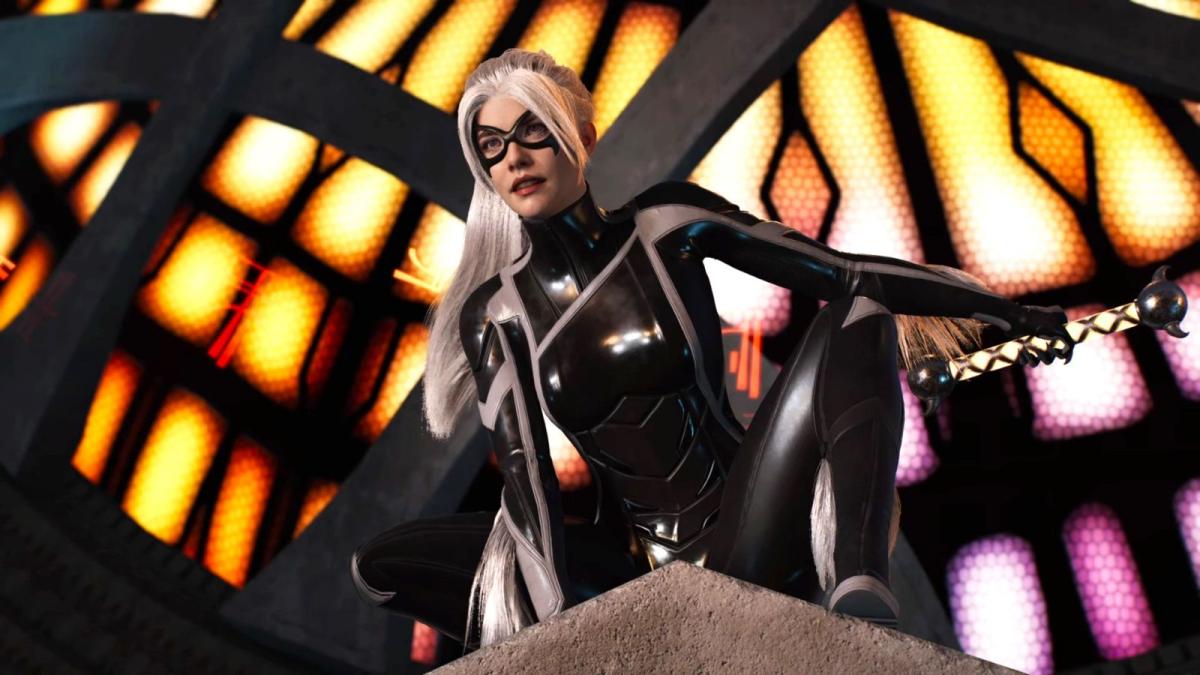
Fend off every wave of Hunters, and you and Black Cat will figure out how to use the wand to summon a portal to Paris, where Black Cat’s girlfriend needs her help. After that, Miles can’t resist the temptation to use the wand to find his nemesis; Martin Li.




Published: Oct 25, 2023 09:08 am