Phasmophobia’s weekly challenges are some of the toughest and most rewarding tasks you can tackle in the ghost-hunting game. They’re usually balanced, but The Apocalypse Draws Near challenge is a truly terrifying task tougher than any other.
Even if you consider yourself to be an experienced ghost hunter, this trial is a very formidable one. Here’s how to complete The Apocalypse Draws Near challenge in Phasmophobia.
What is The Apocalypse Draws Near challenge in Phasmophobia?
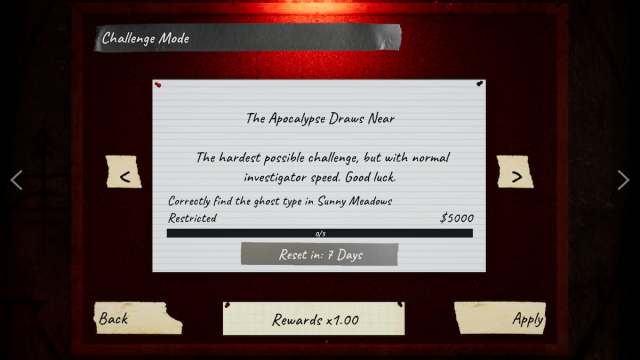
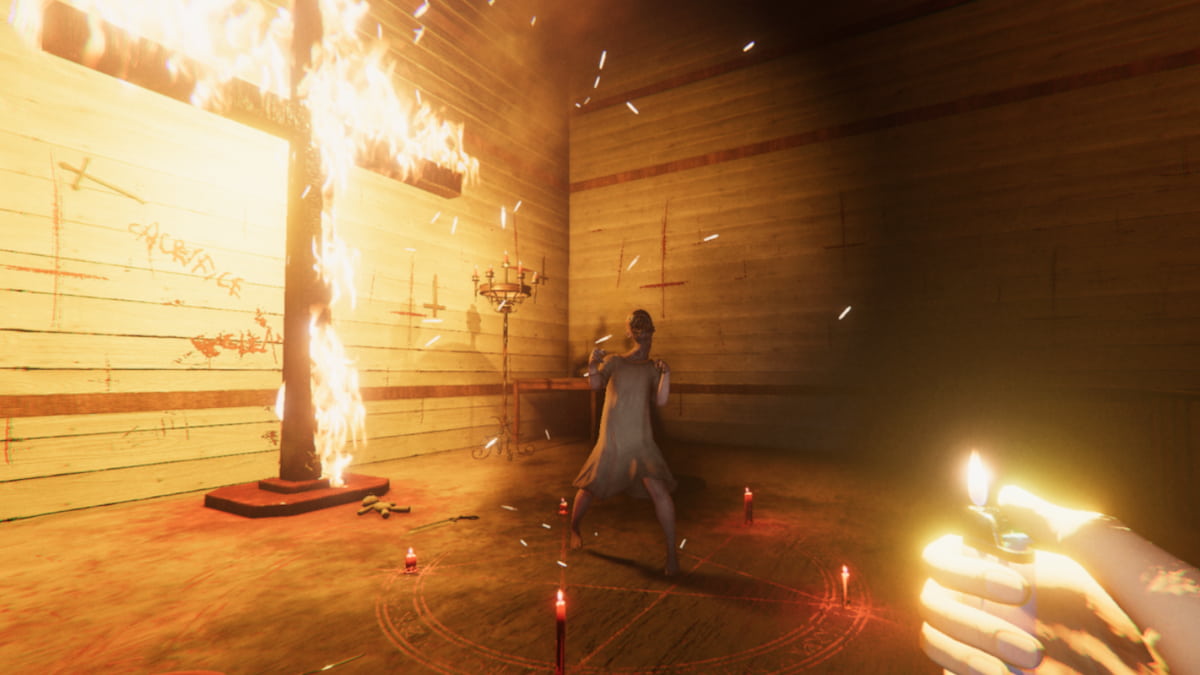
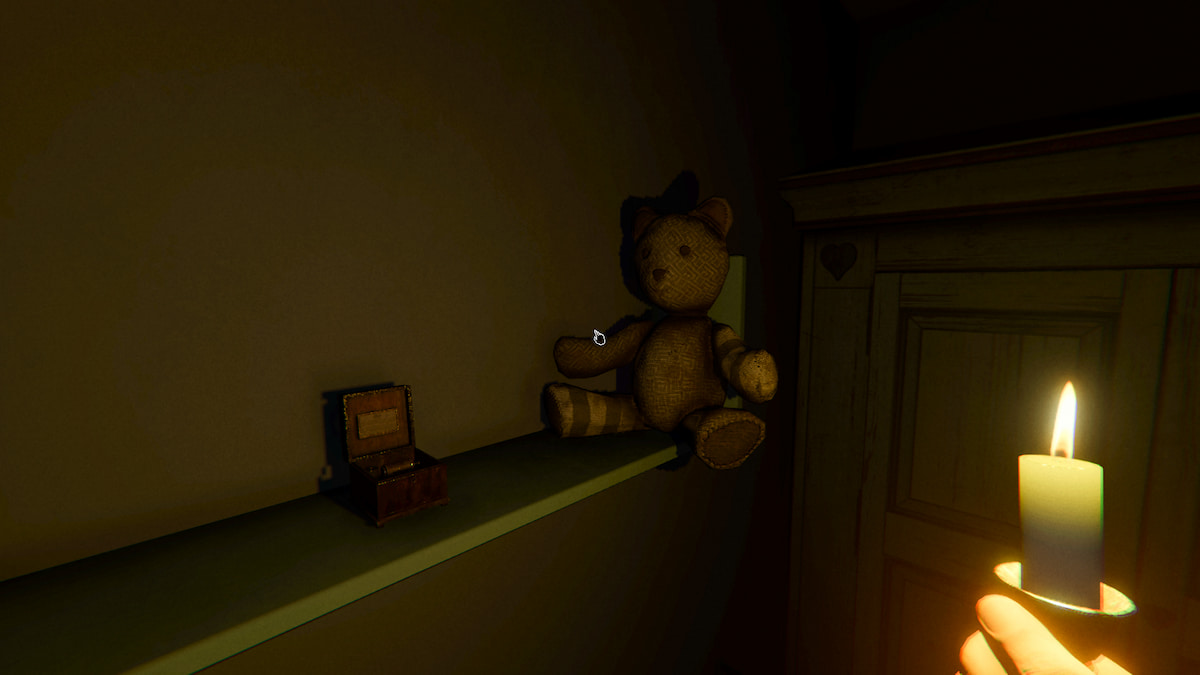
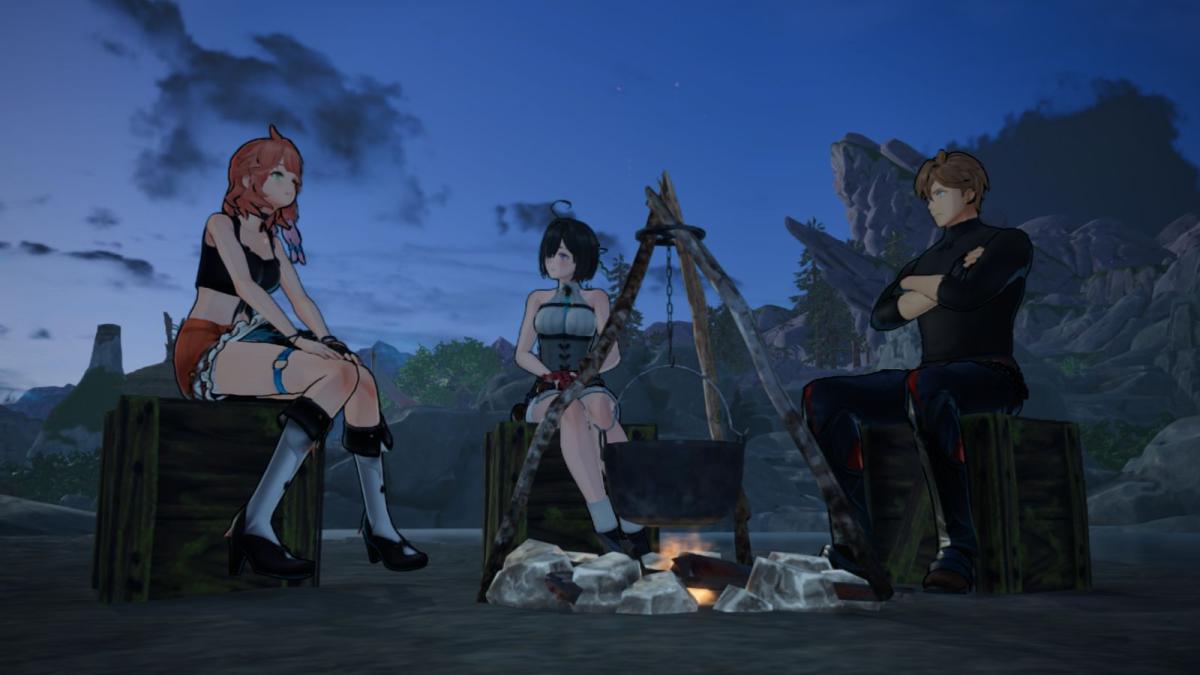
The Apocalypse Draws Near challenge is one of the weekly rotating trials and can only be completed on the Sunny Meadows Restricted map. In this challenge, you have access to the best form of every piece of equipment, but this isn’t all that useful since the ghost won’t give you any evidence.
The Apocalypse Draws Near Phasmophobia challenge rules
All of the exact settings for this challenge are taken from the Apocalypse III preset except for player speed, so here’s everything you want to know before heading into The Apocalypse Draws Near challenge.
- Player settings
- Starting sanity: Zero
- Sanity pill restoration: Zero
- Sanity drain speed: 200 percent
- Sprint: Off
- Player speed: 100 percent
- Flashlights: Off
- Ghost settings
- Ghost speed: 150
- Roaming frequency: High
- Changing favorite room: High
- Interaction amount: Low
- Event frequency: Low
- Friendly ghost: Off
- Grace period: Zero
- Hunt duration: High
- Kill extend hunts: High
- Evidence given: Zero
- Contract settings
- Setup time: Zero
- Weather: Heavy rain
- Doors starting open: High
- Number of hiding places: None
- Sanity monitor: Broken
- Activity monitor: Broken
- Fuse box at start of contract: Broken
- Cursed Possessions quantity: Zero
In addition to all of these official modifiers, there are a few other important details to know about this trial.
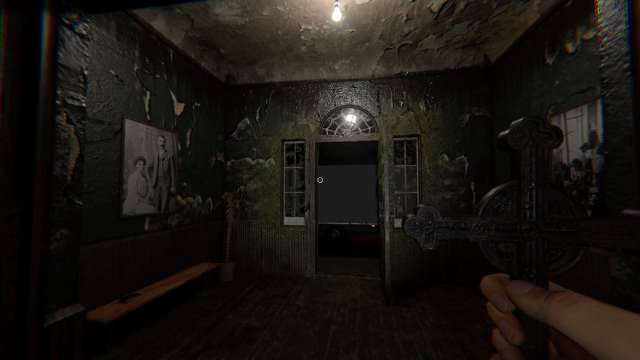
- This challenge must be completed at Sunny Meadows Restricted.
- Flashlights and UV Lights don’t work.
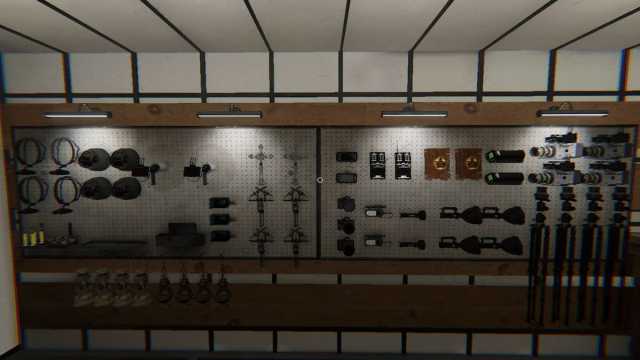
- You have all Tier III equipment.
- Tier III: Head Gear, Sanity Medication, Ghost Writing Book, Igniter, Motion Sensor, Firelight, Crucifix, Incense, Parabolic Microphone, Salt, Spirit Box, Photo Camera, EMF Reader, Sound Sensor, Thermometer, UV Light, Tripod, DOTS Projector, Flashlight, and Video Camera.
How to complete The Apocalypse Draws Near Phasmophobia weekly challenge
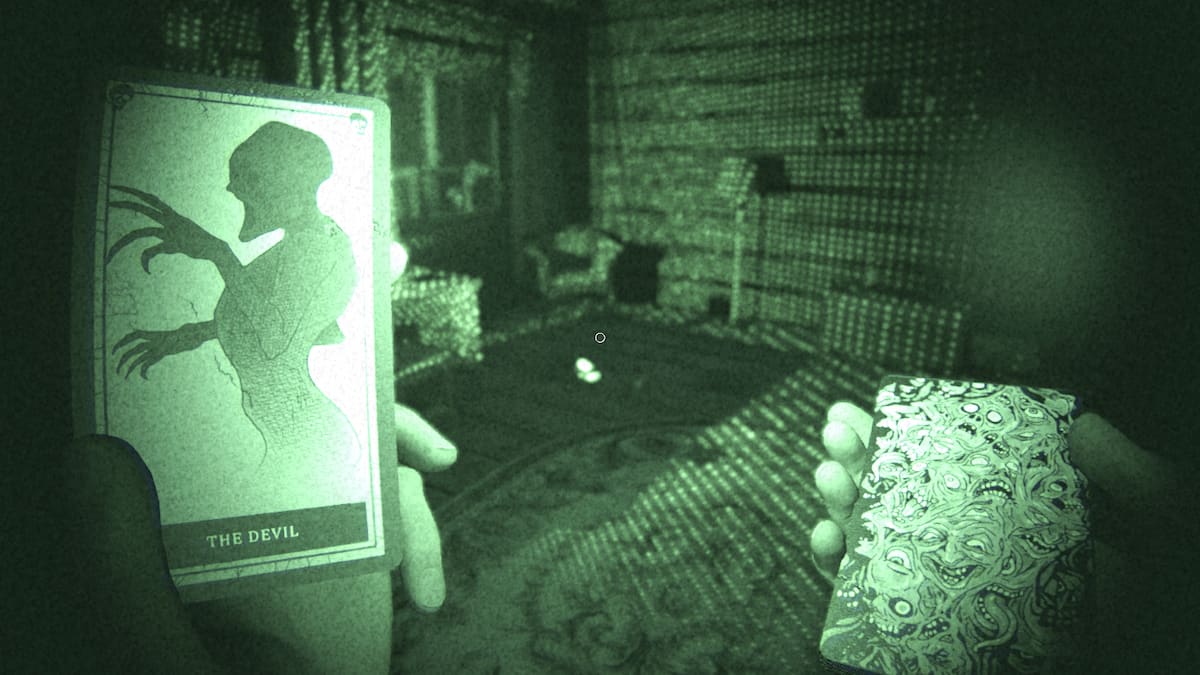
To successfully complete The Apocalypse Draws Near challenge in Phasmophobia, you have to identify what ghost is present at Sunny Meadows Restricted three times. This is a tough task that requires you to move quickly, use equipment strategically, and get lucky with what kind of ghost you’re dealing with.
Finishing this challenge earns you 5,000 experience and $5,000 cash. You also earn even more of both along the way, so finishing this trial is a great way to level up fast.
The Apocalypse Draws Near Phasmophobia challenge tips
To successfully complete this trial, you need to know the best tips for The Apocalypse Draws Near challenge so you can navigate through it three times and claim your rewards.
Test for every ghost
The best tip for this trial is to try and test for every ghost to check off which ones it can and can’t be. This can be done by employing most of the same strategies you use during the No Evidence challenge.
| Ghost type | Unique traits |
|---|---|
| Banshee | • Will sometimes let out a unique wail through the Parabolic Microphone. • Targets one player at a time and remains focused on this player until they are killed or leave the game. • Has a higher likelihood of performing singing ghost events. |
| Demon | • The Crucifix’s range is extended 50 percent farther for this ghost. • Smudging stops the Demon from hunting for a shorter period of time, so if a ghost hunts again around 60 to 90 seconds after being smudged, it might be a Demon. • Has a lower hunt cooldown than other ghosts, so if you notice a hunt with a cooldown of less than 25 seconds then it’s likely a Demon. |
| Deogen | • Moves more slowly when near their chosen target, so if you notice a ghost moving rapidly toward a player before suddenly slowing down, it’s likely a Deogen. • Always knows where players are when a hunt is active. |
| Goryo | • Can only be seen on the DOTS Projector through a Video Camera and when no players are around. • Less likely to wander around. |
| Hantu | • Moves more rapidly in colder areas during a hunt. • Can produce visible frosty breath during a hunt, which is the easiest way to identify it with no evidence. |
| Jinn | • Receives a speed boost when they are chasing a target who is far away. |
| Mare | • Is much more likely to initiate a hunt in a dark room and remains in the dark more often than most other ghosts. • Turns off lights more frequently than other ghosts. • Can’t turn on any regular lights, but can turn on computers and televisions. • Will often turn a light off right after you turn it on. |
| Moroi | • Is affected by hyperosmia, which means smudging stuns it for 7.5 seconds rather than only five during a hunt. • Can curse players through the Spirit Box causing their sanity to drain twice as fast. |
| Myling | • Makes sounds on the Parabolic Microphone more frequently. • Is much quieter than all other ghosts during a hunt. This includes vocal noises and footsteps. |
| Obake | • Briefly shapeshifts into another visible ghost form at least once per hunt. • Sometimes leaves a unique UV Light print behind. This can be a six-fingered handprint, two fingerprints instead of just one, or five fingerprints instead of four on certain surfaces like keyboards and cell doors on the Prison map. |
| Oni | • Becomes more active with more players nearby. • The Oni’s physical ghost model is visible for longer periods of time during a hunt. • Cannot create an airball during a ghost event. |
| Ornyo | • If a flame is lit, they cannot initiate a hunt and will instead blow out the flame. • If a flame is extinguished, they become angry and more likely to hunt. • More likely to blow out flames like campfires and candles as more players perish. |
| Phantom | • Taking a picture of this ghost causes it to become temporarily invisible. • If you snap a photo and a ghost appears in it, you can rule out the Phantom. • Is invisible more frequently during hunts. |
| Poltergeist | • Is able to throw more than one object at once and can generally throw items farther than other ghosts. • Will throw an item every 0.5 seconds during a hunt. |
| Raiju | • Active electronics boost the Raiju’s speed during a hunt. • Messes with electronics from a farther distance when it’s manifesting. |
| Revenant | • Moves very slowly when unaware of the player’s location during a hunt and moves very rapidly when they are aware. • It’s nearly impossible to run from a Revenant if they know your location, so if the ghost seems incredibly fast, it might be one. |
| Shade | • This is the shyest ghost of all and is the least likely to hunt or initiate ghost events. • Less active with multiple players around. • Hisses and appears as a shadowy form more often than other ghosts. |
| Spirit | • Is especially weak against Incense and won’t initiate a hunt again for 180 seconds after being smudged instead of the usual 90. |
| Thaye | • Becomes much slower and less active over time based on how frequently you are around it. Very active as soon as you enter the map, but quickly decays and goes quiet over time. |
| The Mimic | • If you see any Ghost Orbs while completing this challenge then you’ve caught The Mimic. This ghost produces fake Ghost Orbs that don’t count as part of its official evidence which makes them visible even with the no evidence modifier turned on in this trial. • Replicates the behaviors of other ghosts which makes it highly unpredictable. |
| The Twins | • Can create evidence far away from the actual ghost room. • The Twins may interact with the environment simultaneously • Can sometimes create unique Activity Chart patterns. • Each Twin can hunt at a different speed, so if the speed of the ghost hunting you seems to change with each hunt, it could be The Twins alternating. • They have a 50 percent chance to hunt from their current location and a 50 percent chance to initiate the hunt instead from wherever their last interaction was. |
| Wraith | • The Wraith will never step in Salt, so it’s easy to rule this ghost out by simply placing some down. |
| Yokai | • Gets angered by players talking near it and becomes more likely to initiate a hunt because of this. • Can’t hear very well during ghost hunts. |
| Yurei | • Shuts doors frequently. • If an exit door is shut completely without a ghost event or hunt occurring, it’s a Yurei. • Becomes temporarily trapped in the ghost room after you smudge the area. |
Play with friends
As tough as this challenge is, it becomes a whole lot easier the moment you have at least one friend working with you. Even though you’re playing on Sunny Meadows Restricted rather than the full map, it’s still a fairly large maze-like area to navigate and you can be hunted from the moment you enter the door, so you need to work as quickly as possible.
Having at least one other player on your side allows you to explore the vast map much more quickly. It also ensures the contract doesn’t end if you die. Ideally, you’ll want a full four-player lobby for the best results, but gather as many players as you can since even one extra player is immensely helpful.
Use Crucifixes
The Crucifix can be tricky to use, but it’s the most powerful tool you have at your disposal for ensuring the ghost cannot hunt. You’re granted two tier-three Crucifixes in this challenge, so try to place them down where the ghost is spawning for the best protection possible.
Use Salt
In addition to allowing you to rule out the Wraith if it’s stepped in, tier-three Salt is a powerful way to deter ghosts during a hunt. All ghosts are much faster than usual during this trial, but if they step in Black Salt during a hunt, their speed is decreased by 50 percent for two seconds, which might be just the boost you need to successfully get away and continue your investigation.
Smudge the area
Use Incense to smudge the area and deter ghosts from hunting. Like Salt, this is another powerful tool capable of helping you last longer and hopefully complete the challenge without being caught by a ghost. It only protects you briefly, but it might be all you need to get away safely.
Run, don’t hide
I always struggle to successfully hide from ghosts during a hunt, so I absolutely recommend running rather than trying to hide. This isn’t always feasible for smaller maps, but Sunny Meadows Restricted is large enough that you can almost always find a new way to run. The ghost is faster than usual in this trial, so you may end up needing to hide, but do your best to put at least a bit of distance between you and the ghost before doing so.
Others Asked
What do you need to do to complete the Lights Out! challenge in Phasmophobia?
To complete the Lights Out! challenge, you need to identify the correct ghost type at 6 Tanglewood Drive three times in three different contracts.
What is the Technophilia challenge in Phasmophobia?
The Technophilia challenge in Phasmophobia is a special weekly-themed trial where players use high-tech ghost-hunting gadgets to identify ghosts on the Bleasdale Farmhouse map, while missing some important items like Ghost Writing Books and Crucifixes.
What rewards can players earn by completing Phasmophobia's Halloween 2023 event?
Players can earn a special Halloween-themed ID card and a Halloween-themed trophy by successfully completing the event, which will be displayed in a glass case in the main Phasmophobia hub.


Published: Nov 4, 2024 03:27 pm