Modern Warfare 3 Zombies kicked off Act Four with its inaugural season, introducing Dark Aether Rifts and a new story mission asking players to investigate the Anomaly.
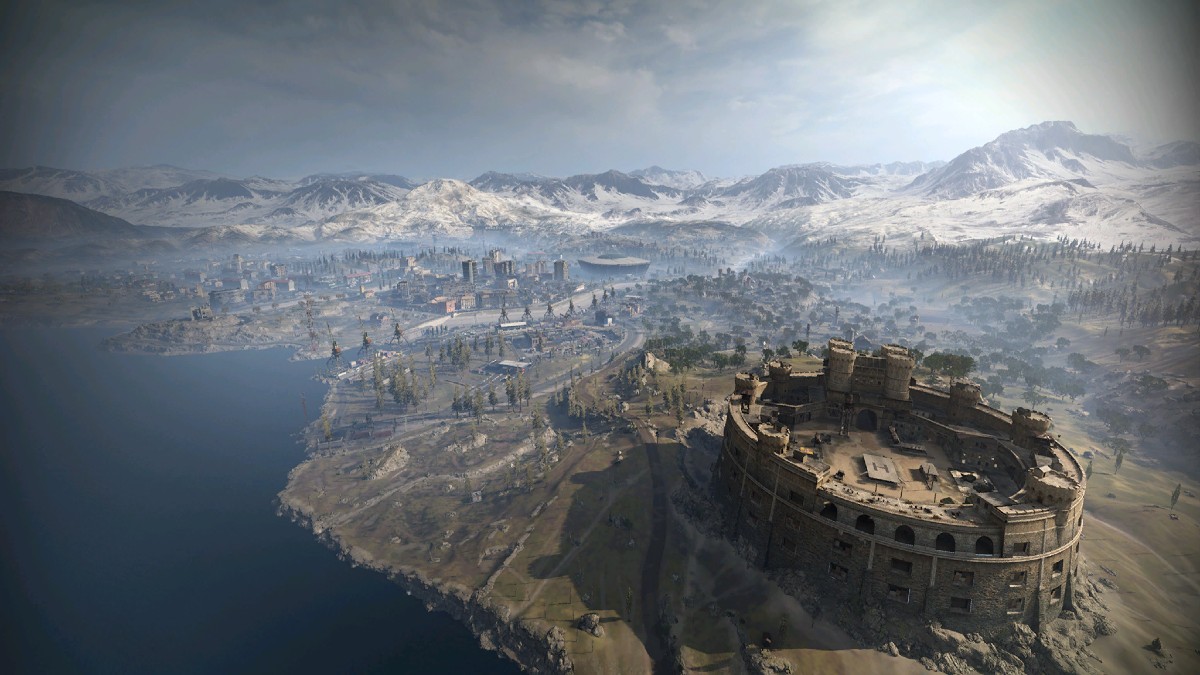
Treyarch showed off the Anomaly in the build-up to season one, with Dark Aether Rifts featured at the core of the new season’s additions to the game. The way in is through a portal within Urzikstan (a totally normal occurrence), and finding the location of the Anomaly is the easy part.
Before you head in, we recommend bringing some heavy-duty guns and enough money for Pack-a-Punch levels, since the odds are you will need them. Here’s where to investigate the Anomaly and some pointers on what to expect on the other side.
Where to find the Anomaly and deploy to the Bad Signal mission in MWZ
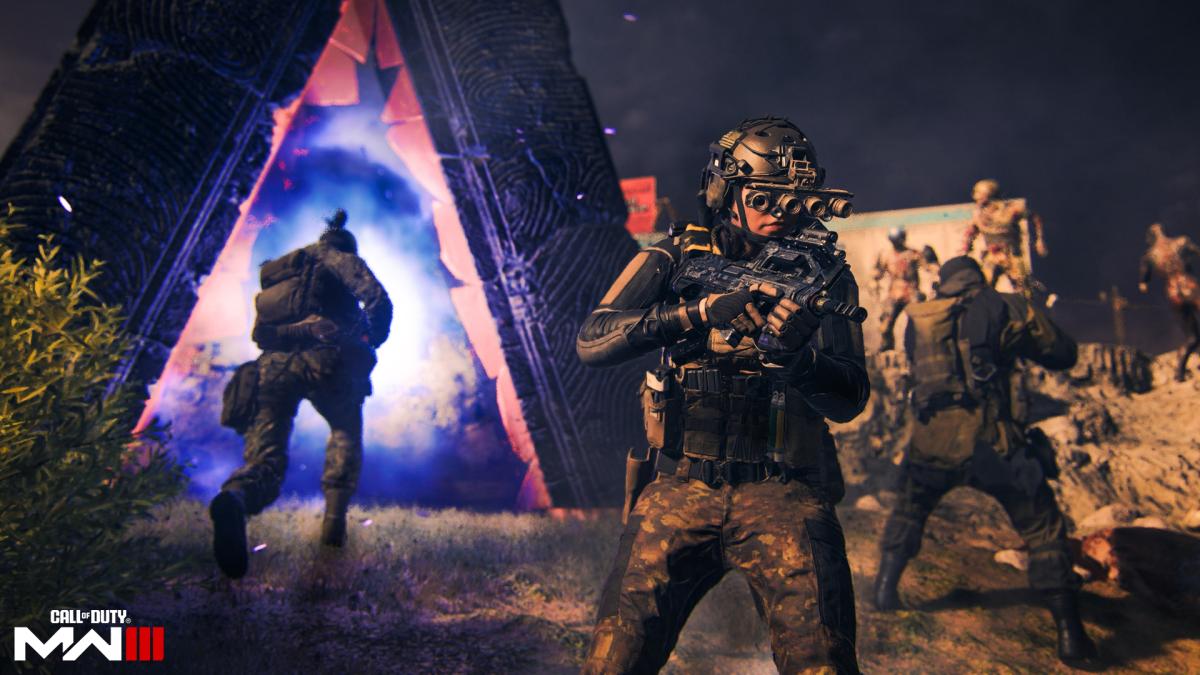
The Anomaly is a special extraction, much like the three other story missions in MWZ. It will be marked on your map alongside the rest of the story missions, and it’ll be easy to spot once you’re in the vicinity. It’s a glowing supernatural portal, right next to the colossal Dark Aether tornado between zones two and three. This location might change from match to match, but it will be marked with a star icon regardless of where it is.
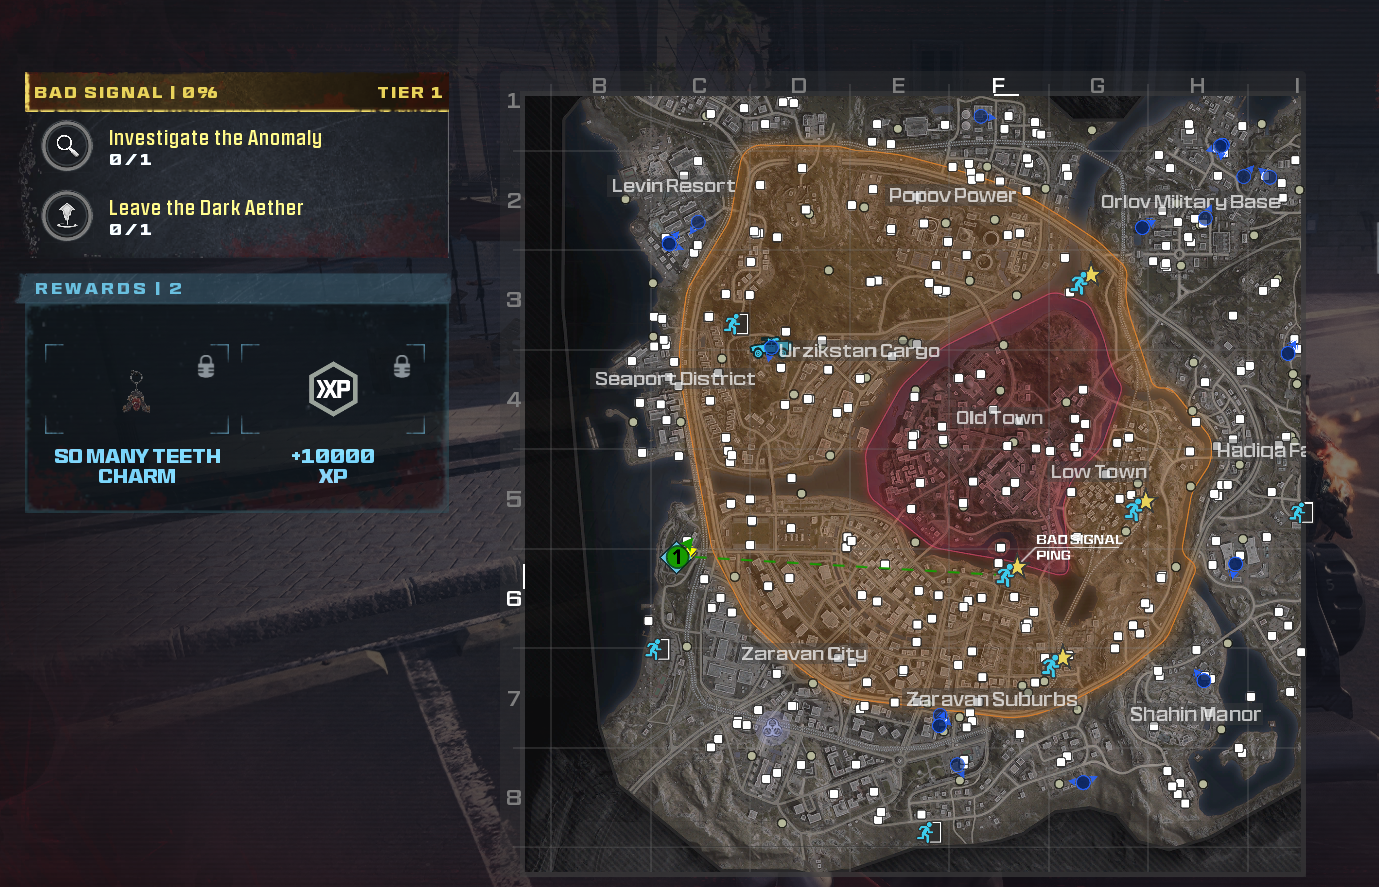
To kick off the Bad Signal mission, just interact with the portal to trigger a teleport, which functions as an extraction. If you have other players, you may need to vote through your Tac-Map—a seemingly new feature with season one.
Bad Signal can be a tough mission, however. We recommend gearing up properly and, if possible, getting your weapons to Pack-a-Punch tier three. While the area inside is full of level two zombies, you can still raise your weapon to level three within the Dark Aether—and odds are you’ll need it. You’ll find a Pack-a-Punch machine and a doghouse on the other side of the portal, but don’t leave Urzikstan without the cash in hand.
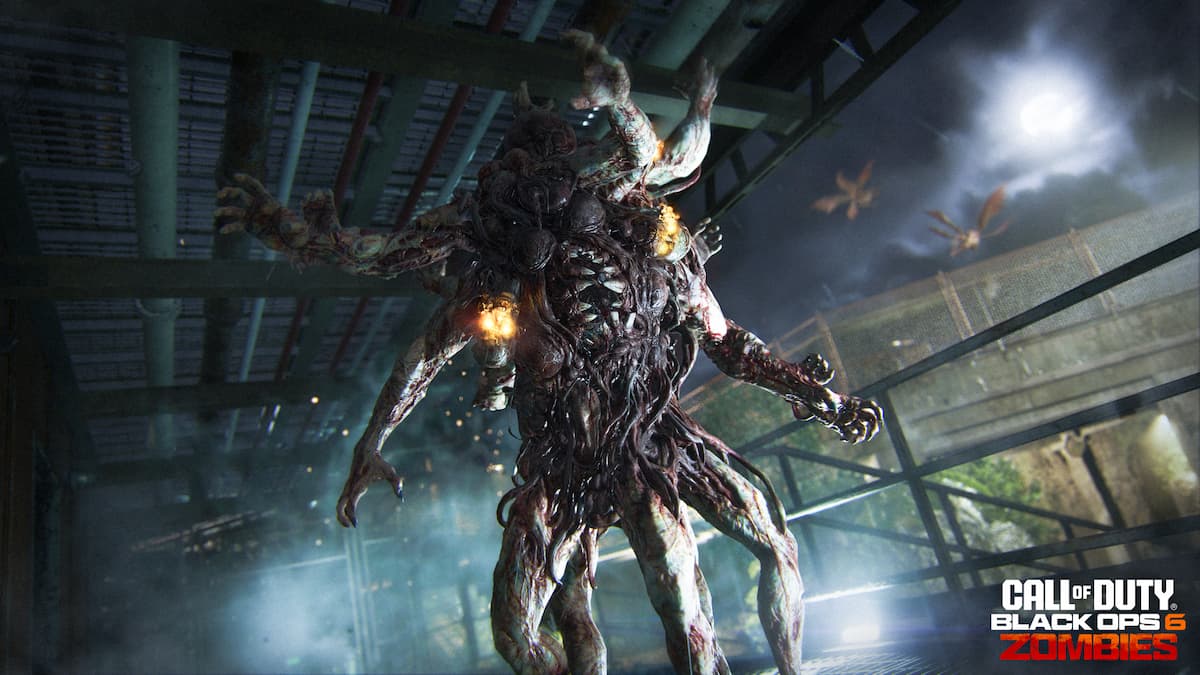
The Act Four mission has a few challenges slated for players, especially if they’re solo. We recommend bringing reinforcements if you can since the mission itself and the final confrontation can be difficult. There’s a boss fight at the end of it, with a gargantuan enemy and waves of zombies coming for you.
Extra Self-Revive Kits are always handy, since you may need them in a pinch. Jugger-Nog, Speed Cola, and Stamina Up are also good choices since any advantage can help you enter the Anomaly and get away unscathed. Tombstones are also a good backup plan if you obtain high-tier loot while farming cash for bounties. Having a spare three-plate vest or a large rucksack can save you some time when re-gearing for this mission.








Published: Dec 6, 2023 03:33 pm