Being mechanically gifted is important when it comes to climbing up the ranks in League of Legends. Picking champions that are in the meta will certainly increase your odds against enemies with weaker champions, but you’ll still need to outplay them to make a difference.
You’ll need all the extra information you can get on the map to give yourself an advantage in any matchup. Wards are one of the most underrated items in League, especially in the lower ranks. Warding is mostly linked to the support role, but it doesn’t mean that you can’t place your own wards to make sure you don’t get ambushed by the enemy team.
Face-checking is a common mistake that most League players make before warding, and it may cost you your life. No one wants to see their teammate dying for a ward, especially when they know they could have placed it from a safer position.
Using the terrain of Summoner’s Rift to your advantage, your wards will be harder to detect because enemy players won’t see you placing them most of the time. The vision advantage you’ll provide to your team will be essential to increase your odds of winning, allowing you to reach higher ranks in the process. We recommend turning off the quick-cast feature for your trinket and warding items until you master the following warding methods. You can also click them manually on your inventory instead of using your hotkeys to prevent quick casting them.
Here are some of the most crucial wards you can place around Summoner’s Rift to ensure you and your team are safe while taking down objectives.
Bot lane wards
The bot lane tends to be the most crowded place on the map. A total of four champions clash, and the numbers can quickly increase if the junglers and mid laners decide to rotate down. More often than not, when you are out-gunned, you’ll need to rotate back to safety.
Most junglers will try to gank your lane from angles you don’t have the vision of to make sure you can’t react. It’s easy to guess the blinds spots of a bot lane duo by their current positioning of the map. If the red side is pushed back to their tower, for example, they may not have vision on the river, meaning a jungler can safely approach from there.
The bot lane’s warding spots are quite straightforward, but you’ll need to make sure you don’t get picked off while trying to ward.
Warding the river from the red side’s first turret
When you’re pushed back to your tower as the red side in the bot lane, you’ll lose a lot of vision. You won’t have access to the river, meaning you’ll be basically cornered to your side of the map. This will allow the enemy jungler to come closer to the lane through the river and wait for an opportunity there as the lane pushes back to the blue side.
The map design allows wards to be pushed back and forth if they’re placed on areas that aren’t accessible by champions. This means if you try putting a ward on top of a wall, you’ll fail, and your ward will appear at a close-by random spot.
You can abuse this mechanic to place the following ward from the safety of your tower.

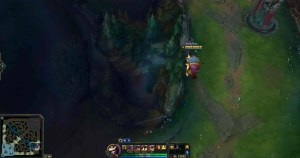
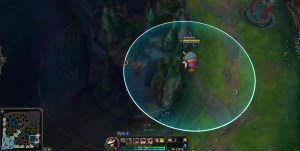
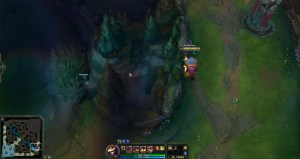

Stick to the wall next to your left, and look for the rock that divides the small waterfall in two. Placing the ward to the left of that rock will push it to the brush in the river, allowing you to have a decent line of vision to keep an eye for ganks.
This spot can also be used when you’re on the blue side, but your enemy will likely notice you placing it since you’ll be under their turret’s vision, or they’ll simply see you rotating there. Even so, the enemy jungler won’t be able to approach from that angle, and you’ll have fewer variables to deal with.
Warding the red team tri-brush as the blue team
While the river is a top rotation candidate for ganks, junglers with mobility can also choose to take a detour from their side of the jungle. An enemy Rammus may start charging from the red side tri-bush and enter the lane behind its tower. The following ward will give you complete vision over that area, which will allow you to react in time if any enemy champion tries to ruin your day.

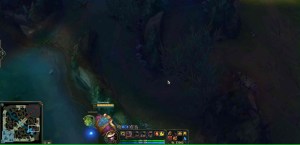
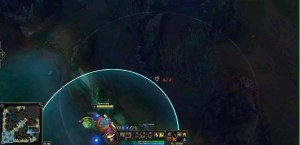
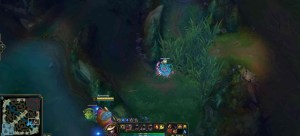
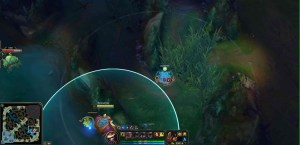
This one is potentially one of the tougher wards to master since you’ll need to place the ward outside of its cast range. You may not have noticed this before, but you can actually put your wards slightly outside of their normal range if an object is blocking you. You’ll need to run into the wall next to the three trees, left of the brush in the river. Place your cursor where the wall next to the tri-brush ends.
Placing the ward in the exact right spot will push it inside the tri-brush, and you’ll have vision over the area. We recommend trying out this ward in Practice Tool until you get the hang of it since you’ll be wasting a ward during a real match if you miss the spot.
Warding the tri-brush from the bot lane as the red team
The vision on the tri-brush isn’t just beneficial for the blue team’s bot lane. When the red team is heavily pushed under their tower, it opens up a new ganking route for the blue team’s jungler.
After picking up the opposition’s blue buff and Gromp, the tri-brush becomes the perfect spot to get into the lane and perform a dive. Keeping a ward inside this tri-brush can allow you to disengage and abandon your turret if you see an enemy jungler, mostly a better scenario than sacrificing two kills.

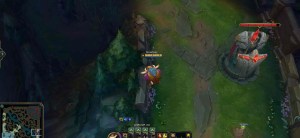
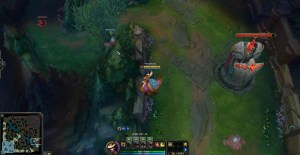
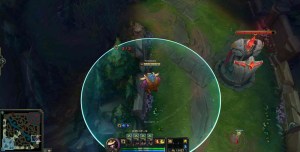
Navigate to the wall on your left and place the ward slightly to the left of the biggest tree you can see. You’ll need to place it just as the tree ends and another one starts. Doing so will push the ward to the tri-brush and grant you much-needed vision.
Warding the blue team’s tri-brush as the red team
When you’re playing aggressively as the red side, it’s only natural you’ll find yourself pushing the wave under the blue team’s turret. Though the blue team has an easier time warding their tri-brush, it may cause the red team’s support to miss a bit of experience if they go all the way near it for placing a ward there.
The following warding spot will allow you to spend the least amount of time away from the lane, which will also keep your ADC safe.

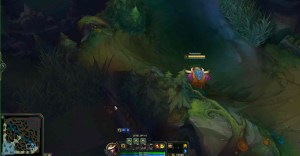


Stand next to the largest tree you can see on your left, and try placing the ward where the most left tree ends, and the rock part of the terrain starts.
This isn’t one of the trickiest wards on our list, but it may take you a few tries to master it. Successfully placing this ward will push it to the blue team’s tri-brush.
Useful wards for mid and top laners
Solo laners may look like they have everything figured out from a support player’s perspective, but they need vision as much as anyone on your team. Placing wards is tricky for solo laners because they don’t want to miss a single minion in the process, which can turn into a momentarily level disadvantage that can get them killed.
The mid lane ward for the red team
There are many ways to gank a mid laner, but diving will always be the most soul-crushing one. While you’ll need to place a ward around the river in most cases, there will also be times that you’ll need to place a ward behind you in case a jungler tries to wrap around.

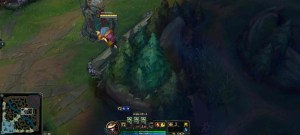
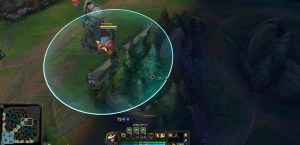
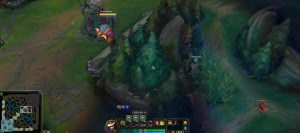
While this spot looks like any other warding location on our list, you’ll need to pay close attention to the tree you’ll be aiming at. You need to place it just below the leaf in the middle section of it, or it won’t give you vision inside the brush.
The top lane ward for the blue side
Reaching to the river can be quite challenging for the blue side’s top laner when they’re under pressure. You can quickly place the following ward after your tower pushes out the lane, but you’ll need to be precise since placing it incorrectly can send it to a completely irrelevant place.


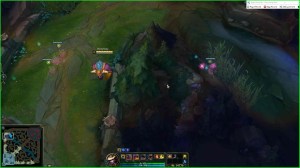
Approach next to the end of the stone part around the wall’s right side and get as close as possible. You’ll need to aim to the end of a rock that’s located in between all the trees. This ward needs a lot of practice to get it right, so you should probably try it out inside the Practice Tool to make sure you get the hang of it.
Objective wards
Each objective on Summoner’s Rift has the potential to start a fight. No Baron/drake attempt will be completely safe unless you eliminate everyone on the enemy team, and the same goes for towers. Most objective fights generally favor the side that comes in later to stop the team that’s taking the objective. This advantage may mean nothing if the gold difference between the two squads is high, though.
If you’re trying to take an objective, you can reduce the chances of the enemy team sneaking up on you by placing well-placed wards.
The Baron wards vs. the red team
When you’re trying to take down Baron on the red side, the blue team will have four different angles they can take from their side of the map. Placing a ward for each of them will be a breeze for your team since the spots are quite in the open, and you’ll be staying in the river during the whole process.
Things aren’t that straightforward for the blue team, however. Without the following wards, you’d need to step on the enemy’s side of the map, which can hinder your whole Baron attempt if you get picked off.




The key to placing this ward is getting close to the pit’s edge shown in the pictures as close as possible. Once you’re in position, you’ll need to place the ward in the area between your range indicator and the brush. The chances of you putting this ward incorrectly are slim since your champion will start running to place it if you aren’t clicking on the right spot. Though it looks like you’re placing the ward outside of the bush, a small part of it will be inside it, which will be enough to light it up.

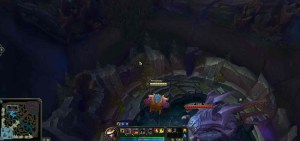

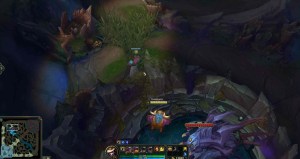
The brush behind the Red Buff isn’t the only one you need to look out for. There is also a tri-brush that connects the top lane with the jungle, and it’s right next to Baron’s pit. It can be an excellent spot for top laners to rotate into a Baron fight, and even help you win a teamfight if it turns into a chase.
Get close to the left side of the pit and click on the green part in between the edges of the two stones. Your ward will be placed in the tri-bush.
The drake wards vs. the blue team
Like how the red team has the advantage of approaching from high-ground around the Baron pit, the blue team will have the same advantage when it comes to the drake pit.
As a member of the red team, you need to place a couple of wards so the blue team can only dream of stealing your dragons.


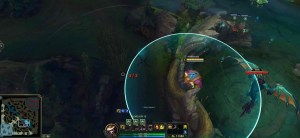

Your ward’s range indicator will be just outside of the brush, but you can still place it inside by moving your cursor slightly outside the circle.

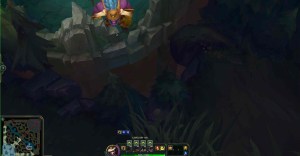

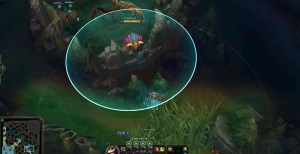
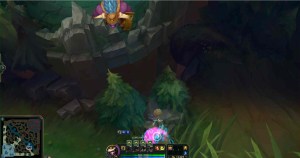
This one is slightly trickier than the first drake ward. You’ll notice there’s a gap between the pit and the tri-bush you’re trying to ward. You can zoom in a little for your first attempts, and there will be a snail. Placing your ward precisely on top of that snail will push it right into the tri-bush.
The invade/late-game deep wards
The next two ward spots have multiple uses. They can be crucial while trying to pull off an invade at the beginning of the game, or they can be useful to spot anyone coming your way when you’re pushing alone toward the late-game.

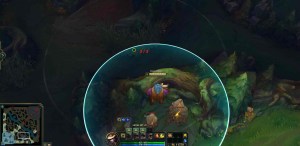
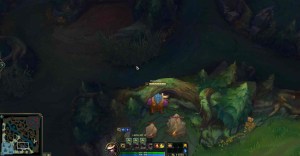
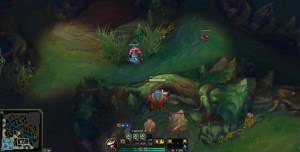



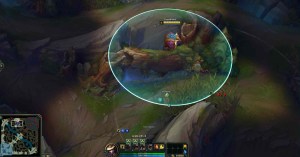

You’ll need to stick to the wall behind the Golem camp to place both these wards, but you’ll have a decision to make while placing the one in the red side of the map. Placing it closer to the Baron pit will let you have more vision around that area, and placing it closer to the red buff will let you see inside of the jungle camp. Considering both are highly-situational, you’ll need to make the call based on what’s going on in your match.
Control and stealth wards: When and where to use different wards
Now that we’ve discussed tricks on how to place wards across the map, it’s also crucial to explain how to maximize the efficiency between stealth wards and control wards.
Stealth wards are invisible wards that grant vision of the surrounding area for 90 to 120 seconds, depending on the average of all champion levels. Each player can only have up to three stealth wards on the map simultaneously.
Control wards, on the other hand, are limited to one ward on the map at a time per player. The main difference from the stealth ward resides in the control ward’s ability to reveal (and disable) enemy wards, traps, and camouflaged champions. In addition, control wards must be purchased at a cost of 75 gold. For this reason, it’s essential to not misuse it, since your economy might be affected throughout the game.
Generally speaking, it’s better to use the control ward in areas you want to make sure are not visible to the enemies. It’s recommended to treat them as items that deny vision, rather than items that grant you vision. Not only that, but you usually want to have your stealth wards placed more aggressively and further into the enemy’s base.
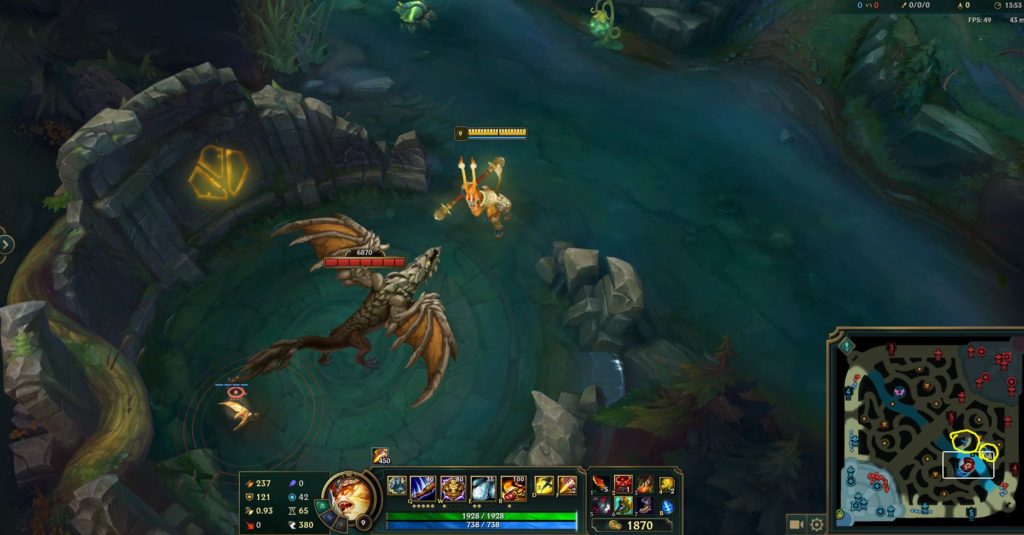
For example, when warding around the dragon or Baron, it’s better to put the stealth wards control ward inside the pit. By doing so, you can determine whether enemies have vision of the objective and utilize that information to your advantage. If you’re a jungler, it can also be a good way to sneak and kill drakes alone.
There are an infinite amount of situations where using one or the other might be more beneficial. Having said that, keeping these small tips in mind should help you take your warding game to the next level.


