Cable management is the bane of every PC builder’s existence. Nobody likes it, it takes too long, and it just isn’t any fun most of the time. However, it doesn’t have to be difficult on top of all that. Here is a guide to help hide those clunky computer cables.
What do you need?
To start managing all of your computer cables, you’re going to want to prepare a few things first: zip ties, a surge protector, and an optional cable rack or cable clips.
While these items aren’t always necessary, they can make things much easier and allow for more options when adding to, or moving, your setup.
Set everything up
The very first thing to hide those pesky computer cables is to move the computer as far away as possible. The computer is actually the least important part of this process.
Now that the computer is out of the way, the next step is to take whatever peripherals—monitors, keyboards, Stream Decks, etc.—may be included in the current setup and figure out where those will live.
Arrange cables
Once the peripherals have been set up and arranged, go ahead and arrange the cables from each peripheral in the direction of the PC or power source. This makes tangling cables just a bit harder, making it easier to keep track of the cables for each peripheral.
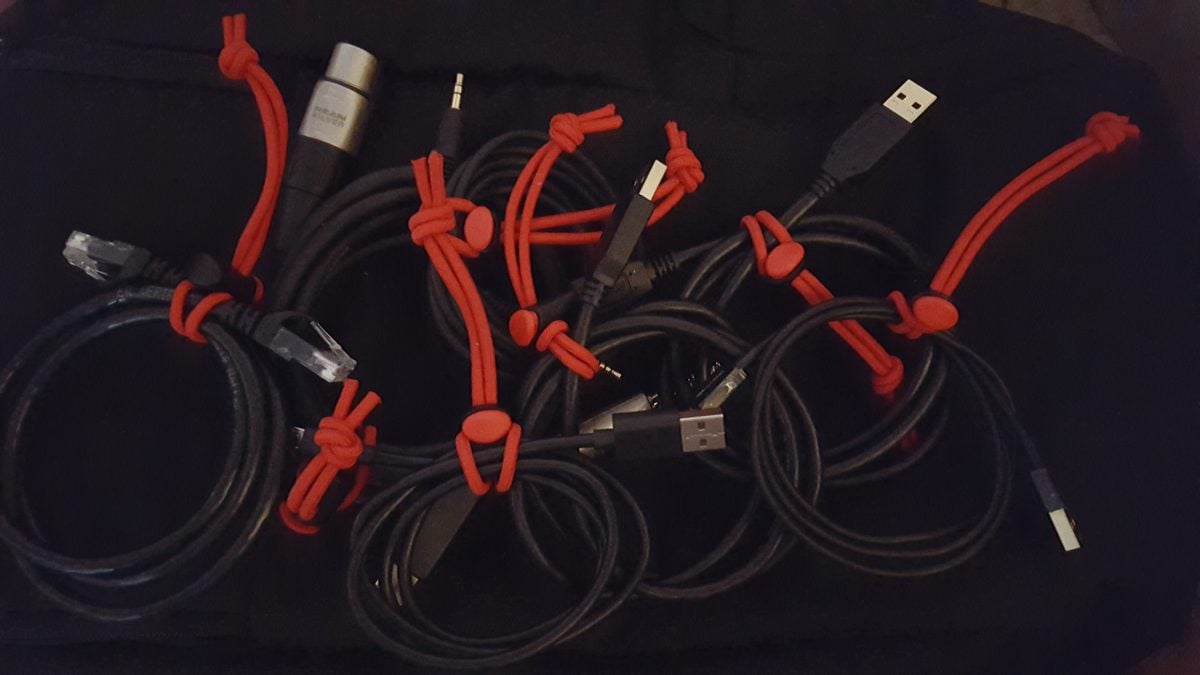
Use a cable tie to bundle up multiple cables from a single accessory. If a speaker set has two or three cables, bundle them together. If a monitor has several display cables, bundle them together. This makes it much easier to keep track of and helps to avoid tangling later on down the road.
Cable rack
Once you’ve arranged your cables in the direction you prefer, it’s time to decide whether you want to use a cable rack for your setup.
A cable rack isn’t necessary to hide all of your computer cables, but it makes things a whole lot easier and a whole lot cleaner, too.


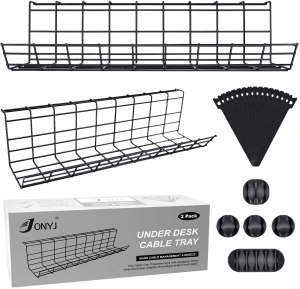
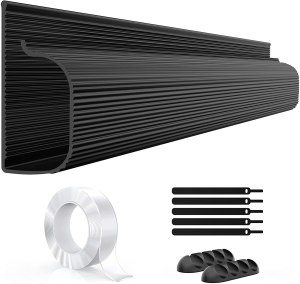
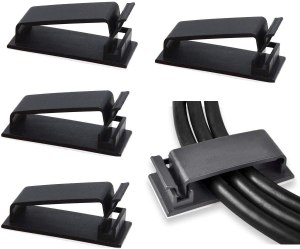
Above, there are a few different options to choose from when it comes to cable racks. There’s the traditional wire rack that costs about $20, a sleek cable raceway for $14, and a few cable clips that you can stick onto the bottom of your desk for $15.
To make it even easier, you could invest a few dollars into a cable sleeve to run all of your cables through to keep them all in a single tube.
Plug it all in
After arranging the cables and placing them into a cable rack or sleeve, it’s time to plug everything in. This is where the surge protector comes in handy.
Using a surge protector allows room for more accessories, such as a secondary monitor, a TV, and a console or two to be plugged into a single outlet without using other outlets around the room.
More importantly, using a surge protector will also protect any devices that are plugged into the outlet from any electrical surges or power outages.
Time for the PC
After everything is plugged in, it’s time to bring the PC back over to your setup. You will need to plug your accessories into your PC now that you’ve got the rest of your setup ready to go.
Try to avoid cable overlap when you plug your accessories into the PC. This makes it cleaner and can help protect the integrity of your computer cables so they’ll last longer.
Depending on how many USB ports your computer has and how many USB accessories you have, a USB hub may prove to be a worthwhile investment. The purpose of using a USB hub is to keep as many USB cables in the back of your computer as possible. This keeps the front of your computer clean and free of any unnecessary cables.
This process should hide away most of the cables. There are certain cables that you just can’t hide, and that’s OK. These unavoidable cables include keyboards, mice, and any stray peripheral wires that need room to breathe. However, if you wanted to hide cables like keyboard cables, there are other ways to hide them, like drilling into your desk and using a grommet to route them underneath to free up even more space.

