Halo Infinite features several maps players will encounter whether they’re playing casual modes with friends or grinding the ranked playlist. Each map has a unique layout that each player must master if they want to help their team dominate their opponents.
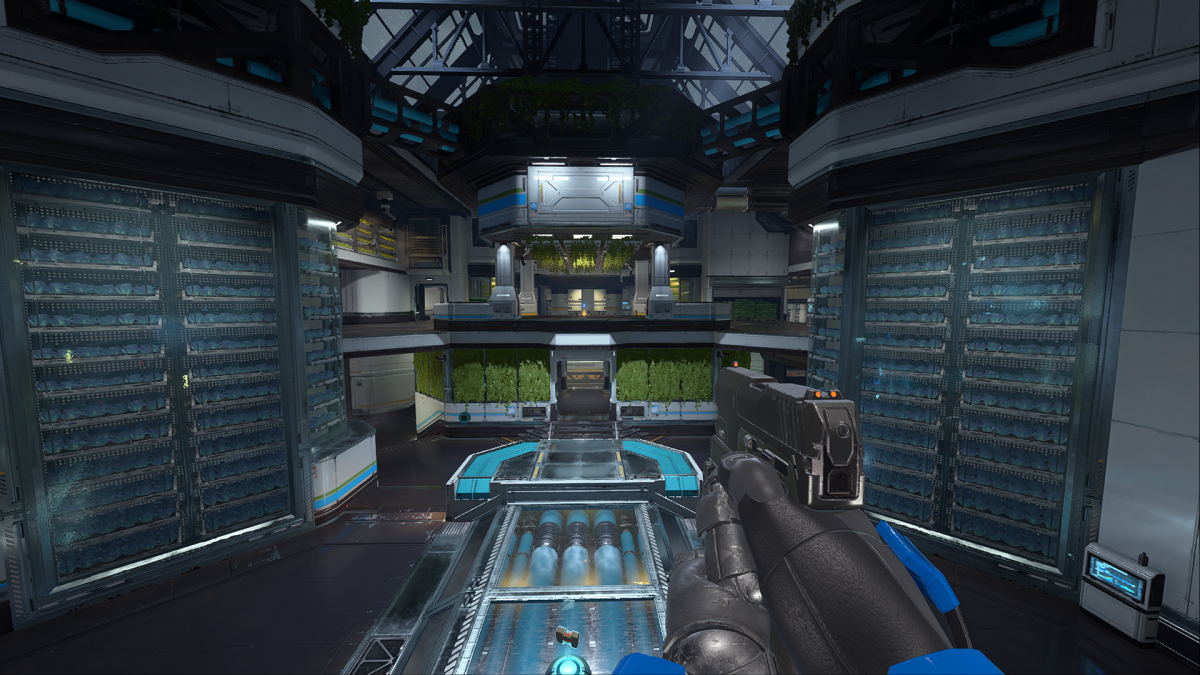
A map players will see in multiple modes is Aquarius, a small indoor map in a botany lab. Memorizing the weapon spawn locations and the most important spots on the map will help you stay one step ahead of enemies and easily win matches.
Weapon Spawns
- Yellow Base: BR75/VK78 Commando (ranked)
- Yellow Refrigeration: Pulse Carbine
- Planters: CQS48 Bulldog/Heatwave (ranked)
- Pump: Plasma Grenades
- Blue Refrigeration: Plasma Carbine
- Blue Base: BR75/VK78 Commando (ranked)
- Blue Utility: Mangler/MK50 Sidekick (ranked)
- Hydro: Dynamo Grenade and Stalker Rifle/ Needler (ranked)
- Yellow Utility: Mangler/MK50 Sidekick (ranked)
Equipment Spawns
- Yellow Courtyard: Thruster
- Top Mid: Active Camo/ Overshied (ranked matches only feature Active Camo)
- Blue Courtyard: Thruster
Yellow Base
Teams spawn on opposites sides of Aquarius in the Yellow or Blue Base. Before we break down the Yellow Base area, here are a few key callouts in the surrounding area.

After spawning, players will almost immediately see the enemy team across the map. Teams can secure early kills if they coordinate their fire on specific opponents, which can help thin the herd before pushing into other areas. Make sure to grab the BR75 rifle or the VK78 Commando before leaving the area for some extra firepower.
The Yellow Base has two exits on either side, leading to Yellow Utility and Yellow Refrigeration. Both directions lead towards the center of the map and provide access to Top Mid. Yellow Refrigeration has a Pulse Carbine on the wall, while Yellow Utility has a Mangler or MK50 Sidekick, depending on the playlist. Both areas offer a direct line of sight into the opposite areas of the map, meaning engagements are common when passing through these sections of the map.
Directly in front of the Yellow Base is Yellow Courtyard, which is a large open area overlooked by the base and Top Mid. Crossing this area is dangerous, especially if the enemy team controls Top Mid or pushes through Yellow Utility or Refrigeration. The Thruster ability spawns here, however, making it worth the trip. There are also ledges for players to climb up to Top Mid from the Yellow Courtyard, which are excellent for quick escapes or assisting teammates in a gunfight.
Taking Top Mid should be your top priority, although each base also provides an excellent view of the map. Use this to your advantage if enemies are holding Top Mid, and don’t be afraid to damage enemies from a distance when your teammates engage in gunfights.
Top Mid
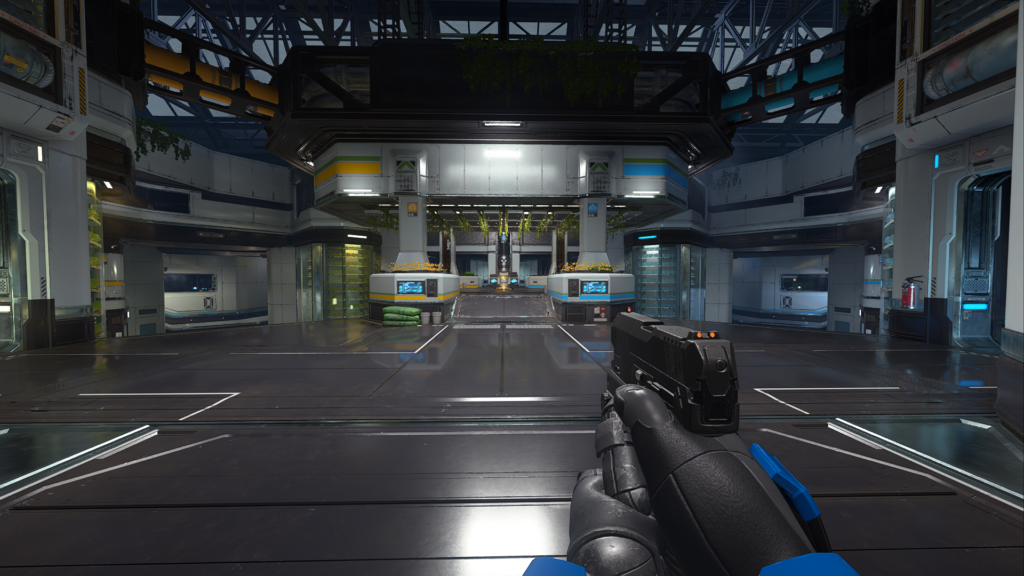
Top Mid is arguably the most crucial area on Aquarius. This elevated position overlooks both bases, meaning players can pick off enemies almost anywhere on the map. This is also the spawn for Active Camo and Overshield, so controlling this area should be a top priority. If a team controls Top Mid before pulling the enemy flag, they can cover their teammate across the entire map.
Blue Base
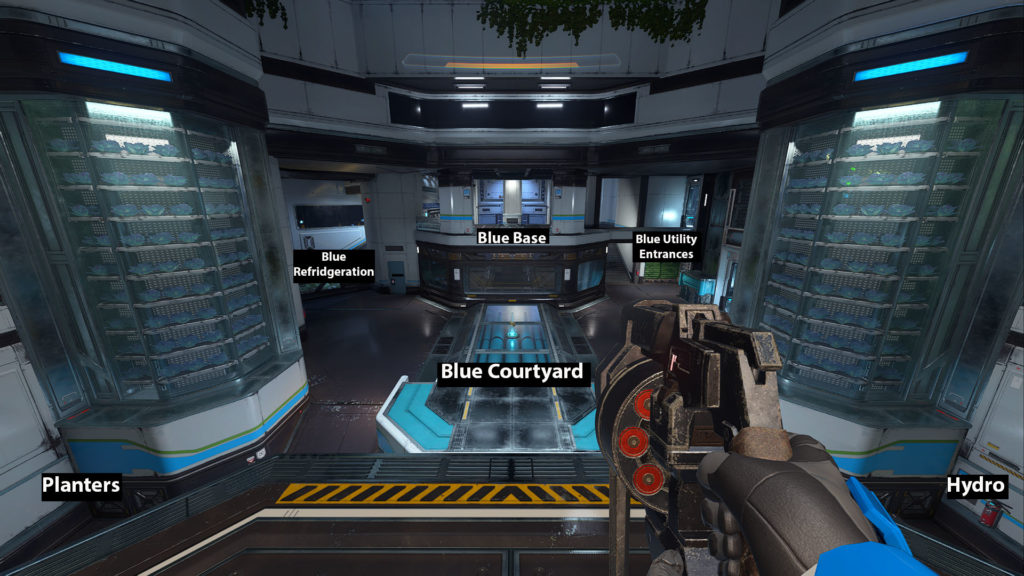
The Blue Base is almost identical to the Yellow Base. Players have two exits leading to Blue Refrigeration or Utility, and the same weapons spawn inside the base. Blue Courtyard is also where the Thrusters spawn on this side of the map.
Outside lanes: Planters and Hydro
Aquarius also features two outside lanes connecting both sides of the map: Planters and Hydro. Planters connects the Yellow and Blue Refrigeration areas and runs directly beneath the Pump. Hydro connects the Utility locations on the opposite side of the map. Both areas also feature weapon spawns that are always worth grabbing.
Control Top Mid, power weapons, and equipment
Winning on Aquarius is simple: Control Top Mid and consistently grab weapons and equipment to defeat the enemy. It’s almost impossible to move around the map if enemies hold Top Mid, especially in Capture the Flag. If the enemy holds this position, work with your team to take it back before they steal the lead.
The power weapons also provide a significant advantage against enemies, so grab every weapon you can, even if it’s just to keep it away from your opponents. Active Camo and Overshield can also change the tides of a match, so keep track of their spawn times and fight for them immediately.
Remember to keep track of enemy spawns and how many are alive at any given moment to avoid accidentally flipping them and making a challenging game even harder.