In Destiny 2 Lightfall, players can experience several new missions, with some providing Exotic weapons as a reward if completed in Legendary mode. There are also secret missions, which aren’t new in Destiny 2.
The latest secret mission is NODE.OVRD.AVALON, which has players diving into the Vex Network to uncover its secret. And not only that, the start of the mission is ambiguous and requires you to find and shoot six glowing Vex Cubes spread out over the EDZ in thirty seconds. So, you can already tell this mission will be complex.
Once you’ve done that and you are over the recommended 1800 Power level, you can start the Exotic mission, NODE.OVRD.AVALON. So, how do you complete the NODE.OVRD.AVALON mission in Destiny 2?
How to complete NODE.OVRD.AVALON mission in Destiny 2
Like most missions in Destiny 2, this one can be broken down into several sections: entering the Vex network, entering the access codes, gathering data and taking shelter, defeating the final boss, and collecting your well-deserved reward.
Entering the Vex Network
As soon as you start the mission, you’ll need to jump down into the Vex transporter, which is basically like a light tunnel, to enter the Vex Network.
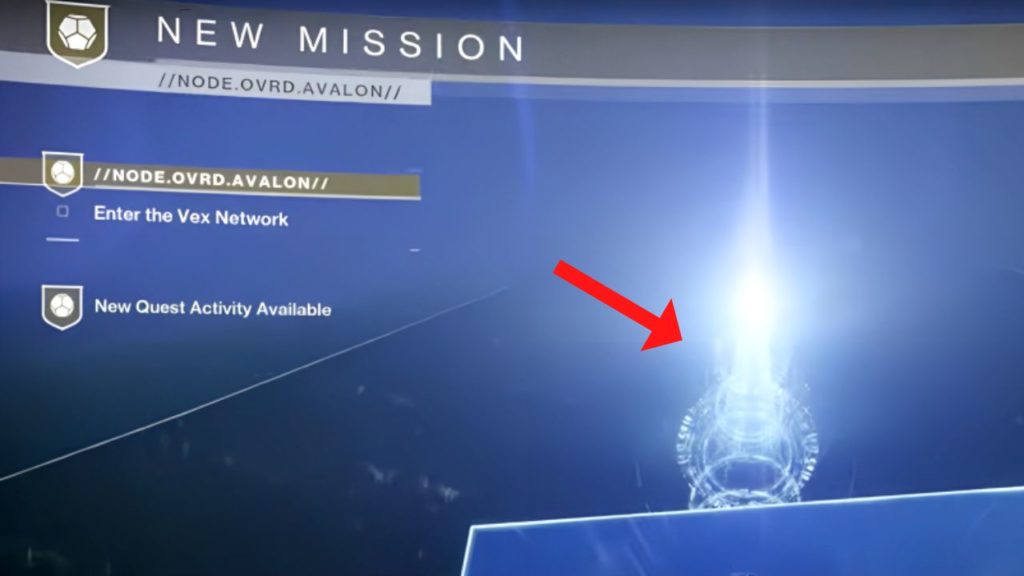
You’ll drop out of the light and into a passageway. As you run along the corridor, you’ll come to a giant hole in the floor and need to jump down. From here, you’ll enter a room where you’ll take out a grunt and crawl through a narrow passage.
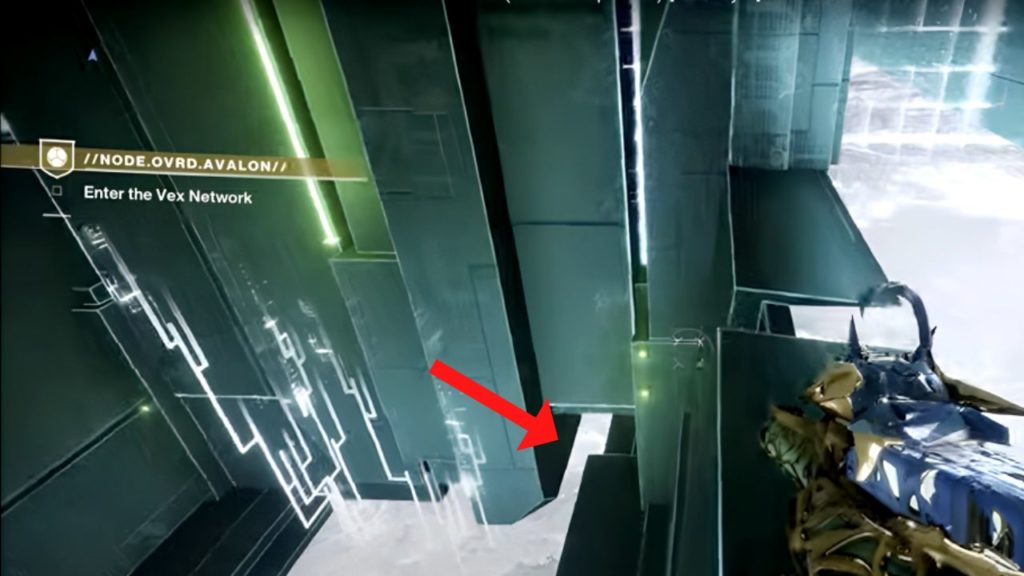
On the other side is a ‘T’ junction. Go to the right and follow the silver river. However, you’ll need to be careful as it will hurt you, but there are ledges you can use to stay safe. Along the way, kill the grunts, and enter the narrow passageway on the left wall between them. It can be easy to miss if you aren’t actively looking for it.
Continue until you reach a circular room and jump into the second Vex transporter, where you’ll end up in a neon purple and pink Vex area.
Entering the Access Codes
Place your Rally Banner, and navigate the platforms until you reach a restricted respawn area.
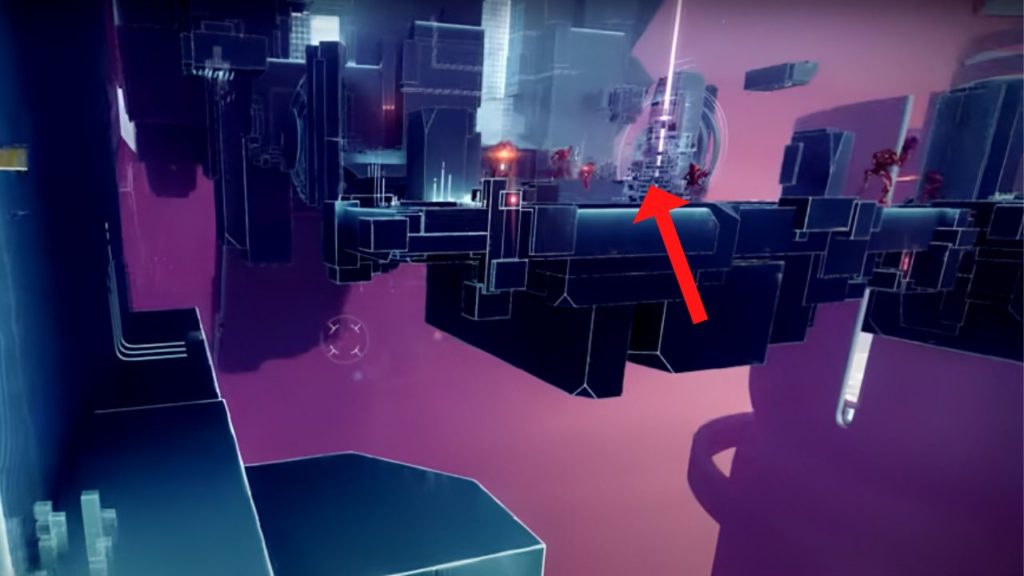
This is where things get a little dicey. You’ll need to take out the grunts as they continue to spawn and enter access codes.
You need to locate the pattern in the room, which consists of various symbols. And there are three access code patterns that you need to memorize. And for each access code, you’ll need to shoot the corresponding shape when they appear around the center column.
The first pattern is to the right of the center column of light, and it has three symbols. The second pattern is on the top left pillar with four symbols. And the third pattern is on the top right pillar with five symbols.
If you enter the codes correctly, the objective will update, and the next pattern will appear. And if you don’t get it right, it won’t update, and you’ll need to try again. So, be sure to memorize each pattern and shoot the correct shapes.
Once you’ve done that, you’ll get a new objective: “Defeat the Vex.” Move on to the next area, where you’ll have a slew of mobs to defeat. And you’ll get a new objective to enter more access codes.
The first pattern is found on the very left wall when you jump onto the platform at the back of the room. It contains three shapes. The second pattern is to the back right of the room beside the ramp and has four shapes. And the third pattern is on the left side of the ramp and contains five shapes.
Once you’ve input all the codes, you’ll get another objective to defeat the Vex, who will make their way down the ramp. Continue into the next room and follow the path and the quest marker.
After defeating the Vex, your objective will change, and you’ll get to explore more of the Vex network. As you enter, you’ll come to a tall Vex wall. To get to the top, jump up and to the right, where there’s a thin ledge.
On top of the wall, take care of the Vex, and follow the silver river. At the river’s end, you’ll need to jump onto platforms below you, but the platforms disappear and reappear.
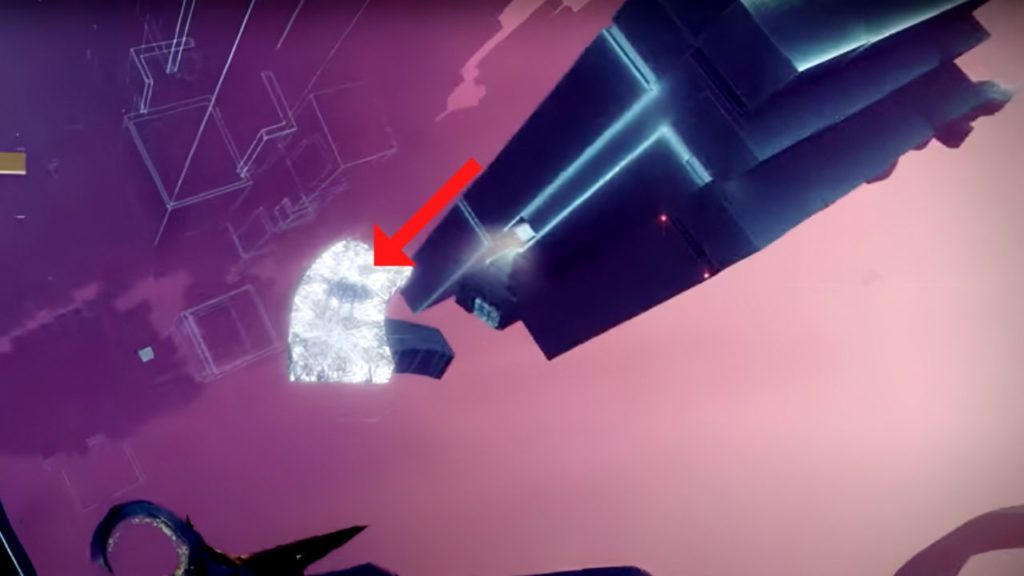
So, you’ll need to be super careful when timing your jumps. When you reach the end, you’ll need to crawl through a narrow passageway. But take your time because a block pushes out from the wall and can push you off.
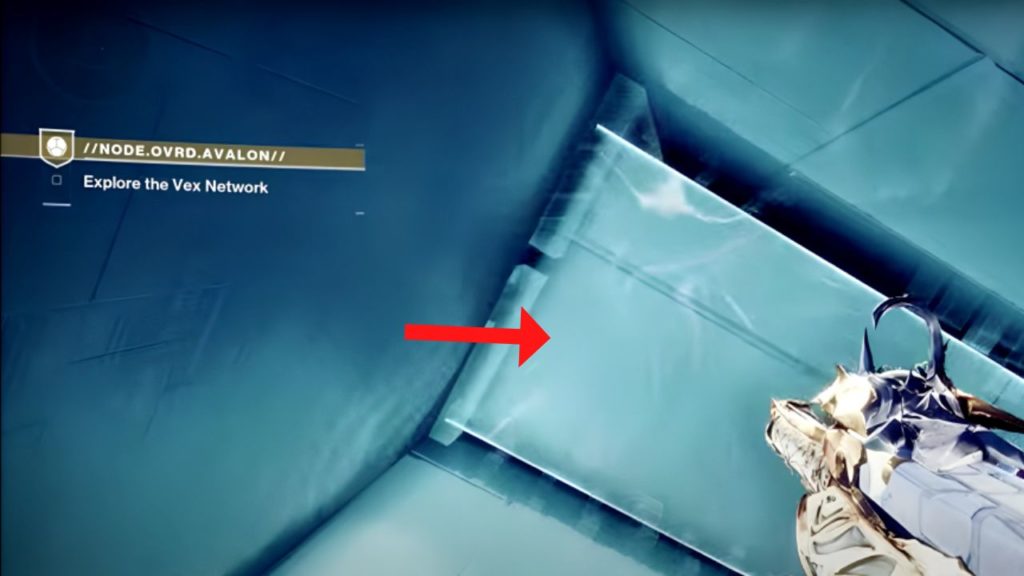
So, wait while it’s extended, then move forward as soon as it sinks back into the wall. On the other side, there are a few Vex to take care of and a few pillars to jump across until you reach the top of the platform.
Here you’ll place your Rally Banner, use the jump pad, and prepare to fight some more Vex in an arena.
Gathering Data and Taking Shelter
As soon as you get into the arena, your objective will change. You must collect eight pieces of data in 45 seconds.
You’ll need to take care of the Dataholder Vex to gather data, which are the purple/magenta-looking items. They’re relatively easy to spot because a beam of light shoots upwards from them.
When you have all the data, take them to the center column. And if you have enough, the floor will disappear, and you can take shelter below. If you don’t collect enough data by the end of the time limit and take shelter, you will die.
It’s also important to note that the shelter doesn’t provide cover from the Vex while the countdown timer is still active. So, you may need to keep killing the Vex while you’re down there.
As soon as the time is up, a ceiling will form on your shelter, and you’ll drop through the floor to a teleportation ball. You will return to the top of the platform and go another round.
In the second round, you must collect ten data pieces in 48 seconds. So, kill the Dataholder Vex, gather the data, return the data to the center column, and hide in your shelter while the countdown timer is active.
When the timer ends, the ceiling will appear, and you’ll drop through the floor to the teleportation ball and appear on top of the platform.
This time, however, you’ll need to damage the Data Nullifier. After the first phase, you’ll get a new objective to defeat the Vex. Then you’ll head into another round of data collection, where you must collect ten pieces of data in 48 seconds and take shelter.
Once you’ve finished the first round of data collection, you’ll need to do it again. These two rounds are pure, fast-paced chaos, so ensure you do as much damage as quickly as possible and collect the data as they drop.
After you’ve finished the second round, the Data Nullifier will appear, and you’ll have to defeat it. Once you do, a new objective will appear, telling you to enter the node core.
Unfortunately, there’s no mission marker, so it can be challenging to find the right path. Look for the platform with the red ‘stripe’ behind it, as this is the way to go.
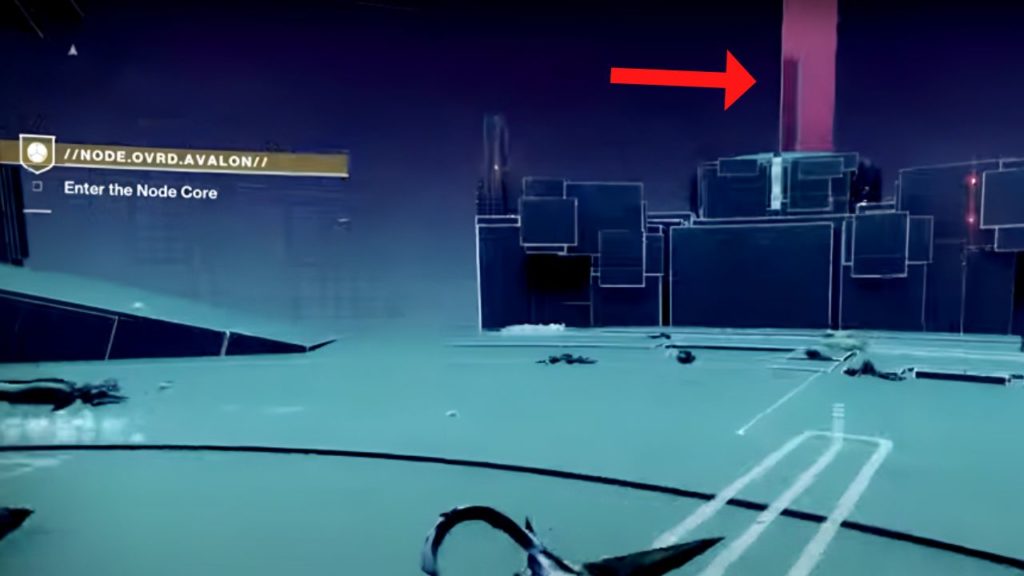
Jump onto the platform and jump down and towards the red stripe, where there are very thin platforms for you to land on.
Continue to the end of the platform until you see a Vex wall. When you peer down the wall, there’s a platform that you need to jump to that has a Wyvern on it, so you’ll need to kill it.
This next part is a little hairy. Take a running jump and use the different jump mechanics to get you the platform.
As soon as you land, go to the left and continue until you reach the end. Turn to your left and jump across to the small platform.
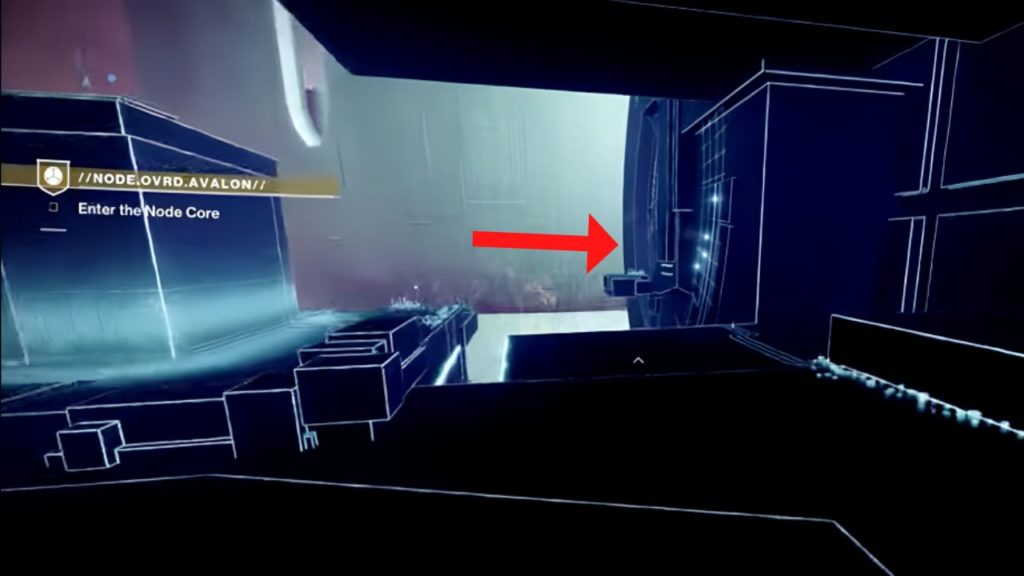
Once across, you’ll need to make your way around the wall, jumping where necessary, until you see another platform in the distance—jump to it.
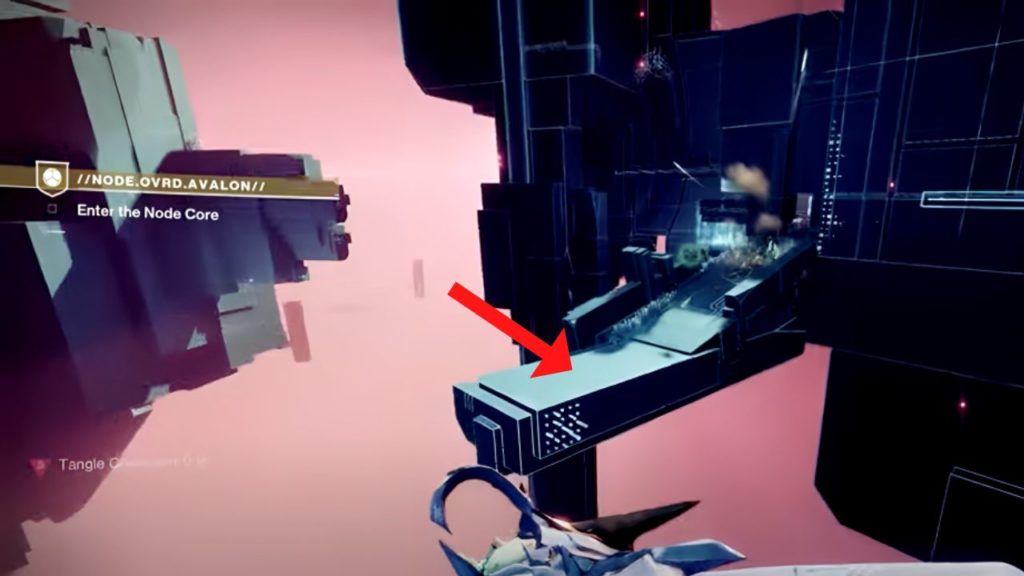
Defeat the Vex, navigate the passageway, and be careful of the push blocks. Once you’ve done this, jump onto the platform next to the giant ball with a current emitting from it.
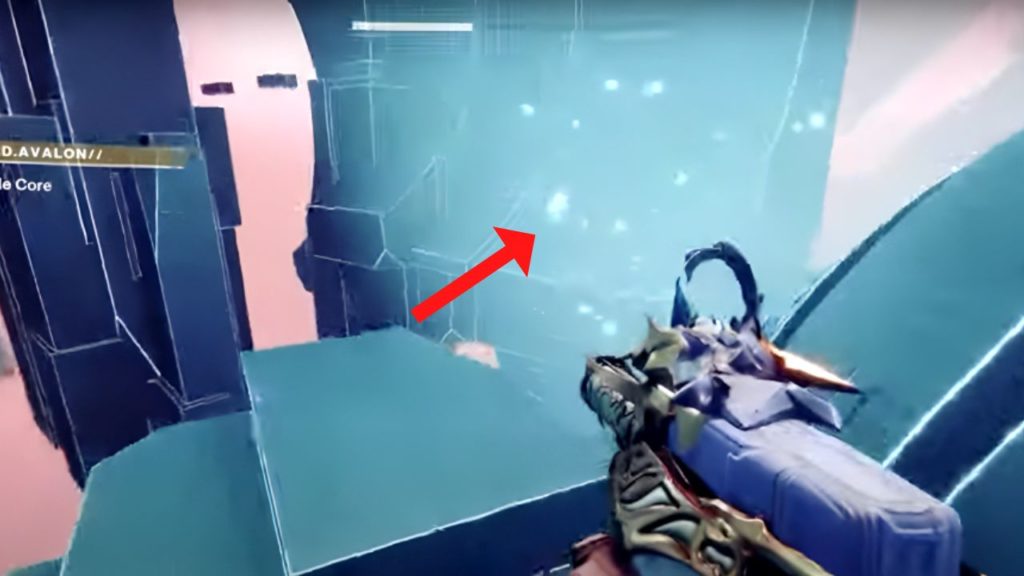
Jump into the current, and it will take you to a different platform. As you land on the platform, take care of the Vex floating in the air and head to the end of the platform. When you look down, you’ll see a platform staircase of sorts.
However, some of the platforms disappear and reappear. So, as you jump down, use your jump mechanics to help you make it to the end.
At the very bottom, there’s a large cube wall, which you must go around. Thankfully, there is a platform just behind it that you can land on.
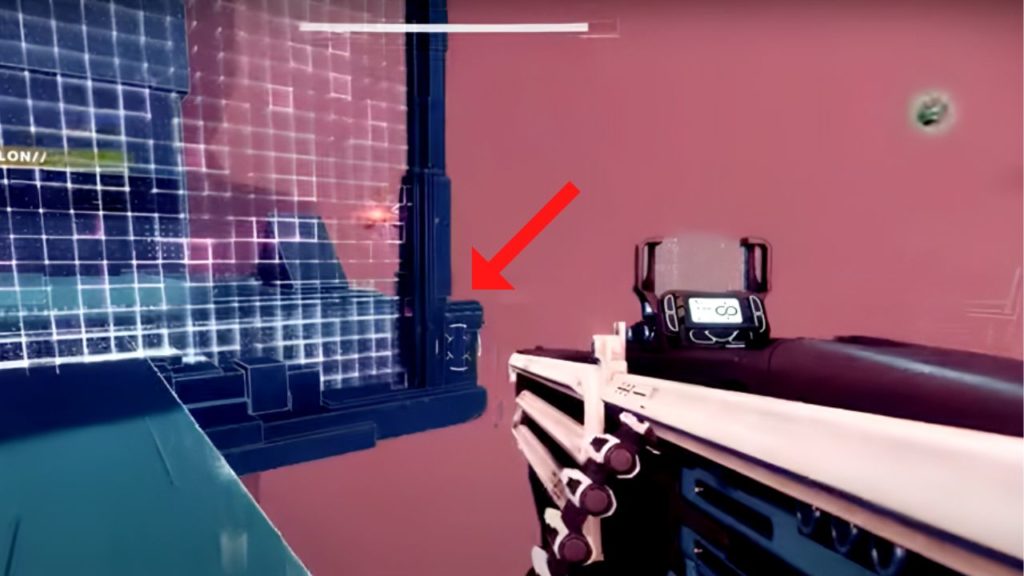
Move across the platform and round the corner. At the end of the path, there’s a slope leading downwards with a narrow platform at the end of it.
Head down and land on the narrow platform. Across a considerable distance are a cylindrical tower and a platform that you need to jump to. Again, you’ll need to jump and use your mechanics to make it there safely.
Then, travel across the runway and through the portal. As you land, place your Rally Banner and be prepared to fight.
Defeat the Final Boss Brakion
Defeating Brakion is no cakewalk, as it has three damage phases. In phase one, take care of the grunts first so that you’re not taking too much extra damage. Then, move on to damaging Brakion. Use the walls around you for shelter and move around as he teleports. And eventually, you’ll get to the second phase.
As soon as you hit the second phase, Brakion disappears. Kill the remaining Vex and take the portal to the next area. Like before, kill the Wyverns and Hydra first, and be careful of the Harpies. And then kill both the Cyclops.
You’ll also notice that the objective has changed. You must now ‘Override Brakion’s Access Gate,’ meaning another puzzle to solve.
On the right side of Brakion, there’s a triangle on the ground. In this triangle, there are five symbols you need to memorize.
Once you’ve memorized them, go to the center column and shoot the corresponding shapes. A damage phase will begin once you’ve entered the correct code. You have 30 seconds to do as much damage to Brakion as possible.
At the end of the 30 seconds, the firewall goes back up, and you’ll need to repeat the process. But after the second damage phase, the symbols will be on the left side of Brakion. And eventually, you’ll enter the third phase.
As soon as you enter the third phase, Brakion disappears, and you must take the portal to the next area.
In this last phase, be prepared, as Brakion will start chasing you. Like before, focus on eliminating the grunts and the Minotaurs. And use the walls for shelter.
Focus on using your abilities where necessary, healing when you can, and taking safe shots because if you die, you will have to restart the Brakion fight from the beginning. So, take your time, and you’ll eventually kill him.
After defeating Brakion, follow the mission marker and draw the object from the ground. As soon as you do, your mission will be marked as ‘complete.’ Go to the H.E.L.M., and turn in your quest to claim the Vexcaliber Exotic Glaive.
The NODE.OVRD.AVALON mission in Destiny 2 is extensive and challenging, but this is how to complete it to get the Vexcaliber Exotic Glaive.

