
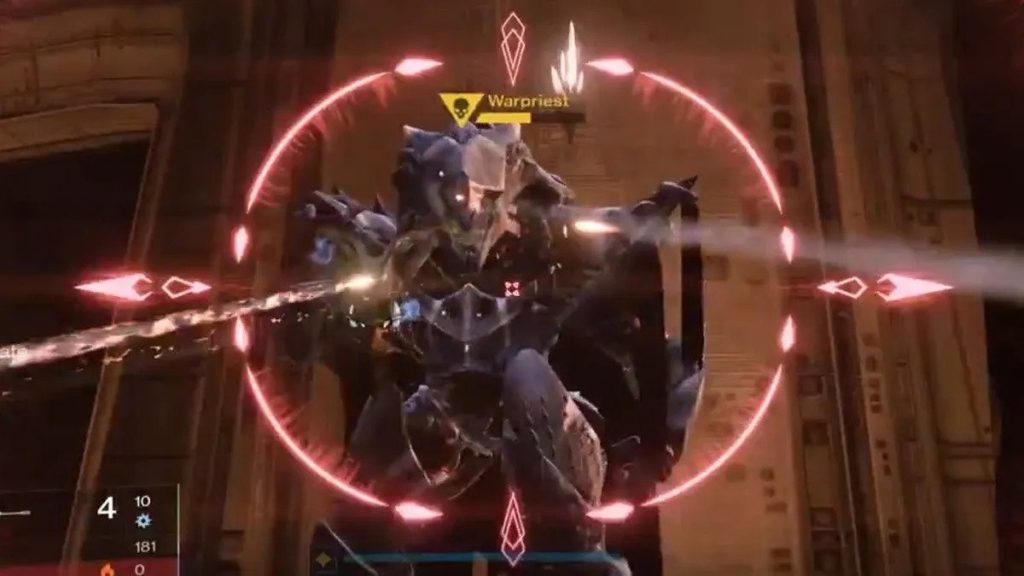
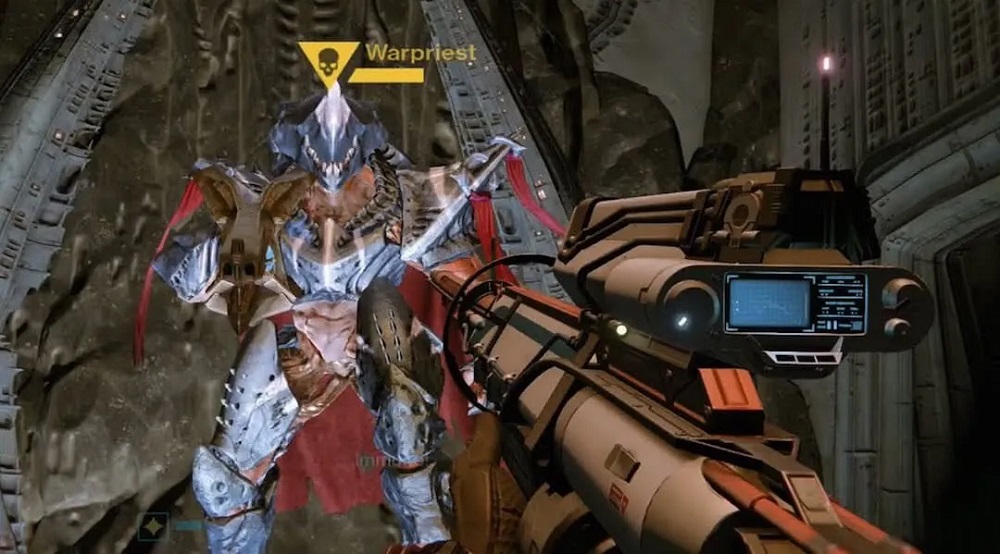
Destiny 2‘s newest raid, King’s Fall, takes you through a massive battle with several enemies before you kill Oryx, the Taken King. But before you get to Oryx, there are some major obstacles blocking the way. The first of these obstacles comes in the form of the Warpriest who is the first major boss in King’s Fall.
How to beat Warpriest in King’s Fall
The Warpriest is an Ascendant Hive. These beings are special Hive warriors that are personally chosen by Oryx, the Taken King, and given the title of Ascendant Hive, making them the most powerful champions in his court. Ascendant Hives also have legions of powerful Hive warriors under their command, making Warpriest a very dangerous commander.
Warpriest’s accomplishments speak for themselves, having conquered 585 different worlds while under the service of Oryx. He is ruthless and bloodthirsty, strictly following the principles of slaughter, victory, and tribute. These tributes are provided to the Worms all for the sake of his lord and master, Oryx. Now he guards the path to Golgoroth’s Cellar in the King’s Fall raid.
As powerful as Warpriest is, he has his share of weaknesses and we will show you the best ways to defeat him.
Starting out
Being the first boss in King’s Fall, Warpriest is quite powerful in his own right but is manageable enough with a coordinated team. To start off, his boss arena is quite huge and it is split into three separate areas. It is quite difficult to focus on every area together so the best course of action would be to take the party of six and divide it into three teams of two.
Each time should tackle one of the three areas in the boss arena, with one team handling the middle area, another handling the right area, and the final team handling the upper area. After deciding which team handles what location, it is important to note what your weapon and skill setup will be.
In terms of offensive capabilities, it makes sense to run a combination of any of these weapons and abilities for maximum effect.
- Sniper Rifle
- Linear Fusion Rifle
- Divinity, the Exotic Trace Rifle
- Golden Gun
- Well of Radiance (Warlock Super ability)
- Ward of Dawn (Guardian Super ability)
Apart from these weapons and abilities, if you happen to have additional long-range damage capabilities, they are more than welcome in this lineup. Once everything is set up, it’s time to take down this powerful Ascendant Hive.
Initial setup strategy
After everything is set up, you’re ready to begin your first boss fight in King’s Fall. When the fight breaks out, you should notice the Warpriest appearing in the furthermost region of the arena. You cannot fight him at this point and it would be best to get your teams ready to take on the horde of Hive warriors that will spawn constantly.
Once the Hive warriors start trickling down to a crawl, you will notice new Hive warriors spawning in with the rest. These are called Revenant Knights and one of them will spawn in each section of the room, dashing ahead with the horde. This is when each time needs to focus their firepower to take out the Revenant Knights before pushing forward.
Killing all the Revenant Knights will begin the glyph sequence. This involves your middle team stepping on the plate that shows up. This will cause a rock to glow white on one of the three pillars straight ahead. There is one pillar for each section of the arena and whenever that section’s corresponding rock glows white on their pillar, that team needs to step on their plate.
Once that team steps on their plate, the rock will glow white on a different pillar. This is when the corresponding team steps on their plate as well. Now without these two teams getting off their plates, the final team needs to step on their plate to start the damage phase.
Damage phase strategy
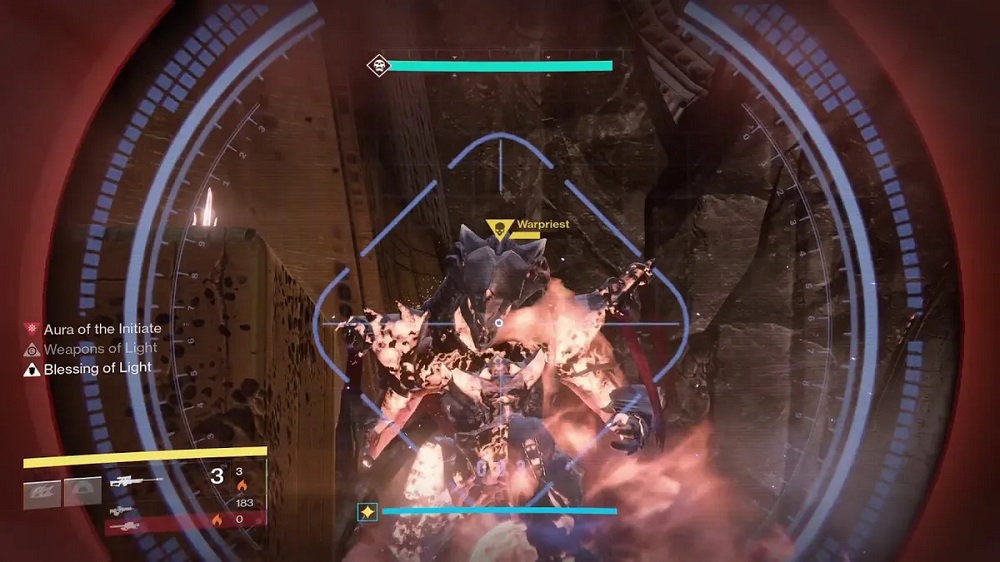
After the final team steps onto their plate, the glyph sequence ends and the damage phase will begin. This is when you concentrate all of your firepower onto the Warpriest but there are some things to note first.
Firstly, the last team to step on their plate will be granted a buff called the “Brand of the Initiate.” This buff is important to this boss battle because only the team that has this buff placed upon them will be able to do any damage at all to the Warpriest. Players that have this buff on them can be identified by a glowing red aura around them.
This buff will only last for 15 seconds, so it is best to take action quickly. While this buff is active, unleash hell on the Warpriest with everything your team has. Do this until the buff wears off at which point you should see a Taken Knight in the area. This specific type of enemy is called a Brandstealer and he needs to be killed to prolong the damage phase.
One thing of note is that the Brandstealer will never spawn in the area where the last plate was, so it should be easy to identify the areas he might pop up in.
Final phase strategy
Killing the Brandstealer will spawn an orb that the team should get. Once you have the orb, take it and run to the location where your Brand of the Initiate buff holder is. You can steal this buff from the aura holder just before it expires. Doing so will extend the damage phase and let you keep firing on the Warpriest.
While this is being done, another team should search for the other Taken Knight in the location that had not been checked the last time. Kill him in the same manner as you did the first one to get his orb and repeat the steps again. This will refresh the damage phase once more. If done perfectly, you should easily get over 40 seconds to do as much damage to Warpriest as possible.
Once the damage phase ends, the Warpriest will unleash a massive attack that will wipe out any team not hiding behind a pillar. After the attack ends, one of the pillars will break and another damage phase will begin. This will repeat till all of the pillars fall, giving you a total of four damage phases to defeat the Warpriest.
Repeat the same steps during all of the damage phases and you should take down Warpriest fairly quickly. If your damage was not high enough, your team will be wiped out after the fourth damage phase, so having as much damage as possible here is the key to succeeding.
