Shaders are for games, like what filters are for photos. They’re used to enhance and adjust the visual elements of a game. They’re a mod that aims to make your gaming experience better. This is usually added to games that are not supposed to be aesthetically pleasing, like Roblox.
Although you can do plenty of cool things in Roblox, the graphics of the game are very dry compared to triple-A games. You can, however, always use shaders to fix this. Here’s how to install a shader in Roblox.
Shader installation guide for Roblox
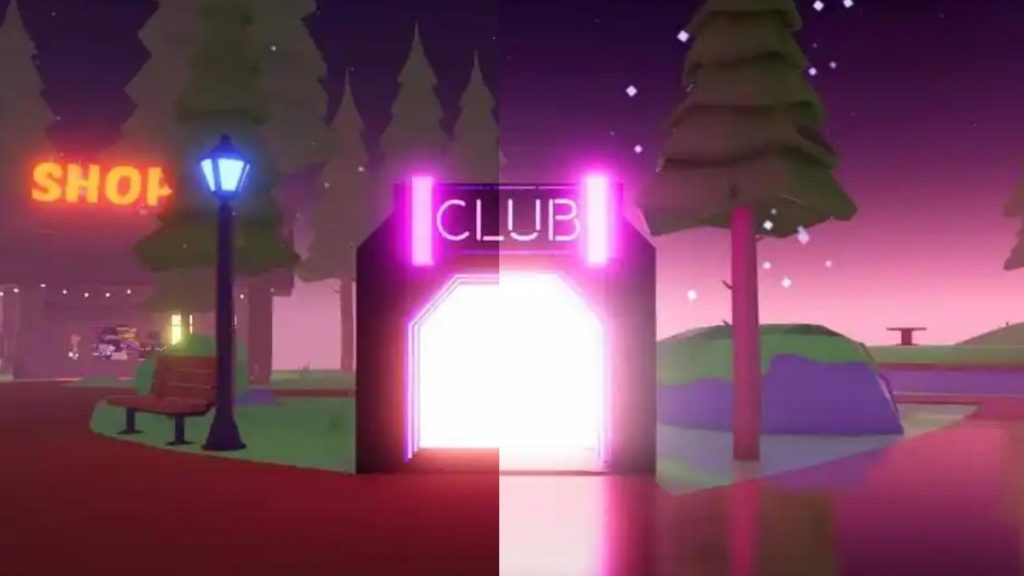
We recommend two shaders—RoShade and ReShade. These are the most trusted shaders in the market right now so we decided to go with them. Just follow the instructions on how to install these shaders and you’ll be good to go.
Note: The process of installing Reshade and Roshade are the same. We’ll just be using Roshade for example purposes.
- Step one: Download the official files from Reshade and Roshade’s official websites.
- Step two: Once you’ve downloaded the chosen file, locate the file.
- Step three: Open the file, and you’ll see some files. Click RoShade setup.exe
- Step four: You’ll be asked to extract or run the file. Just click the Run button.
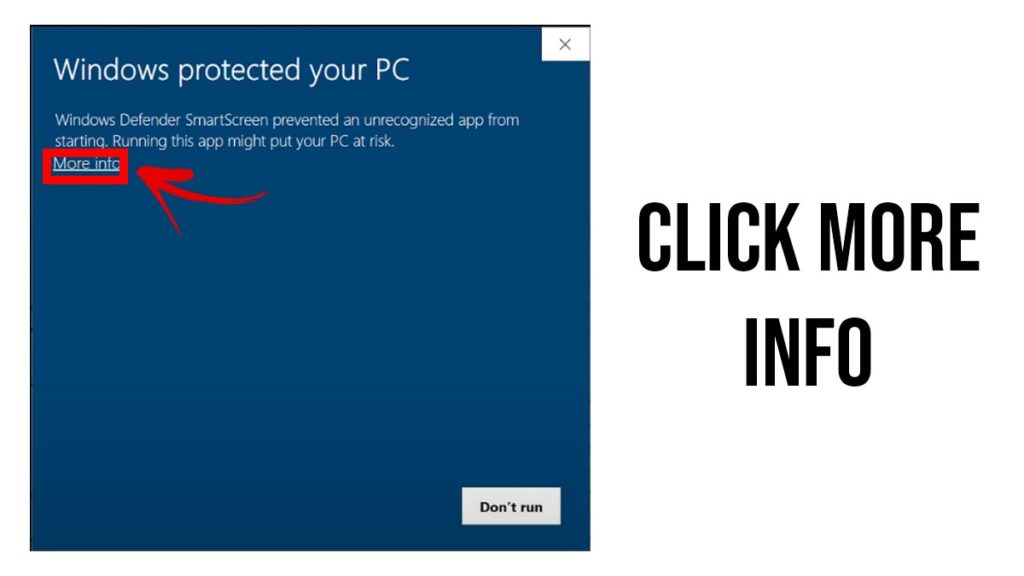
- Step five: If your anti-virus prompts you, just click more info and run anyway.
- Step six: You’ll then be asked what installation mode you want to do and just click the recommended setup.
- Step seven: The setup window will pop up and just click Next.
- Step eight: After the last window, the installation will start.
- Step nine: Once installation is done, the shader will run automatically.
- Step 10: Press F8 to toggle the shader on and off to see the difference.
Is it safe to install a Shader in Roblox?
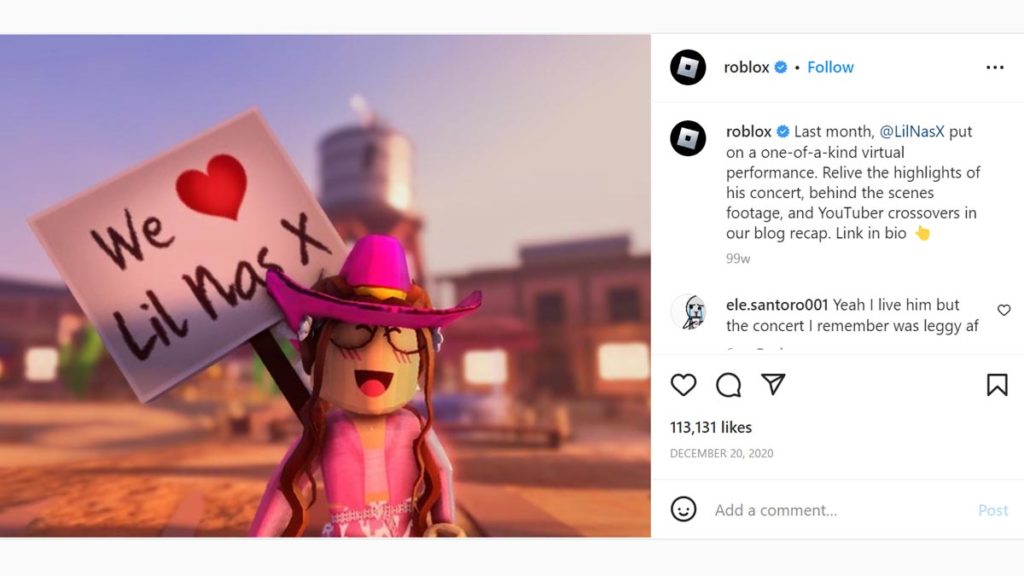
Shaders are just aesthetic mods, and it doesn’t affect anything in-game aside from the visuals. You can see some of your favorite content creators and the official Roblox themselves using shaders.


Published: Jan 24, 2023 08:15 am