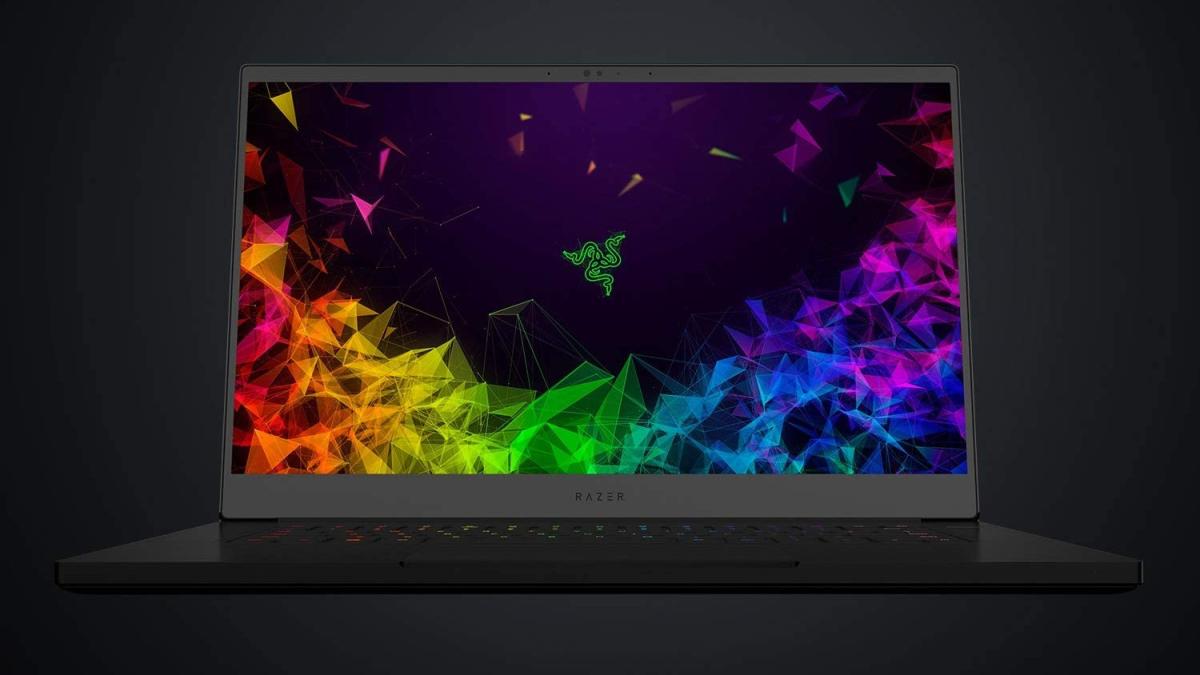
Using a laptop as a second monitor is a nifty way of expanding a display in a pinch, and it doesn’t require any cabling or ports. Some users may also find it cheaper and more convenient to use their outdated laptop as a display instead of spending cash on a new monitor. The only requirement for using a laptop as a monitor is that both devices must be on Windows 10.
Recommended Videos
Start with the laptop being used as a monitor
- On your laptop, click on the Windows icon.
- Navigate to Settings, then System, and click on Projecting to this PC.
- A window will open with the settings. There will be a text saying Add the Wireless Display optional feature to project to this PC with highlighted text below saying Optional features.
- Click on Optional features.
- Click on Add a feature.
- Another window will pop up with a list of features.
- Scroll to the bottom, and tick the checkbox for Windows Display.
- Click on Install.
- Go back to Projecting to this PC in System Settings.
- A window will open showing the current settings. While the default settings are fine for many users, others may prefer a higher level of security and require a pin for devices before they pair with the laptop.
- Click on the highlighted text saying Launch the Connect app to project to this PC.
- A window will pop up saying that the laptop is ready to connect wirelessly.
Switch to the PC projecting to the laptop
- On your main PC that will project to the laptop, press the Windows Key+P to bring up the projection menu.
- Choose the option that best suits your needs, and then click on Connect to a wireless display.
- The PC will detect the laptop and project to it.
Troubleshooting
Some users may experience connectivity issues, but these are usually easy to fix. Here are a few quick fixes that can solve connectivity issues.
- Ensure both devices are running on the latest version of Windows 10.
- Open Display Settings and click on the Detect button.
- Restart both devices.
Dot Esports is supported by our audience. When you purchase through links on our site, we may earn a small affiliate commission. Learn more about our Affiliate Policy


Published: Sep 27, 2021 12:51 pm