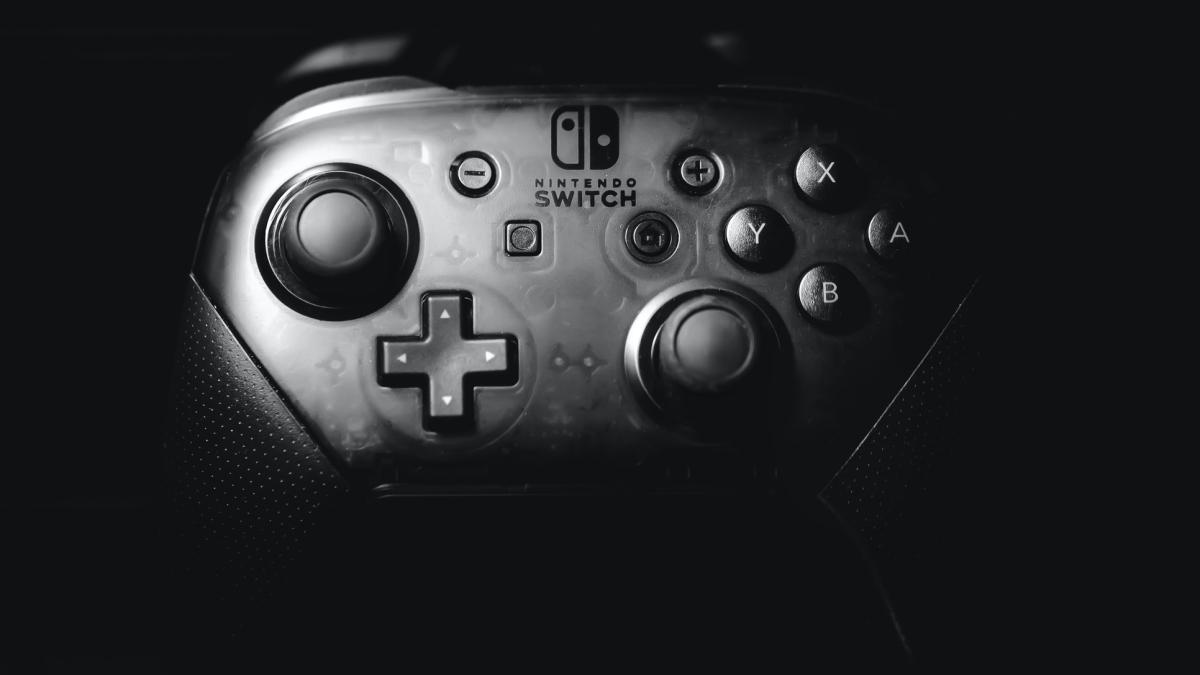
One of the best parts of PC gaming is how much customization players have at their fingertips. Along with keyboard and mouse control for games, players can just as easily connect their favorite controllers to their computers. While Xbox controllers are often the standard for PC players, it is also easy to use PlayStation or Nintendo brand controllers on PC.
With more than 120 million monthly users on Steam, it is often the go-to launcher for PC gamers. Here is a quick guide on how to use a Nintendo Switch Pro Controller on Steam.
Luckily, it is simple to connect a Nintendo Switch Pro Controller to your computer via a USB-C connection or wirelessly with Bluetooth. However, there are a few additional steps needed to make sure this controller can run flawlessly with Steam.
- Once your Nintendo Switch Pro Controller is connected to your PC, open the Steam application.
- In the top left corner of the app, click on Steam, and then click on Settings.
- Once in Settings, browse through the list of options on the left hand side and click Controller.
- This will show the Controller Configuration page.
- Click on the General Controller Settings button.
- Click on Switch Pro Configuration Support to enable the Switch Pro Controller to be used with Steam games.
- With the Nintendo Switch Pro Controller connected, customize the complete button layout for your controller.
- This is important to do since Nintendo’s button layout of A, B, X, Y, is different from the standard Xbox button layout.
After customizing your ideal button layout for your Switch Pro Controller, it should be good to go with Steam games that support a gamepad.
This article includes affiliate links, which may provide small compensation to Dot Esports.


Published: Oct 27, 2021 02:24 pm