The Dormant N’Erudian Facility in Remnant 2 is a challenging dungeon that comes with an interesting twist. This dungeon is on a timer, and if you don’t clear out all enemies quickly enough, then a poisonous gas will be released, killing everything, including you. It does contain some secrets and interesting bits of loot for those who manage to complete it.
Complete Dormant N’Erudian Facility walkthrough
Map and Legend
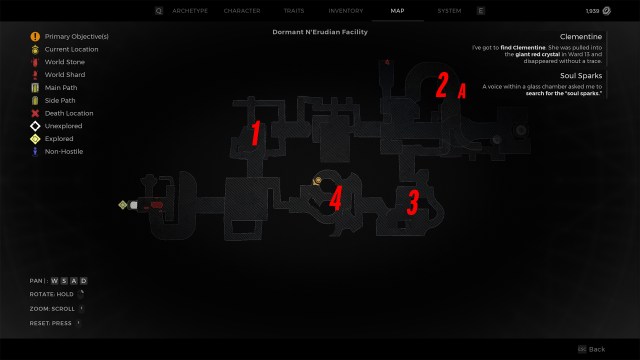
- Points 1 through 4 are major enemy spawn events. Entering these areas and killing some enemies will force a large wave and a tough enemy to spawn.
- A – this part of area 2 is a broken railing that will give access to a secret upstairs level. Ignore it when you are first looking to clear the dungeon.
Dormant N’Erudian Facility Hints and Tips
- Focus ONLY on clearing the enemies in a single run. Don’t get distracted as once all the enemies are dead and the dungeon is complete they will not respawn.
- You will have six minutes to complete the dungeon once the double doors have opened. This could vary depending on game difficulty level.
- Don’t be afraid to return to this dungeon with additional upgrades. You can use the Way Stone at the start to head to Ward 13 to upgrade your weapons if you need to.
- The squid-like enemies have a weak spot in their heads. Ignore the temptation to shoot them in their fleshy bodies.
- During the four major spawn waves, enemies will always spawn both in front and behind you. Don’t get too caught up in a single direction, as the threats are all around.
- Fire damage is a major boon here when taking on the larger of the squid enemies.
- The big squids will do a double lunge attack with high stagger. Dodge this at all costs.
Detailed Walkthrough
This dungeon is quite straightforward when you understand that you are simply running in a circle, killing four distinct groups of enemies. When you first move through the main double airlock with the red light on it, you will come to a two-story room. This gives you the option to go left or right. I would suggest going left, as it is just an easier route overall due to enemy spawn placements.
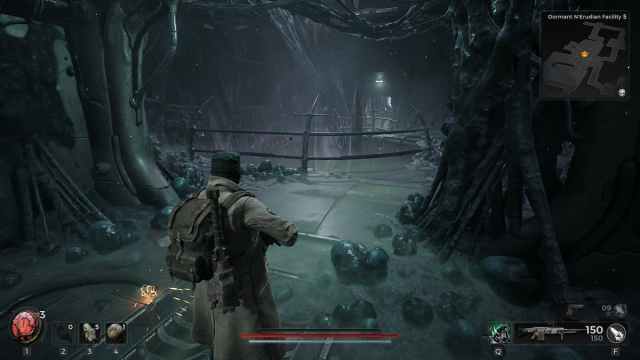
The first enemy spawn area consists of a large room with a platform running around a shallow pit. There will be a ramp to your left and openings on the far side, both high and low. Enemies will flood in from here and from behind you. They will mostly be beetle-like enemies, some squid enemies, and then one or more of the large squids with bone armor. These are the real issue, as they are tough, and you will need a fallback route as they will pressure you hard. Even if you have damage mods, you shouldn’t need them here. You can stand near the ramp to your left, forcing both groups to take long routes to you.
When you are done, it doesn’t matter which way you leave. Just keep moving forward, as this entire dungeon is one large circuit. On your way to area two, you might notice a small room with a large machine in the center. There should not be any enemy spawns here, but there will be a random loot spawn, so grab it if you wish.
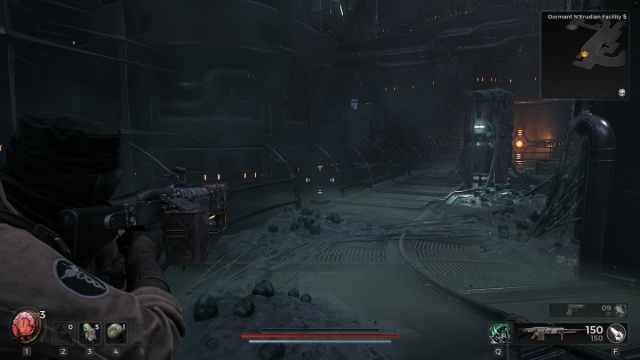
You will come to a room with a huge purple energy generator in it. This is your next enemy spawn room. There is a broken railing on the left side of the platform that goes through this room, but ignore it for now. This will lead to a secret upper level, and you can come back here when the dungeon is clear.
Once again, beetles and squids will come at you, accompanied by the tougher squid enemies. This room gets pretty busy, and you don’t have many options as you are trapped in the middle of the looping platform. Activate any damage mods and tear through enemies as fast as possible. If you really need to, focus behind you and fall back, as the toughest enemies come from in front of you.
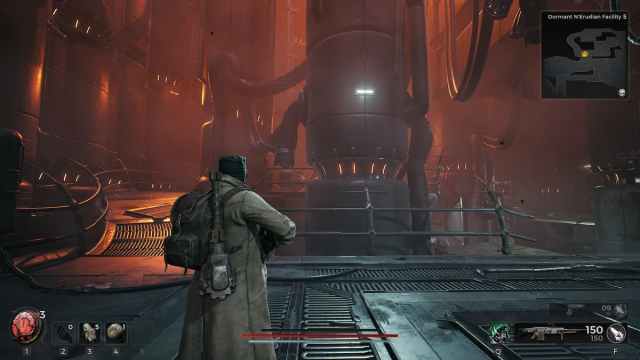
The third enemy spawn area is another smaller room split into two levels. This one is pretty easy, and you simply need to hold the higher platform, forcing one group to climb up at you while the other is forced to walk a long route around to try and get at you.
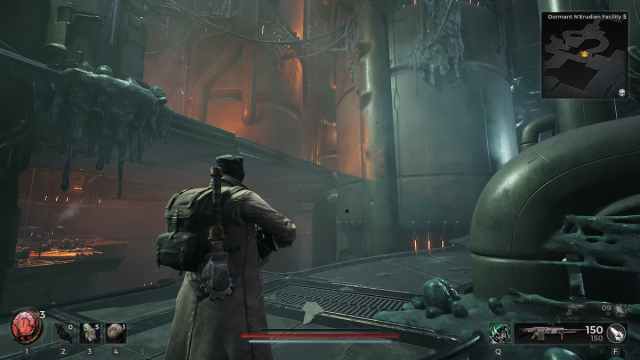
The final enemy spawn area has an added threat because there is a large open area you can fall down into and die. The room is split between a high and low platform, with a ladder that joins them on one side and a looping platform to join them on the other. If you get pushed back here, fall back toward the previous enemy spawn area. Being pushed by the wave and not being able to see where you are going can easily send you over the ledge.
Once the final enemy is dead, the mission is complete, and the facility will stop the countdown. You are now free to explore as you like, so head back and grab any loot you were unable to pick up.
How to open the locked glyph door
To open the locked glyph door, make your way back to the section marked with A on the map above. You will find the broken railing and can carefully drop down onto the pipes below. Walk down them until you reach a green-lit area, then head inside. Follow the tunnels until you reach an elevator, and you can travel upward. Explore the top floor fully to find some crates, a checkpoint, and a Biome Control Glyph sitting on top of a console. Bring this back to the glyph door, and you will be able to open it and get the loot inside. You should find a random ring and the Memory Core II quest item. We also have a guide to help you find out where to take the Memory Core II, if you need it.







Published: Jul 21, 2023 04:40 pm