Rotary encoders serve many purposes, and they are one of the most customizable pieces of keyboard-compatible hardware. Whether you’re using one for gaming or productivity, here’s everything you need to know about how to use a rotary encoder.
What is a rotary encoder?

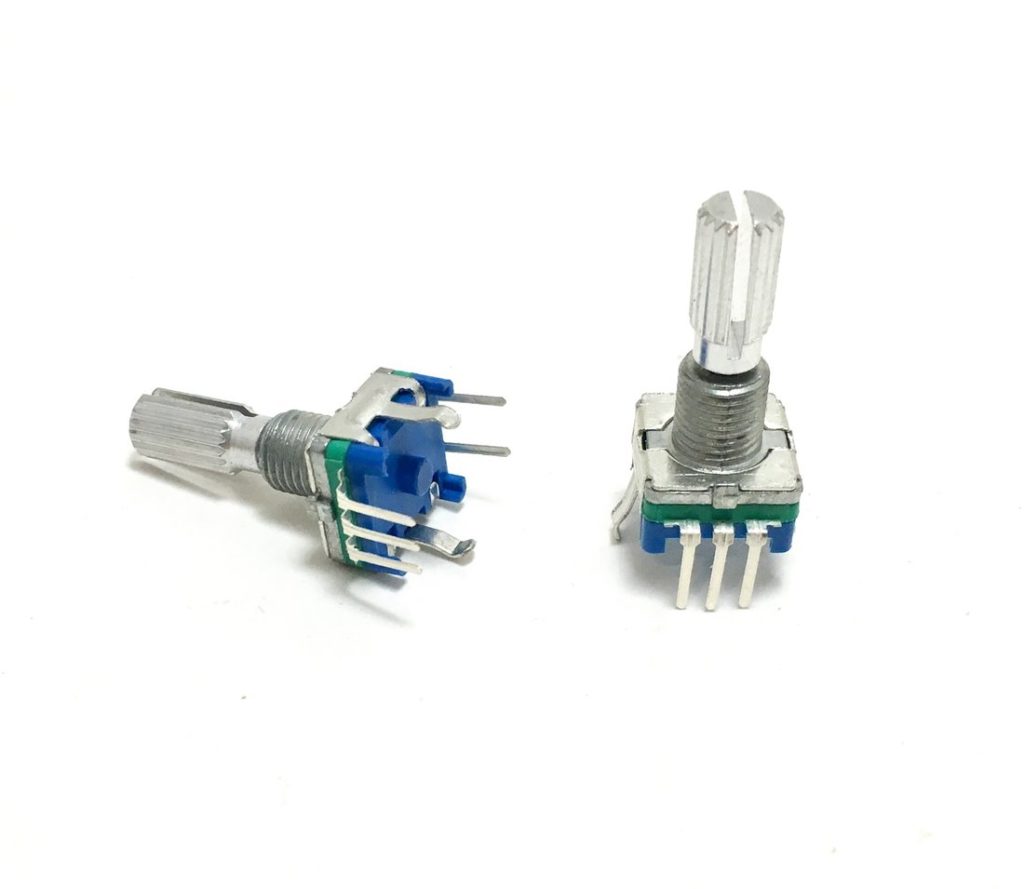
A rotary encoder is a knob-like device that can perform various actions programmed by the user. These devices are typically inexpensive at just a few dollars per unit and come in different styles including tactile and linear. Tactile rotary encoders offer clicky feedback when turning, which is ideal for users who want feedback for actions that require a bit more precision. Linear rotary encoders do not provide any sort of feedback when turning and are typically used for volume adjustment and general scrolling.
How do rotary encoders work?
Rotary encoders are simple components that convert a physical turn of the knob into a digital signal. Twisting a rotary encoder either clockwise or counterclockwise converts to a digital signal that is sent from the rotary encoder to the computer to perform any programmed action. These actions typically require a repeated button press, making a rotary encoder ideal for performing actions like volume adjustment, scrolling through a webpage, tabs, or windows, and mass undoing or redoing actions. Without a rotary encoder, these actions take significantly more time but using one makes performing these actions much faster and easier.
Since rotary encoders are basic components, they do not come pre-programmed and need to be programmed manually to perform the desired actions. You’ll also need to set up a build environment that will support your rotary encoder. A pre-built environment can be found here. Once you’ve set up your build environment, you can now program your rotary encoder to perform whatever action you need. This will require a bit of programming experience, but if you’re just looking to perform some basic functions like volume control and scrolling, the code snippets for some of those actions can be found here.
Users may choose to install a rotary encoder on their keyboard by using a soldering iron. Doing so requires stripping the keyboard to its bones and soldering the rotary encoder directly to the printed circuit board (PCB) before rebuilding the rest of the keyboard. Dealing with hot solder can be dangerous, so only try this after taking proper safety precautions.

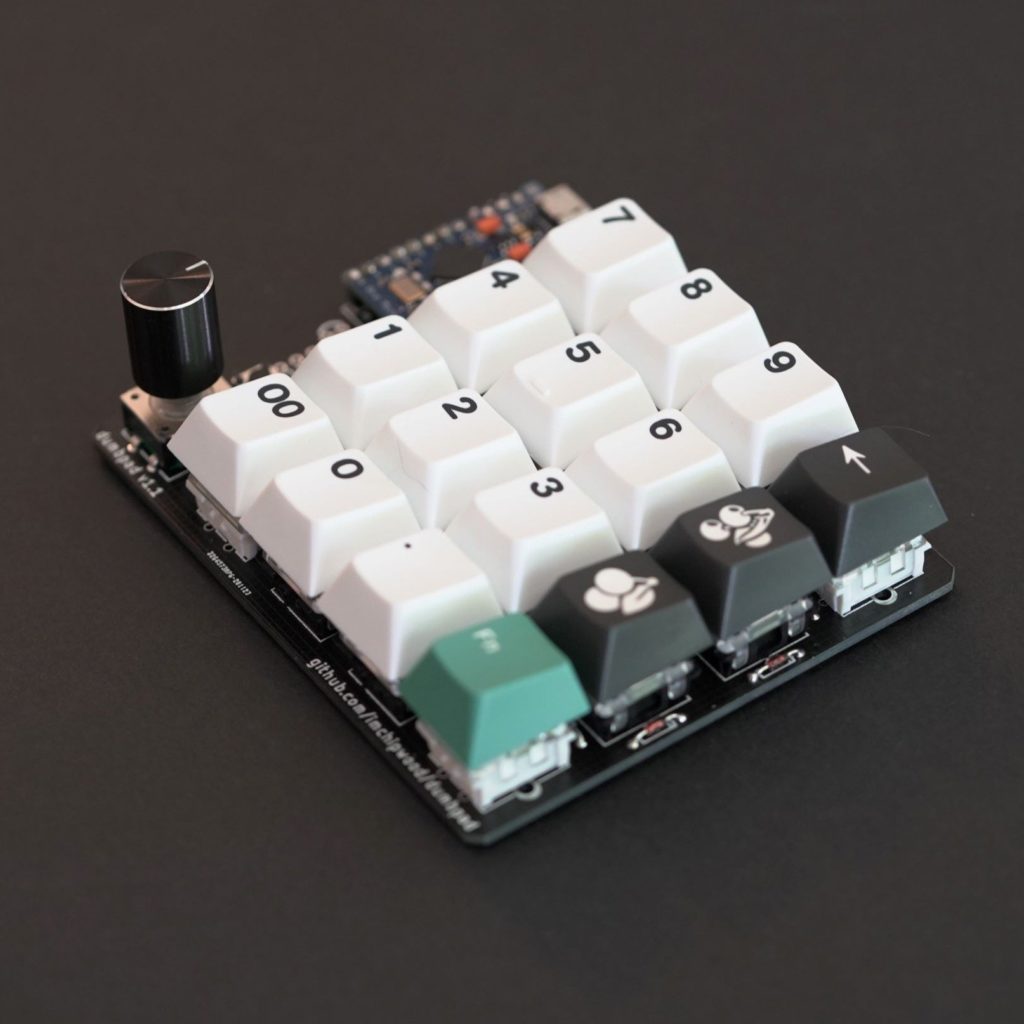
If you’re not comfortable installing a rotary encoder onto a keyboard yourself, there are also plenty of different options, like macro pads, that support rotary encoders. You can find all kinds of rotary encoder macro pads like the BDN9, which features three rotary encoders and six different macro keys for about $20. There’s also the Dumbpad 4×4 macro pad with support for up to two rotary encoders for $10 at CustomKBD.

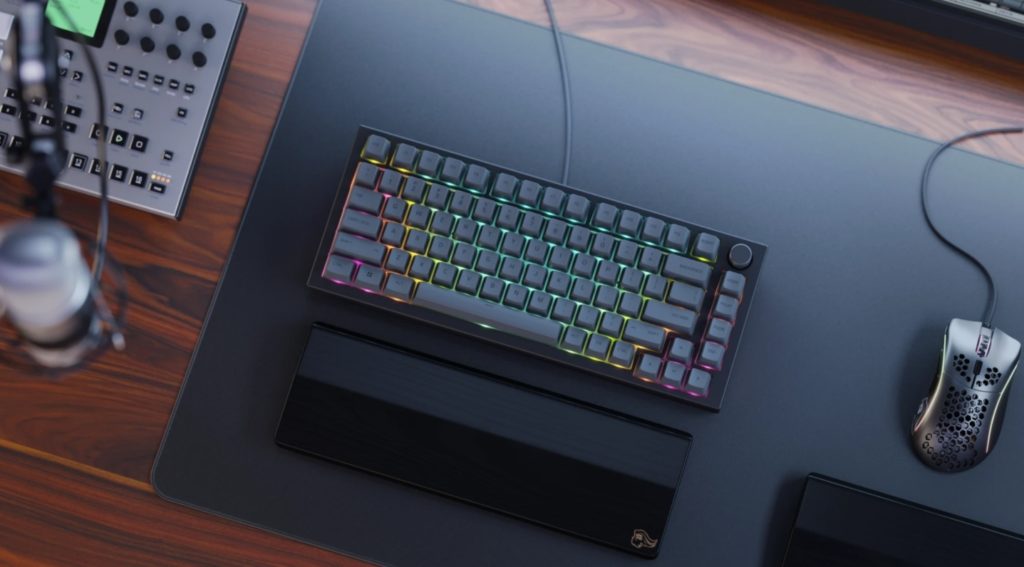
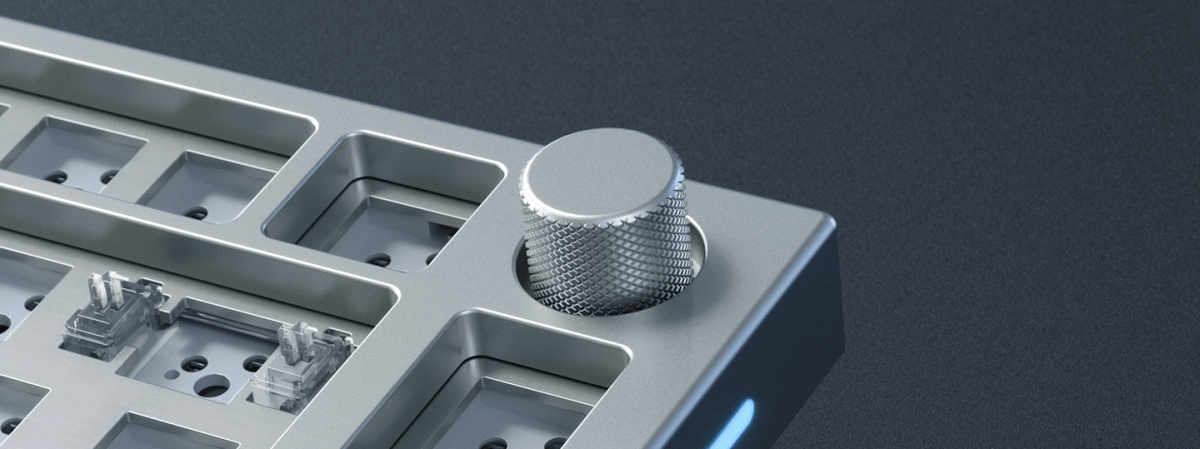
Another option is purchasing a keyboard with a pre-installed rotary encoder like the Paragon 75% keyboard from Vala Supply coming in 2022 or the Glorious GMKK Pro keyboard. The only trade-off with these keyboards is that they are barebones keyboards, which means you’ll have to buy switches and keycaps. However, this may not be an issue for some users who may enjoy having more control over their keyboard’s aesthetics and feel.

