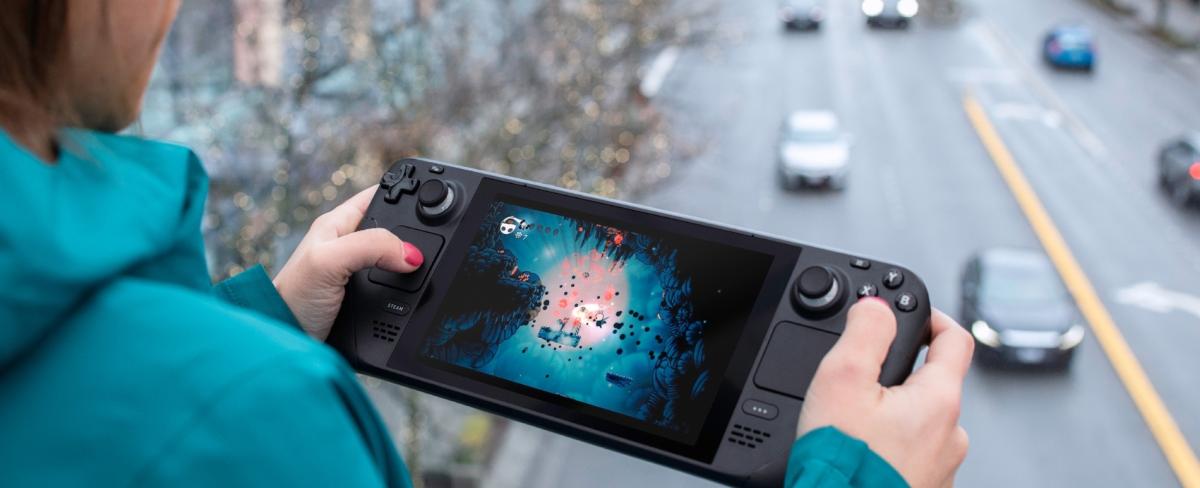
The Steam Deck may have shipped as a Linux machine, but Valve didn’t put any restrictions on what is allowed to be downloaded – including new operating systems. Valve’s handheld is just a smaller PC after all. Being just another PC, you can easily install Windows on Steam Deck in a couple of different ways.
While you have the freedom to install Windows on Steam Deck, you may run into some hiccups along the way. With the Windows drivers for Steam Deck currently unfinished, issues like non-working speakers and potentially weaker performance will pop up. Still, running Windows on Steam Deck will grant access to launchers like the Epic Games Store and services including Xbox Game Pass, which may be invaluable to certain gamers. Until the drivers are finished, you likely won’t get the Windows experience you’re accustomed to on a desktop.
Since Windows isn’t in the best state, you’ll want to be careful while installing the OS onto a Steam Deck. If you get lost along the way and need to bail out, check out Valve’s recovery guide.
What you need to install Windows on Steam Deck
Since we’re covering a couple of different ways to install Windows on Steam Deck, you’ll need a few things before you get started.
- MicroSD card
- USB-C flash drive
- If using a USB-A flash drive, you’ll need to pick up an adapter or USB-C hub.
- USB-C to Ethernet adapter
You won’t need all of these items for each installation method. If you’re going to install Windows on Steam Deck using the internal SSD, then you’ll need the USB-C flash drive or a USB-A drive with an adapter or hub. If you’re using the microSD method, then you’ll need the aforementioned storage device.
How to install Windows on Steam Deck using its internal SSD
Before you can get to work on installing Windows on your Steam Deck, you need to create installation media for Windows, in this case, a Windows installer. This is where your USB-C flash drive will come into play.
- Create a Windows installer using Microsoft’s guide.
- Turn off the Steam Deck.
- Plug in the USB flash drive.
- Enter the boot menu by holding the Volume Down button and powering on the Steam Deck.
- With the D-pad, navigate to EFU USB Device, press A to select.
- The Steam Deck will boot and the Windows installer will launch but only the touchscreen will work.
- Choose your language and hit Next.
- Tap Install Now.
- Activate Windows using your product key or select “I don’t have a product key.”
- Select your Windows version.
- Hit Next.
- Agree to terms and conditions.
- Hit Next.
- Select the Custom Windows Install option.
- Delete the partitions to ensure Windows has enough space.
- There will be several partitions and none of them can hold Windows. Deleteing the largest seems like the best bet here, but if you’re feeling skiddish at this point, you can abandon the process or try using the microSD method.
- Now, choose Drive 0 Unallocated Space.
- Hit Next.
- Windows will now install.
- Your Steam Deck will reset itself.
- Just as it is on any PC, follow the Windows setup steps.
- Your Windows desktop should appear.
- If your display is still sideways, go to Start.
- Hit Settings.
- Navigate to System.
- Click Display.
- Change to Landscape.
With Windows installed, there are some pretty glaring issues that have yet to be addressed. For starters, you’ll also notice that your speakers may not work properly. Issues are getting resolved as the drivers are finalized, but as of this article’s publication, it is what it is.
How to install Windows on Steam Deck using a microSD
To begin this process, you need to create another form of installation media, much like we did in the internal SSD method. You can follow Microsoft’s guide to create your Windows ISO.
In addition to creating the installation media, you’ll need to turn your MicroSD into a bootable drive. This can be accomplished with the help of many different programs but a trusted solution is Rufus. It has a familiar interface with convenient drop boxes that can take some of the jitters out of first-time users.
- Go to Rufus.
- From the devices, select your microSD card.
- Select your Windows ISO under Boot selection.
- Under Image option, select Windows to Go.
- Locate the Partition scheme section.
- Choose MBR.
- Under the advanced options, select Use Rufus with BIOS ID.
- Hit Start.
- It’s normal for the process to take some time.
- Once completed, eject the mciroSD from your PC.
- Ensure the Steam Deck is turned off.
- Insert the microSD into the Steam Deck.
- Hold the Volume Down button and power on the Steam Deck to enter the boot menu.
- Select the microSD card in the menu.
- Windows will boot.
- Follow the setup instructions.
- If your display is flipped, hit Start.
- Navigate to Settings.
- Go to System.
- Hit Display.
- Select Landscape.
An important note: since Windows is stored on the microSD card and not the Steam Deck’s internal SSD, the system will automatically boot from the SSD into SteamOS upon restarting. To boot back into Windows, you’ll need to enter the boot manager like before and select the microSD card. At the time of writing, all of the same driver caveats apply as they did in the internal SSD method.


Published: Mar 3, 2022 05:23 pm