Contrary to popular belief, Ready or Not is not a game where the object is to kill the bad guys. The best way to finish each mission in Ready or Not is to ensure nobody dies, not even the bad guys.
Having the best gun means you can’t fire it fast enough. But even a fast-firing weapon won’t help if you are dealing with armored goons. Because of this, it’s important always to pick the best loadout for each mission type. I will tell you the three loadouts I generally switch between during most Ready or Not games.
How to pick the best loadout in Ready or Not
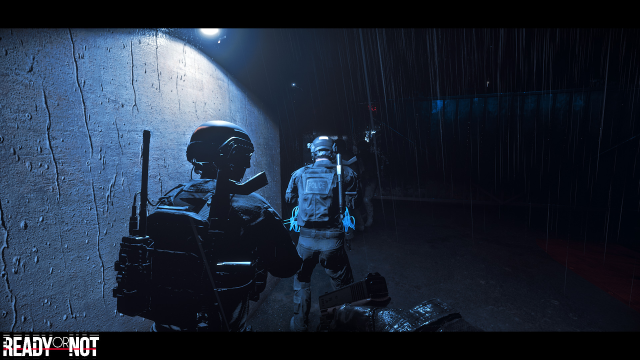
Something I want to stress about this game is that you can’t play it with just one loadout. There isn’t a universal set of equipment that will work in every situation. At the same time, no matter what you bring to each mission, it won’t be enough.
What I mean by this is you have to coordinate with your teammates. Ensure each team member is equipped with different weapons, armor, and tools. Make sure each of you has an assigned role. The more diverse your team is, the better you’ll generally do. Oh, and bring as many flashbangs and gas grenades as you can. Seriously, you can never have too many, and they make short work of most bad guys.
Best Rogue loadout
This is a support role in Ready or Not, but don’t let that discourage you from picking this loadout. You’ll be in charge of doing almost everything unrelated to shooting enemies. For this loadout, you need the lightest armor, smaller rifles, and plenty of gadgets. Kevlar armor may be the weakest but it’s also the one that lets you move the fastest. For your gadgets, I highly recommend you bring a mirror gun or a breaching shotgun, depending on the situation. I also recommend you use a gas mask and equip yourself with gas bombs because you’ll be able to clear an entire room of enemies without even firing a gun. For missions in the dark, grab some night mission goggles and an infrared scope.
As you can see, the rogue loadout is very situational and flexible depending on the mission. If you like to be the handyman of the group, this is the loadout for you.
- Weapon – Any small rifle (I recommend the MK18)
- Armor – Kevlar Light Armor
- Sidearm – Any
- Tactical gear – Breaching Shotgun, Gas Mas / Night Vision Goggles, Flashbangs / Gas Granades, Door Wedge
Best Tank loadout
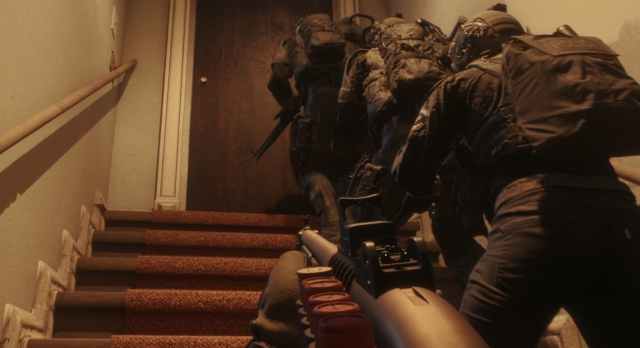
If you prefer to be the first to face the enemy and take a few hits, the tank loadout may be for you. I personally don’t like playing this build all that much, but it is very useful, especially when dealing with highly armored enemies. The idea is to wear the best possible protection and block enemy projectiles. I recommend you pick the Police Shield but equip Ceramic armor. Why not Steel? Because Steel makes you move extremely slow and you really don’t need that much protection when wielding a shield. Of course, while holding the shield, you won’t be able to hold a big gun, so side arms will be your most important weapon.
- Weapon – Any small rifle (I recommend the MK18)
- Armor – Ceramic Medium armor
- Sidearm – Any (I recommend the USP45)
- Tactical gear – Shield, Door Wedge, C4
Best Assault loadout
If you want to actually kill bad guys and not worry much about preparation, this is the loadout for you. As an assault, you’ll be in charge of taking out bad guys. With that said, you won’t be first in line. Instead, you’ll cover behind a tank and use a long assault rifle to take out those harder enemies. When there are multiple enemies, it’s a good idea to bring some flashbangs to even the odds. For armor, I also recommend you use Ceramic as it provides a good balance between mobility and armor. Everything else should be armor-focused because, while you won’t be the first to get fired at, you will take some damage. Every other equipment slot should be used for various items that can further support your team in Ready or Not.
- Weapon – Any long-barreled Assault Rifle (I recommend the SR-16)
- Armor – Ceramic Medium armor
- Sidearm – Any
- Tactical gear – Any that will help out your team
If you’re interested in more Ready or Not guides, you can also read about how to get an S rank and how to fix the Checksum Mismatch error.



Published: Dec 27, 2023 04:22 pm