
The Hunt for the Crown of Ukuta may feel like a wild goose chase in Skull and Bones, but it can be done, and there is a treasure chest of gold at the end of the rainbow.
Freeman’s Lost Treasure is a long investigation in Skull and Bones consisting of multiple quests. Turning the Page, for example, is one of these long, convoluted missions and is very much compartmentalized in the same manner as Hunt for the Crown of Utuka.
You’re not blindly sailing through the fog in this one, though. We are your guiding light, and you won’t even have to fight, mostly.
Hunt for the Crown of Ukuta investigation solution in Skull and Bones
To complete the Hunt for the Crown of Ukata investigation in Skull and Bones, you need to jump through the following hoops: Find and dock at Great Ukuta, locate a Leaflet on the island, go to the Bandari Settlement and Plunder it to receive the Diary, search a Shipwreck, and finally dig up buried treasure at the Pillar Tomb Outpost.
Yeah, like I said, you’re going to be feeling it after this one. Don’t worry, we’ve got you covered with this guide:
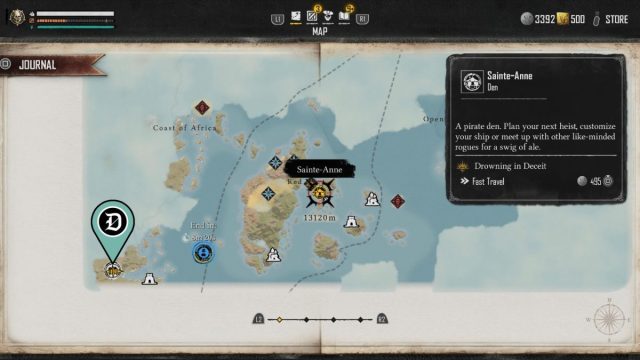
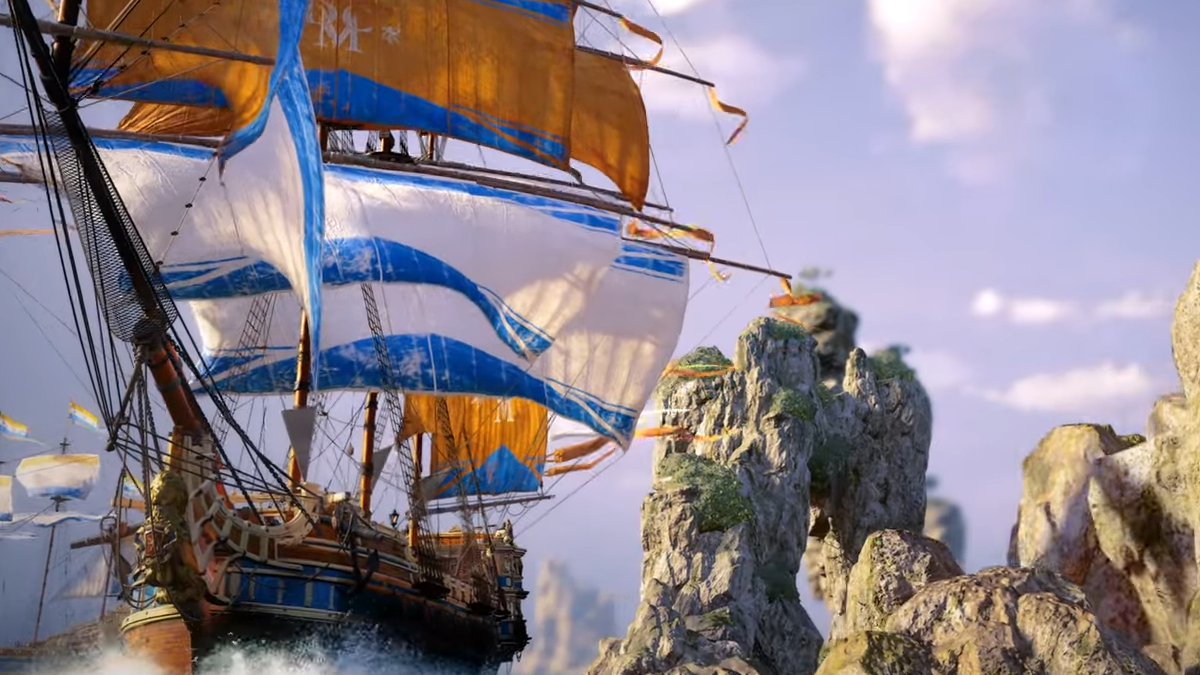
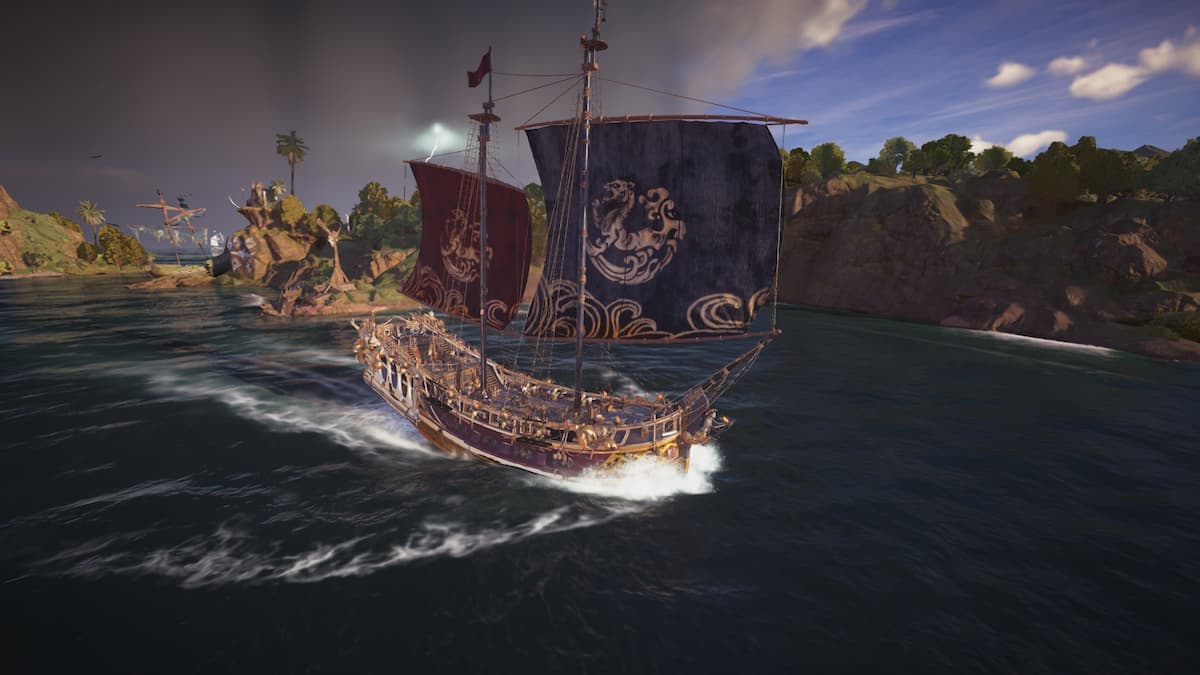
- From the Sainte-Anne Pirate Den, or any other fast travel point you have unlocked that’s closer, sail southwest to Great Utaka—attached to our marker in the picture above.
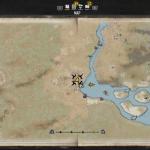
- Once you arrive, head in a straight line to our marker on “Picture No. 2” below, and you should find a leaflet on the ground with an arrow through it.
- This will give you the next clue, which involves finding Bandari, going there, and Plundering it.
- You only need to do the first wave or two to get your hands on your newest clue.
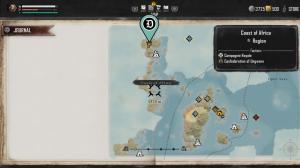
- For once, you get an actual objective marker next, so head to it, and when you get close, a magnifying glass appears to indicate you’re looking for something on the objective’s island.
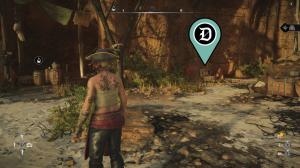
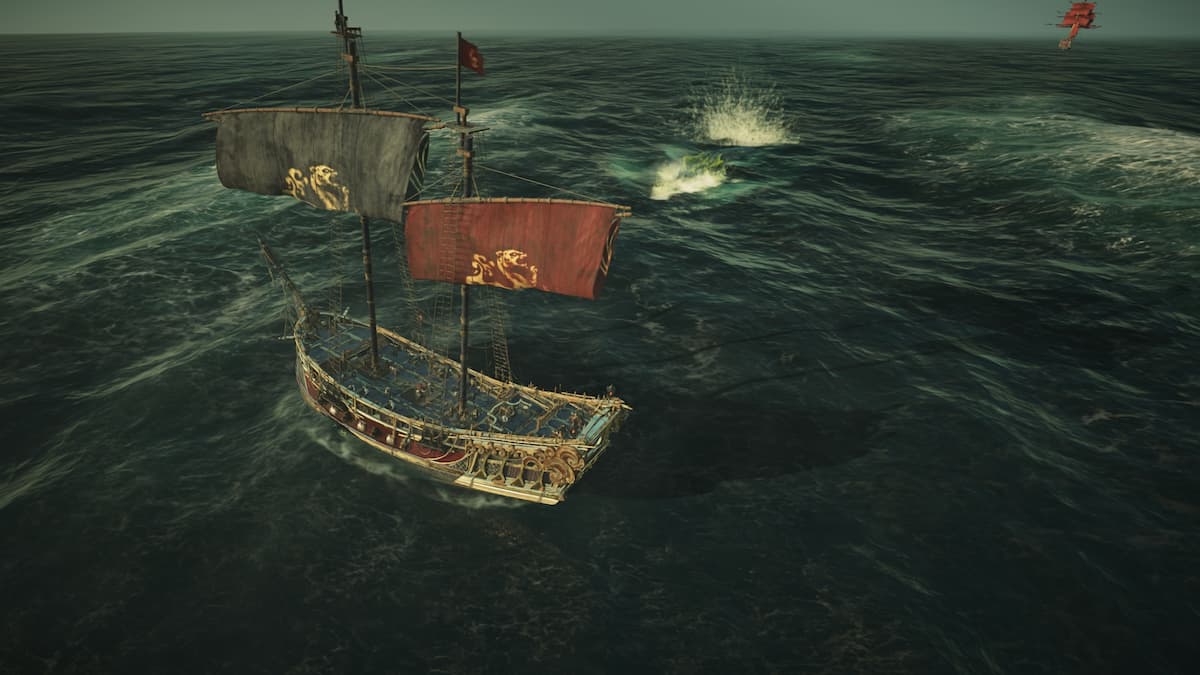
- You don’t need to disembark your boat, just sail around until you see a couple of shipwrecked boats and search either of them—see “Picture No. 3.“
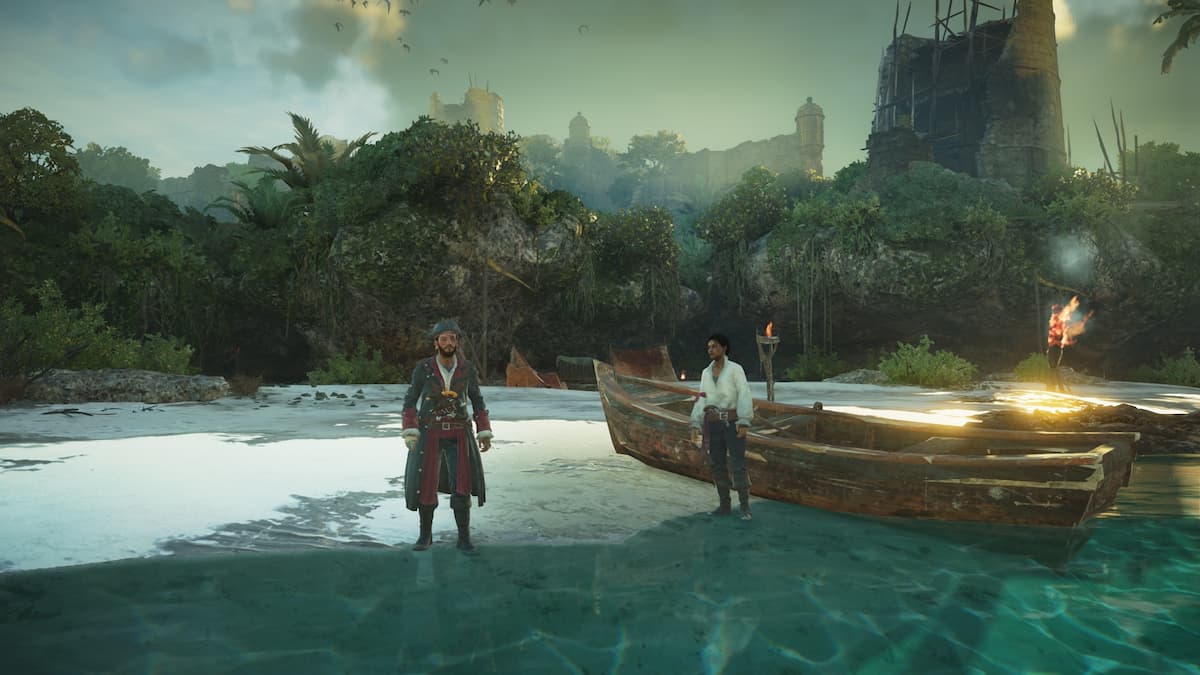
- The investigation will now ask you to go to the Pillar Tomb Outpost—”Picture No. 4” will show you where it is.
- Reach the island and use “Picture No. 5” to find the treasure you need to unearth and complete the quest.


There’s a lot of busy work involved here, but when all is said and done, you get nice rewards at the end of it, your pirate skills have been sharpened, and you’re one step closer to completing Freeman’s Lost Treasure.
Make sure to use your free goodies to buy new weapon blueprints and all the ship blueprints, too.


Published: Feb 16, 2024 11:00 am