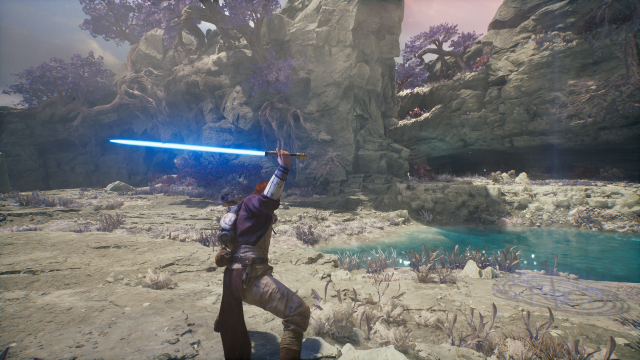
Star Wars Jedi: Survivor has countless abilities that you can unlock as you progress through the game. One ability that has persisted through countless Star Wars games, and has once again returned in Jedi: Survivor, is the lightsaber throw. In Jedi: Survivor, Cal can choose from a variety of lightsaber stances, including single, dual-wield, double-blade, crossguard, and blaster. The majority of your move set in Jedi: Survivor will revolve around melee combat, with only the blaster stance and various Force abilities prioritizing range.
Related: How to use Precision Evade in Star Wars Jedi: Survivor
In order to combat aerial or otherwise elusive enemies, players can simply toss their lightsaber at foes to apply pressure, break guards, clear distances, or just deal extra damage.
If you are looking to throw your lightsaber in Jedi: Survivor but do not know how, here’s what you should do.
Throwing your Lightsaber in Jedi: Survivor
The good news is all five stances in Jedi: Survivor utilize the lightsaber throw abilities. Below are the instructions on how to do a basic lightsaber throw:
- Click in the left stick to lock onto a target
- Hold down the block button, which is either L1/LB on controller
- While blocking, pressing the special attack button
- Quickly release your special attack button for a quick throw, or hold for a charged lightsaber throw

By filling out the skill trees for the various lightsaber stances, you can unlock variations on the basic lightsaber throw. Personally, I think the dual-wield stance contains some of the best lightsaber throw abilities. The Twin Vipers and Dancing Blades allow Cal to toss out both lightsabers at once, targeting multiple enemies at different ranges.
While the blaster stance still has the best-ranged combat option in Jedi: Survivor, the lightsaber throw is an integral part of combat for most other builds. Try incorporating the lightsaber throw into combat in your next encounter!


Published: May 2, 2023 11:48 pm