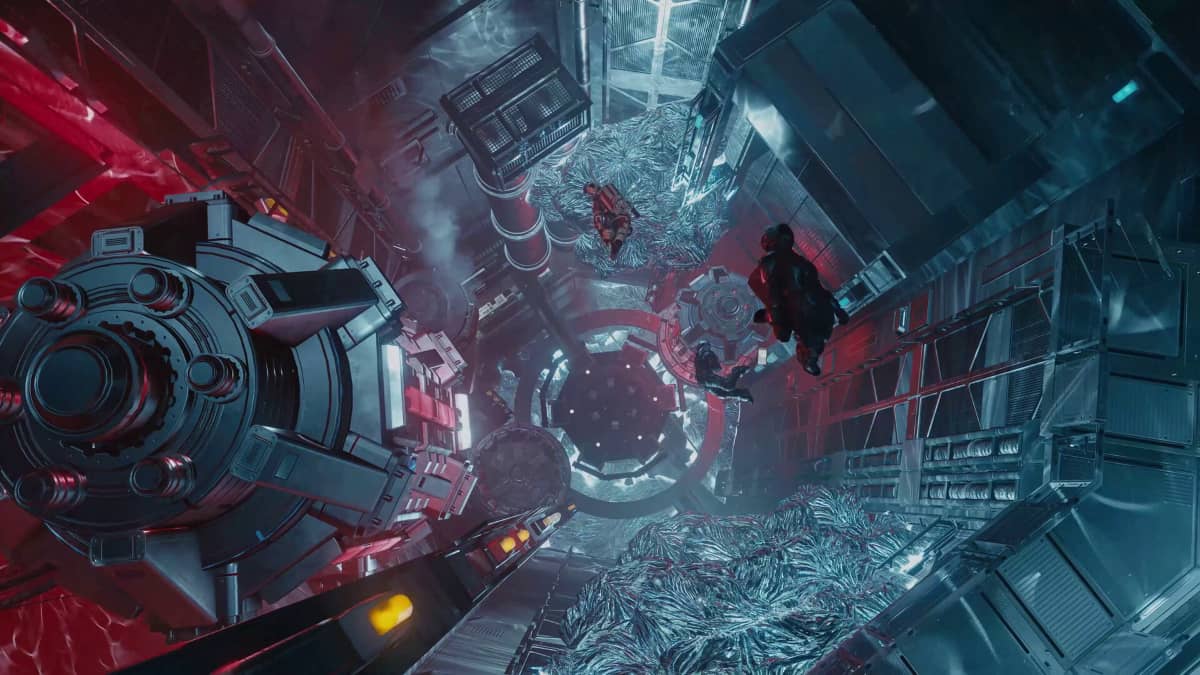
Revelation is the penultimate quest in Starfield that sees the final showdown between you, the Hunter, and the Emissary. This is an extremely long quest with multiple challenger combat encounters in both space and on the ground, so be prepared as the Starborn won’t simply hand over their final Artifacts.
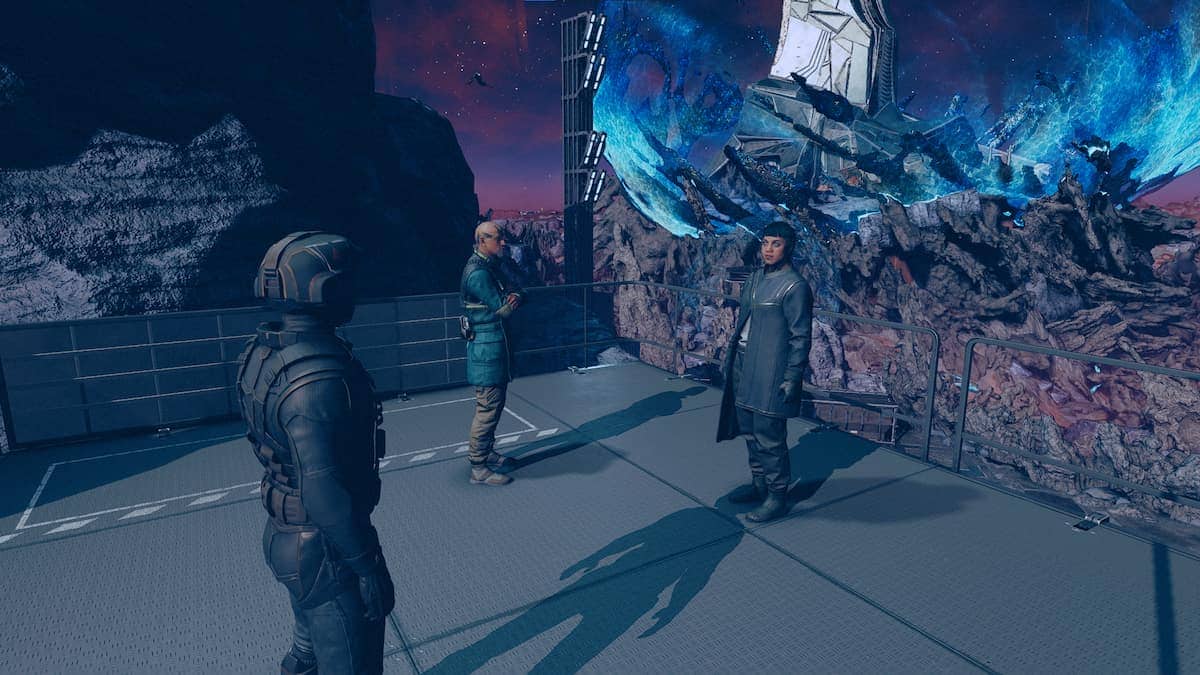
After wrapping up Unearthed and learning the true reason for Earth’s grim fate, the two Starborn will meet you outside the NASA station. Here you can either side with the Emissary or Hunter, which will make these next portions of the mission significantly easier. Alternatively, you can also rebel against both Starborn which will earn you special weapons and favor with your companions.
No matter your choice, this is how you can complete the Revelation mission in Starfield.
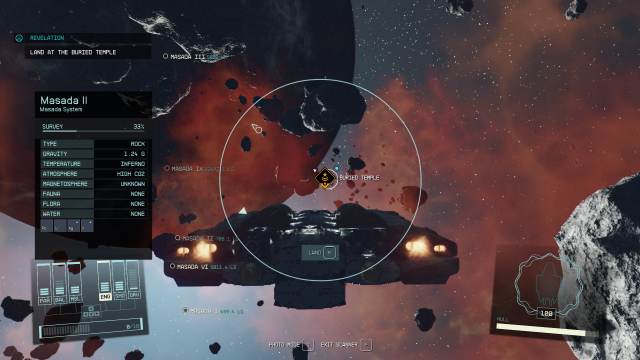
Where to find Masada III in Starfield

The first order of business is to locate the Buried Temple, the final Artifact location, in Masada III. This is a fairly far-out Star System, but you can use the map above to help you navigate to this remote area. If you are on a humble ship such as the Frontier or Galileo such as I was, it will likely take you a few jumps to reach this destination.
Before you are able to land on this planet you will have your first combat encounter with the Starborn. If you sided with either the Hunter or Emissary, then your ally will help you here, but if you did not then you are on your own.
This is tricky encounter and I recommend using a ship with good weapon systems such as the Mantis or Star Eagle for this space battle. Once you drain down the Hunter and Emissary’s health bars, they will grav jump away before you are able to finish the deed. There is also another rogue Starborn in this fight that you need to contend with as well.
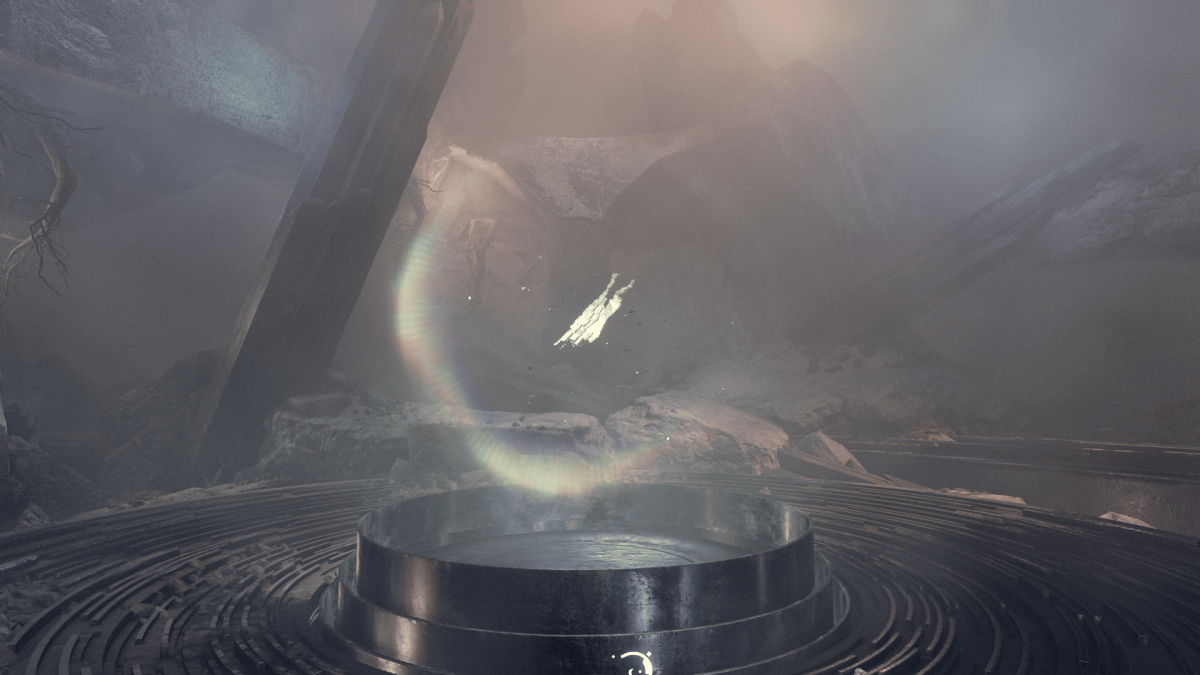
Once you manage to pass this initial test, you can land at the Buried Temple site on Masada III to start your actual journey to the Unity.
Loading Docks: How to kill Guardian Musa
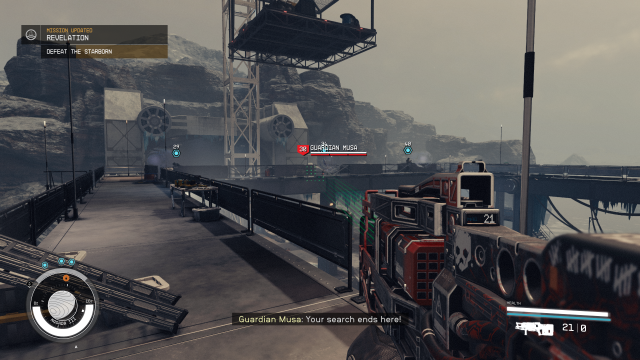
The Hunter and Emissary are far from the only Starborn you need to worry about as you will face various different other-universe threats throughout the remainder of this mission. Guardian Musa is your first challenge on the loading docks after you land.
Guardian Musa will create different versions of himself equipped with different weapons, ranging from melee swords to rocket launchers. You need to fight through these different versions of the Starborn before you can kill the real Guardian Musa. I recommend using your jet pack early and often to avoid the melee version and keep yourself mobile.
Ecliptic Mercs: How to kill Guardian Athaliah
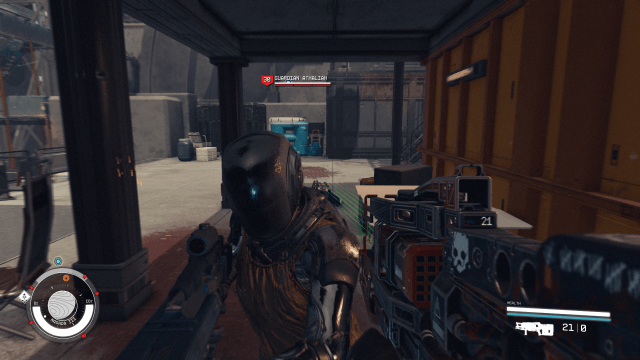
The next challenge is Guardian Athaliah. As you arrive to this next battleground, you might notice an unusual number of Ecliptic Merc corpses lining the way. This is because this next Starborn is able to reanimate the dead to fight with her, which is an issue that you need to deal with.
To get to Guardian Athaliah, you need to continuously put back down the risen Ecliptic Mercs. Eventually, the Starborn will make an appearance. I recommend using burst weapons or explosives to make the most out of Athaliah’s appearances, as she will disappear frequently and leave you to deal with more undead Ecliptic.

Once you manage to take down Guardian Athaliah, you need to pick up the Ecliptic Base ID Card that she drops to move on to the next zone.
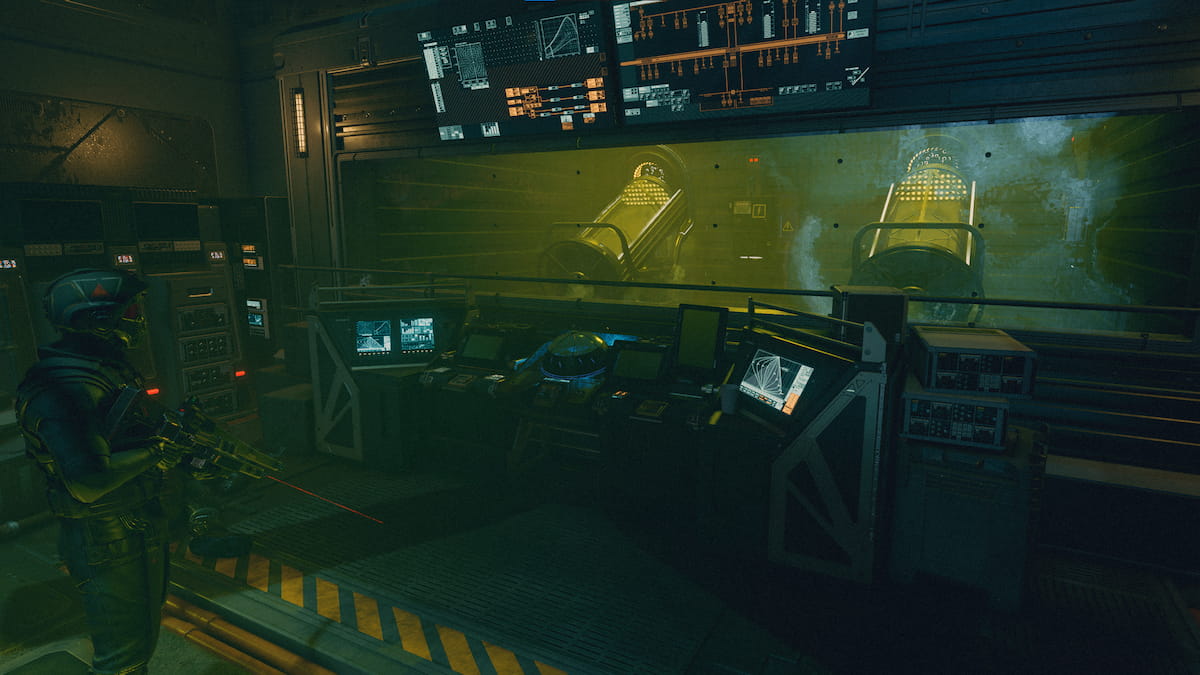
Robot Factory: How to kill Guardian Rinn and Teuta
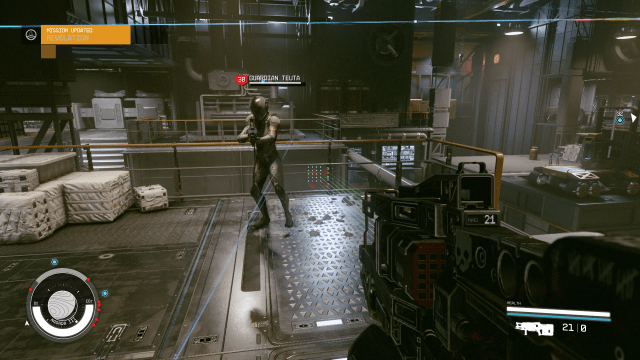
The next room is the encounter that I found the most challenging. You not only need to kill two Starborns in Rinn and Teuta but also dodge an entire room of hostile robots. To simplify this encounter, I recommend that you boost pack up to the control room in the center of the room and Digipick your way inside.
Once inside the control room, you can update the settings on both the turrets and robots to help rather than hurt you. You can also elect to disable the robots, but then you won’t get any extra help in the fight against the Starborn.
With the machines on your side, you should be able to make quick work of Guardian Rinn and Teuta. After you descend into the next area, you will run across your first Anomaly. These floating, sparkling lights are similar to the mini-game you needed to complete in previous temple puzzles.
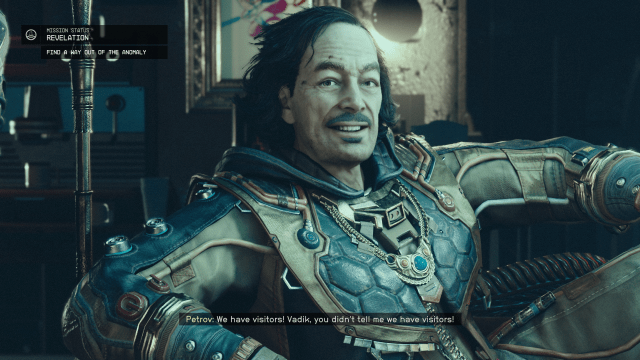
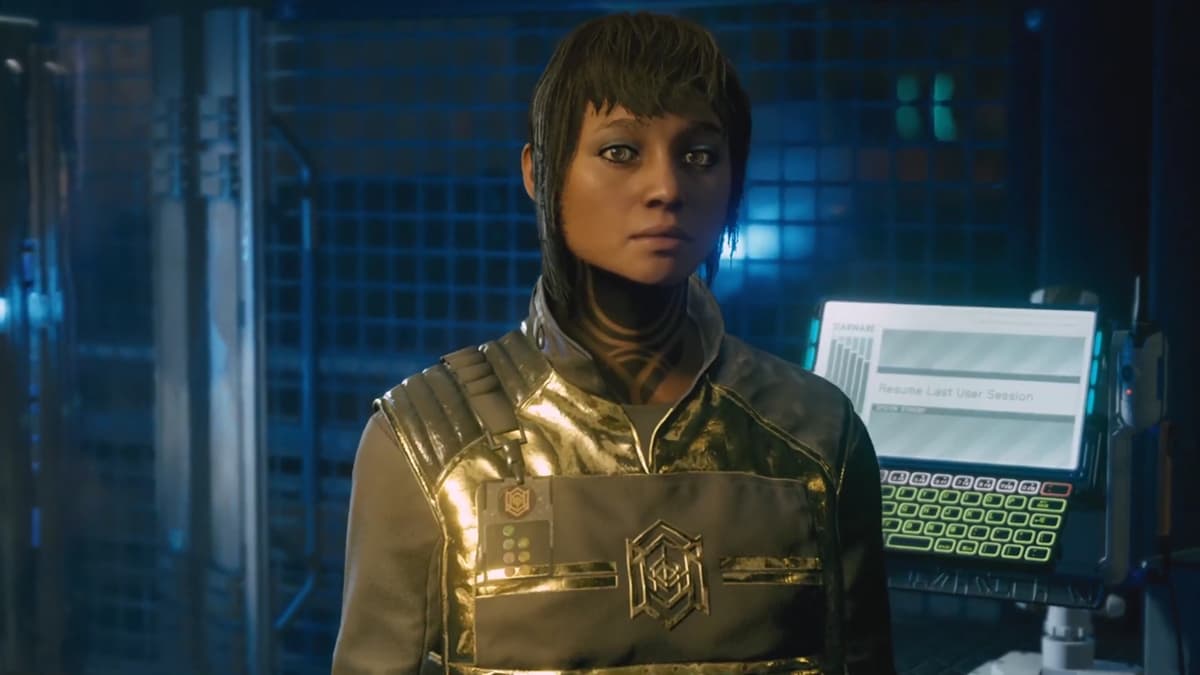
These Anomalies take you to past and alternate versions of events. The first event you revisit is the act of piracy aboard The Scow as you speak with Petrov. To get back to reality, you need to kill Petrov to get his keycard and open the locked door to exit the vision.
Cavern: How to kill Guardian Fionn

Once you complete your quick trips down memory lane, you will face off against the final mini-boss in Guardian Fionn. Before getting here, you will pass a stockpile of weapons and ammo, which I highly recommend picking up. By now, my ammunition and health aid items were both running extremely low, and the worst is still ahead of you.
Guardian Fionn’s ability is to summon duplicates of yourself and any allies that might be accompanying you. Unlike the previous Starborn, you don’t need to dispatch the grunts before getting to the Starborn. Due to this, I recommend ignoring the duplicate and running straight toward Guardian Fionn to unload everything you have to make this fight end as quickly as possible.
How to kill or persuade the Emissary and Hunter in Starfield
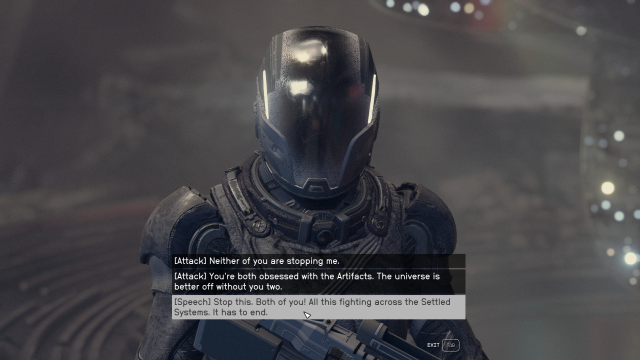
After you enter the Buried Temple you are once again face-to-face with your two Starborn friends: the Emissary and Hunter. Before your climatic showdown, you do have the option to skip the entire last fight if your persuasion is high enough.
By selecting the Persuade dialog option, you can enter into the speech check mini-game to skip this entire final encounter. If you manage to pass this exceedingly difficult check, then the Hunter and Emissary simply lay down their arms and hand over their Artifacts. If you fail or select the attack options, then the fight is on.
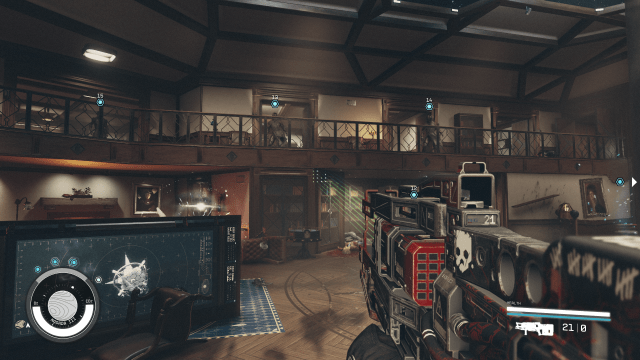
These two Starborn have almost every Starborn power at their disposal, from Parallel Self to Solar Flare. During this fight you are also transported to various different spots around the Settled Systems that may look familiar, ranging from the Lodge to Neon.
To get past this fight, I recommend that you make use of your own Starborn powers, especially Gravity Well, to incapacitate the two Starborn to make them much easier targets. Once both are eliminated, you are transported back to Temple Mu.
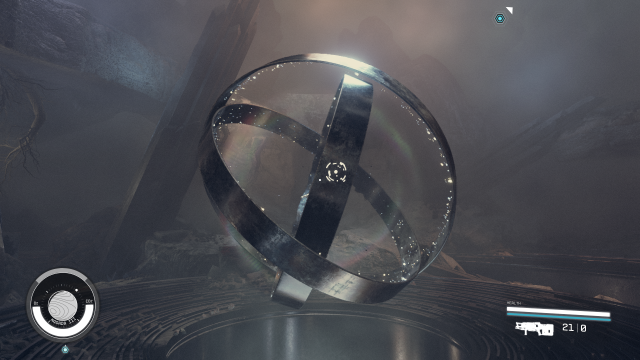
As a reward you not only get the Starborns’ entire Artifact collection but also a legendary laser rifle, Unmitigated Violence, and a legendary particle beam rifle, Eternity’s Gate. Once you collect all the Artifacts from the dead Starborn, you can claim the final Artifact in the Buried Temple. With this done, you can now build the Armillary and take a quick trip to the Unity.


Published: Oct 10, 2023 04:40 pm