Zelda: Tears of the Kingdom is filled with Shrines for players to solve, helping them to learn the game’s systems and purify the Gloom that has infected Link. These challenges vary from easy to fairly difficult, with players needing to use the powers they acquire across the game to get through.
One of the puzzles players may well need help with is the Makasura Shrine’s “An Upright Device” challenge.
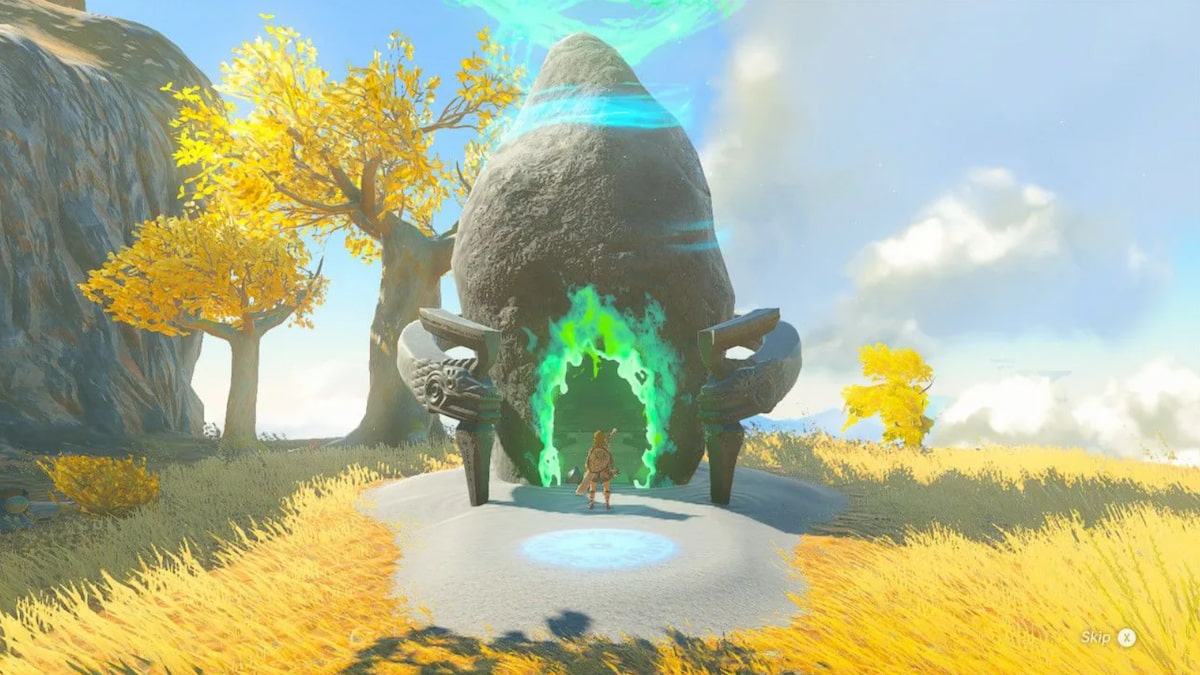
Players will find this shrine as they explore the east of Lookout Point and into the West Necluda area, with the goal of Makasura Shrine being to teach another one of TOTK‘s basic mechanics.
Where to find the Makasura Shrine in Zelda: Tears of the Kingdom


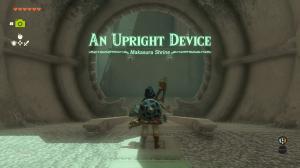
You’ll find the Makasura Shrine in Kakariko Village, which can be found between the Lanayru Wetlands and West Necluda. This will be your fast travel point to the village, so make sure that you activate it before you leave, even if you don’t want to complete the trial at that time.
In the An Upright Device trial, you’ll be using the stabilizers to get across a series of gaps. After you enter the shrine, you’ll need to first run through the open area and then use Ascend to get through the grated ceiling.
Part one: Making a ramp
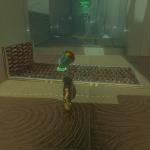
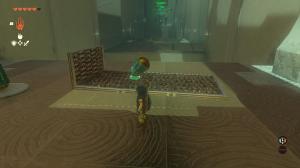
When you enter the actual first trial, you’ll see a strange grated piece of metal that can be used to make a ramp or a platform to jump off of. Place the stabilizer at an angle as I did above if you want to make a ramp to jump off of before you use your glider to cross the gap.
I didn’t realize the actual solution until writing this, but if you place it on the inside part of the little part of the grate, it will make it stand upwards. You can then use Ascend to get on top and you’ll have a much easier time gliding far enough.
Part two: Catapult
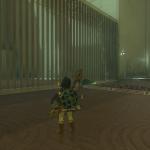
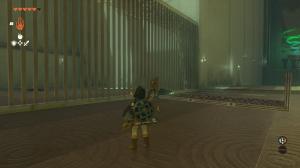
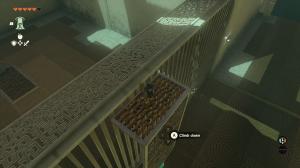
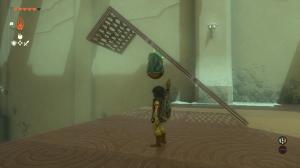
Based on what you learned in the previous part of the trial, you can use this metal piece as a ladder in the same way. However, it will need to be as tall as possible, so attach the stabilizer to the bottom of the really long piece so it can stand up against the wall.
Either climb it like a ladder or use Ascend to get to the top, then jump over the barrier and get to the catapult-looking device on the other side. Before you mess with the catapult, you can use it like a ladder by attaching the stabilizers to one of the sides and then climbing it to get the chest. This will provide you with the Fairy potion, which recovers several hearts.
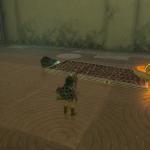
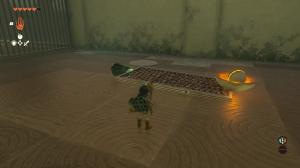
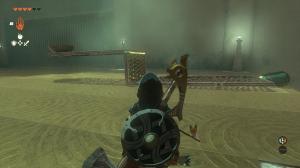
You don’t need to detach the stabilizer if you put it on the side opposite the catapult. Instead, you can lay it like the image above. Place the ball inside the catapult holder but make sure not to attach it to the bowl or it will be stuck when you try to launch it over the wall. Once the ball clears the wall, place it inside the circle puzzle so the far wall opens.
Related: How to use Ultrahand in Zelda: Tears of the Kingdom
This will give you another catapult piece like the one you used to get the ball over the wall. It’s meant to be used as an extension of the piece of grate you used as a ladder. Lay the long piece on its back with the short piece facing up, then place the catapult facing the gap. Attach the stabilizer to the bottom of the other end and then get Link inside the bowl.
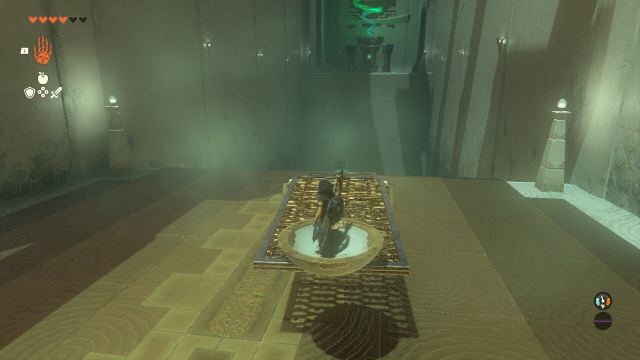
Once Link is in the bowl, you should be able to either shoot an arrow or throw a worthless weapon at the stabilizer. This will cause it to launch Link near the top of the Shrine, allowing you to use your glider to come down slowly in front of the altar.
Walk up to receive your blessing and then you’ll be teleported outside.





Published: May 21, 2023 09:09 pm