Zelda: Tears of the Kingdom is a vast, open-world game full of quests for you to complete. By exploring different towns and talking to the people who inhabit them, you can go on enough exciting side quests to almost completely ignore the main adventure.
But not every side quest in this game were created equally. Keep reading for a list on the most rewarding side quests you can find throughout the vast world of Tears of the Kingdom.
10 Most Rewarding Side Quests in Zelda: Tears of the Kingdom
A Call From the Depths
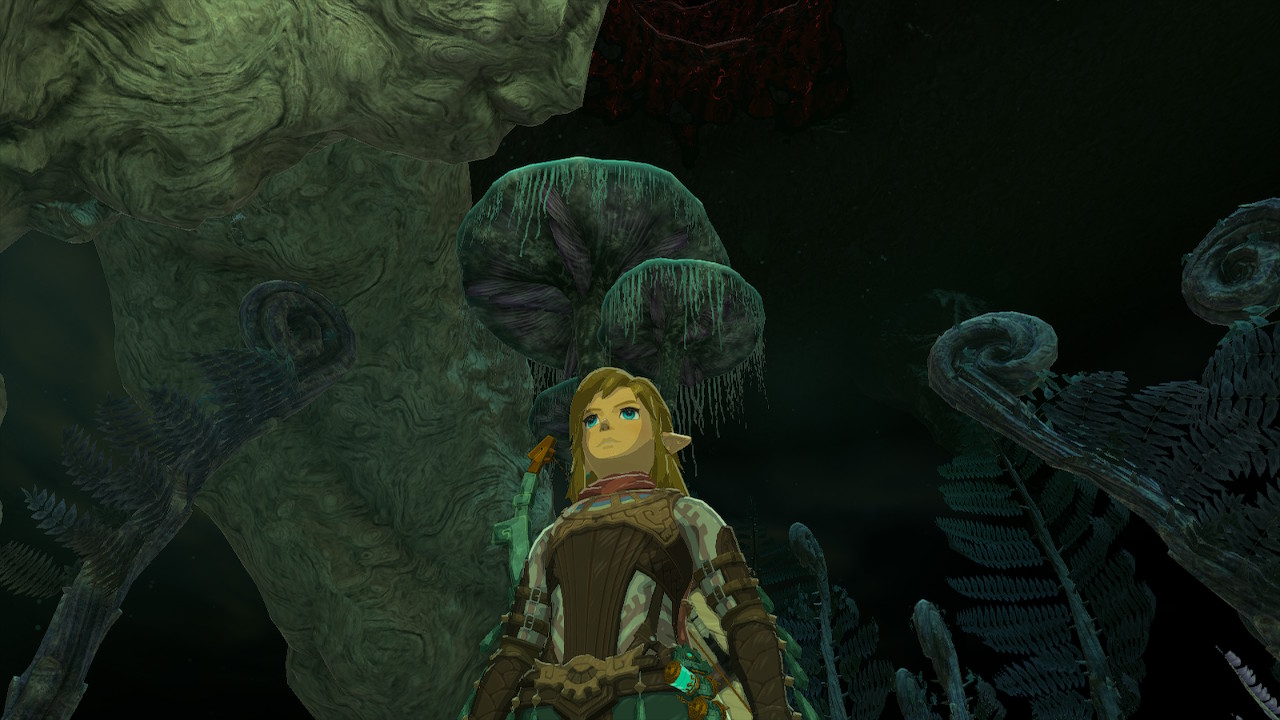
Kicking off our list is this very Lovecraft-sounding sidequest: A Call from the Depths is one of the most rewarding side quests in Tears of the Kingdom. If you wind up by the Goddess status in the Temple of Time ruins, you might find hints for you to keep exploring the Depths that lie below the Great Plateau.
This will lead you down a rabbit hole of exploring these dark dangerous depths, which you’ll need Zonai equipment to navigate. You can also activate this quest by speaking to a statue in the Abandoned Central Mine.
Play out this quest right and you can come across a bargainer statue who will trade you for valuable items like the Dark Tunic and Bomb Flower, and will grant you a Heart Container and Stamina Vessel for nothing.
Gloom-Borne Illness
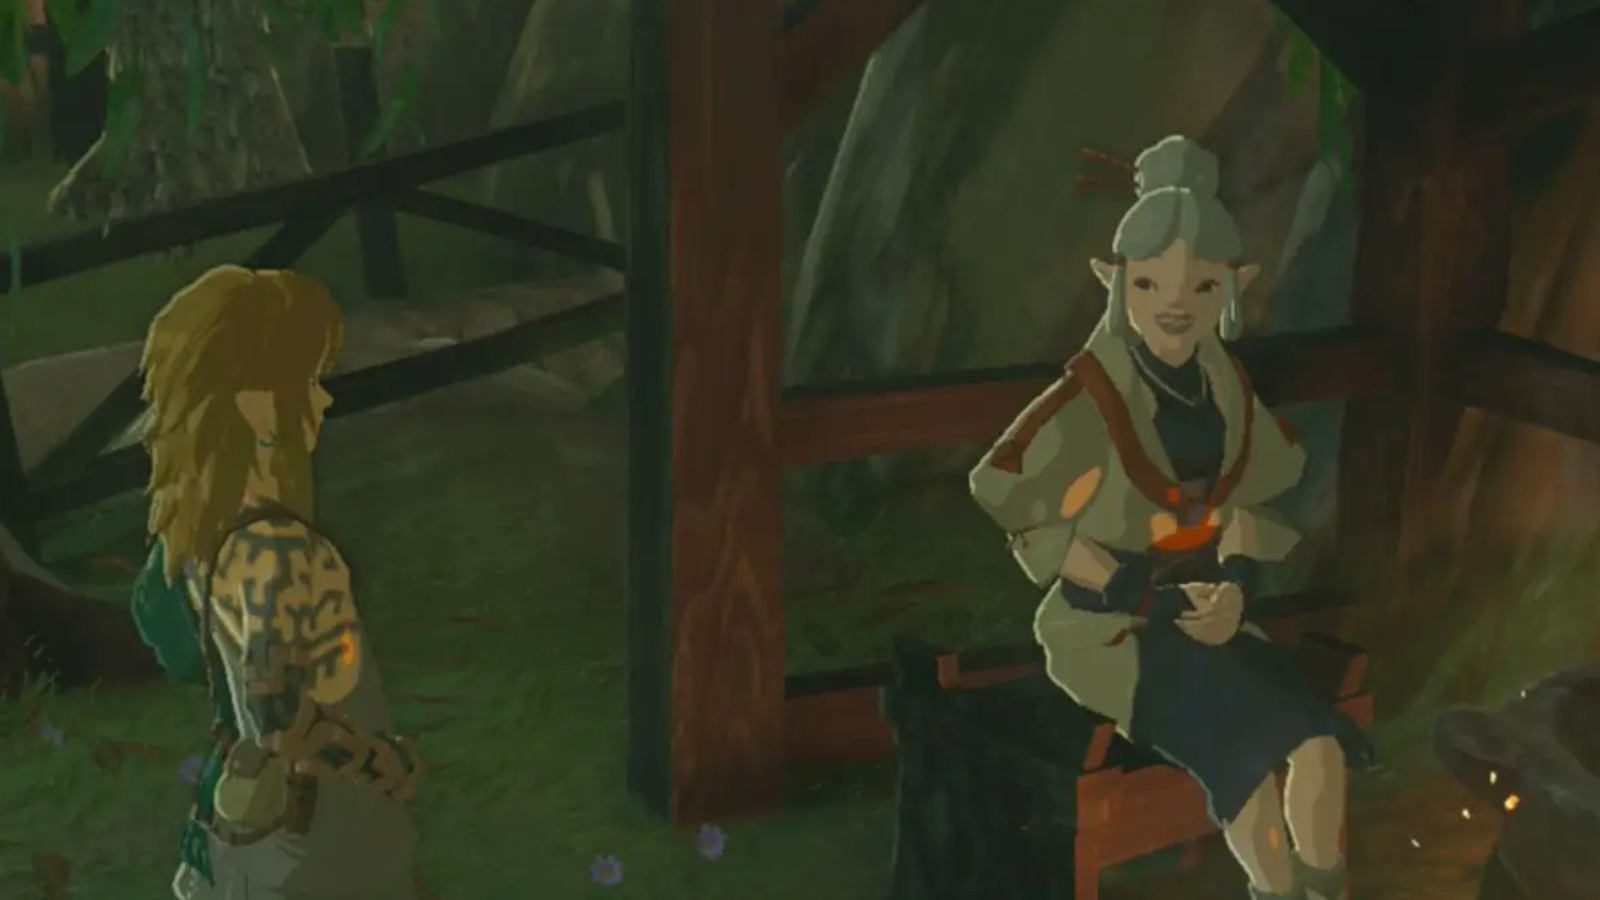
You can find this quest in Kakariko village. There, a young women named Lasli is trying to heal her grandmother from a mysterious Gloom-borne illness. This will send you out on a journey to find the ingredients to a remedy that might cure her.
When you complete this quest, well, you’ll know the ingredients to that Gloom remedy! Whip up this recipe whenever you find yourself infected with gloom and you can replenish your stamina easier. Any time you find yourself down in the Depths below Hyrule, like in the above quest, you’re going to want this remedy.
You also get discounted prices at this shop any time you come back as a sort of thank you.
Ruffian Infested Village
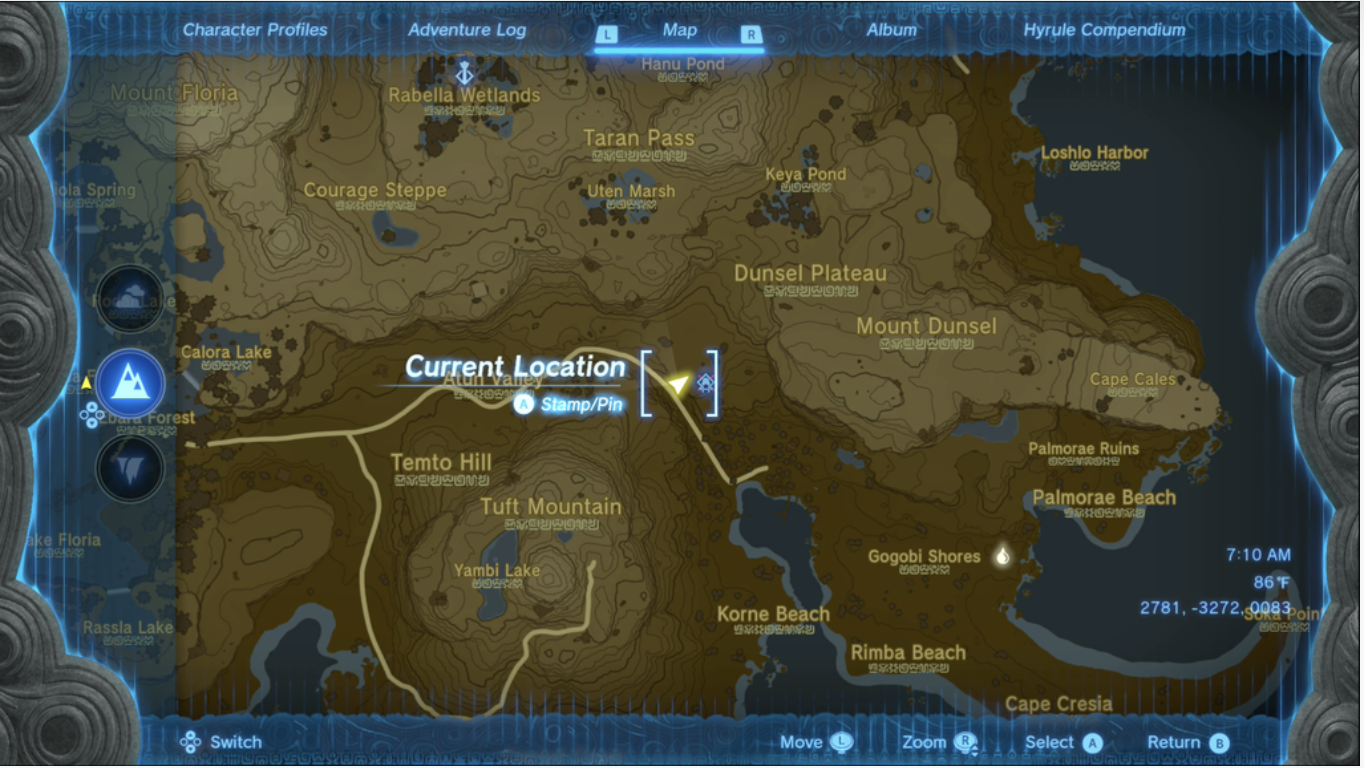
Freeing Lurelin Village is one of the emotionally rewarding quests in the game. If you approach this village, you’ll be told by a character named Rozel that the village has been overrun and all of the townspeople had to leave. The quest is simple: go into the village and clear out all of the monsters.
A relatively straightforward quest, getting through the Ruffian Infested Village side quest will vary in difficulty depending on where the character is in the game. There’s an extra-satisfying feeling about clearing out the very streets that you can later walk: this quest’s reward is essentially opening a whole new village for the player.
In this village, the player can enjoy restaurants, mini games, a shop, an inn, and thankful villagers. At the end of the day though, it’s mostly about the internal sense of accomplishment that comes from being the good guy. And hey, it can also open up other quests!
Mattison’s Independence
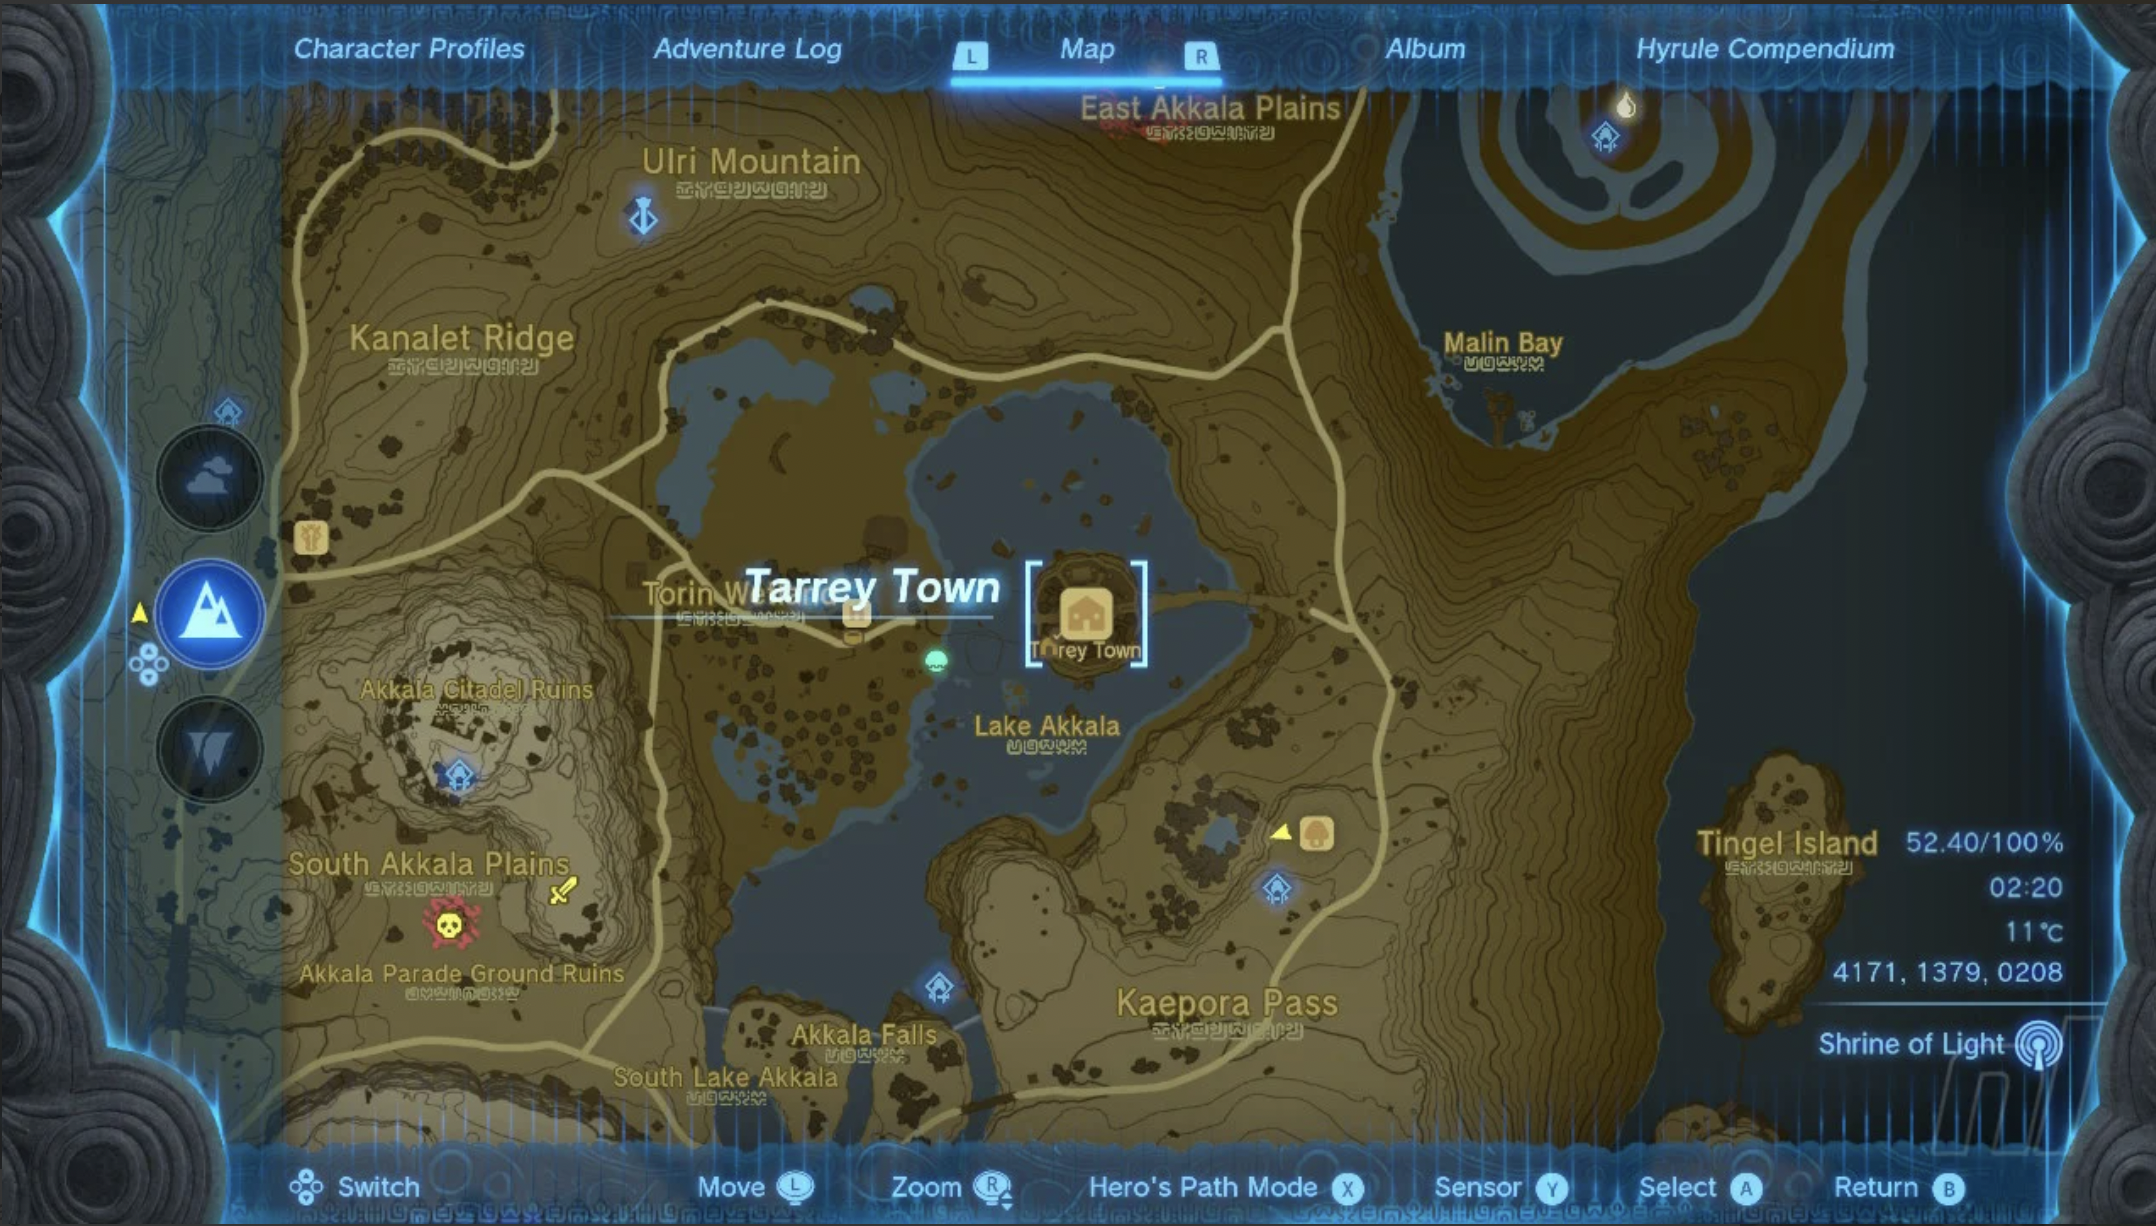
Mattison’s Independence is a heartwarming sidequest—it’s all about helping a daughter gain independence from her parents after she reaches the right age. You learn about this quest in Tarrey Town when you talk to the father in question, Hudson.
You’ll help out Mattison do several things before she heads out to Gerudo to learn about her culture, like helping her father around the house and talking to her grandmother. You also help acquire and set up the balloon that Mattison will set off in.
Your reward for this journey is a series of sentimental cutscenes of the family sending Mattison off, and a home for Link that the family is selling off.
Potential Princess Sightings!
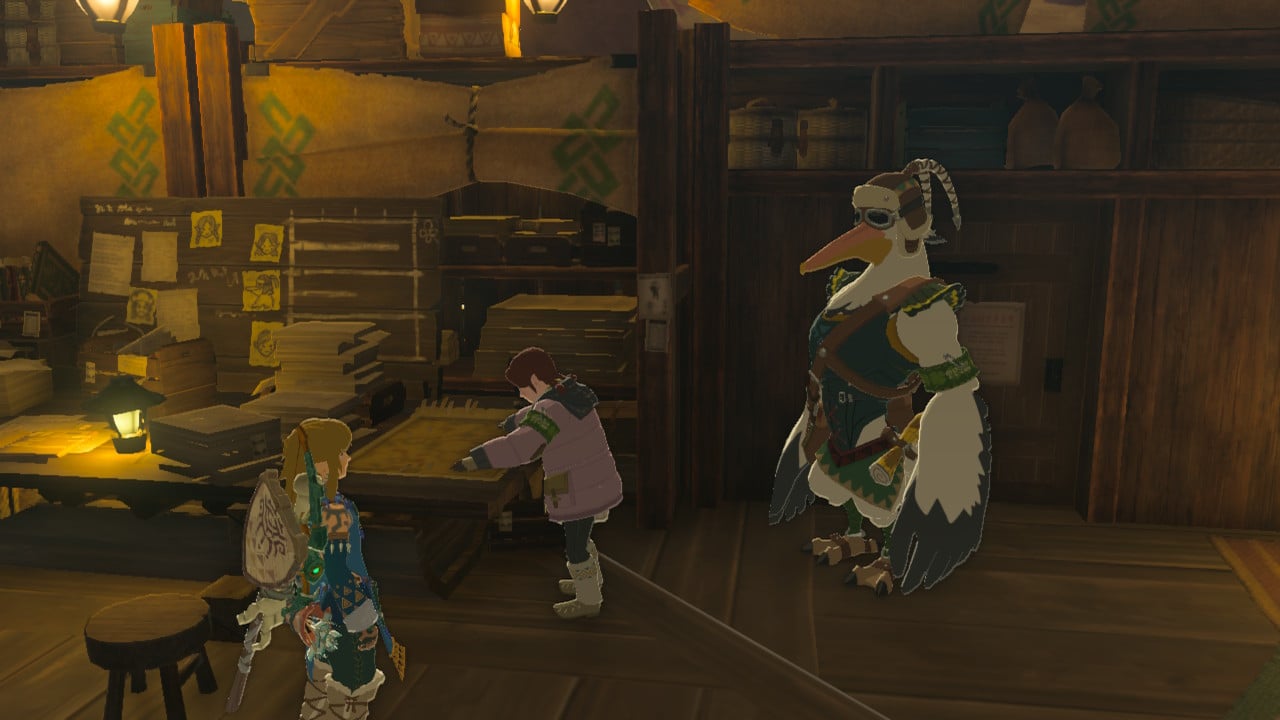
A quest with an exclamation in the title! And an exciting quest this is: It features Link working a beat to help out the news outlet the Lucky Clover Gazette. This will see you traveling all over the map with no time limit to complete this lengthy and multi-layered quest as you try to break the story of rumors about and sightings of Princess Zelda.
You can find the Gazette just outside of the Rito Village and talk to Traysi—a familiar character for Breath of the Wild fans—to start this quest.
As you complete more and more parts of this long-running quest, you’ll get more and more rewards like the Froggy Armor set. The main reward for this quest, however, is a steady flow of money, because, once again—just making sure you got this—this quest is literally about Link getting a day job. Amazing.
Infiltrating The Yiga Clan
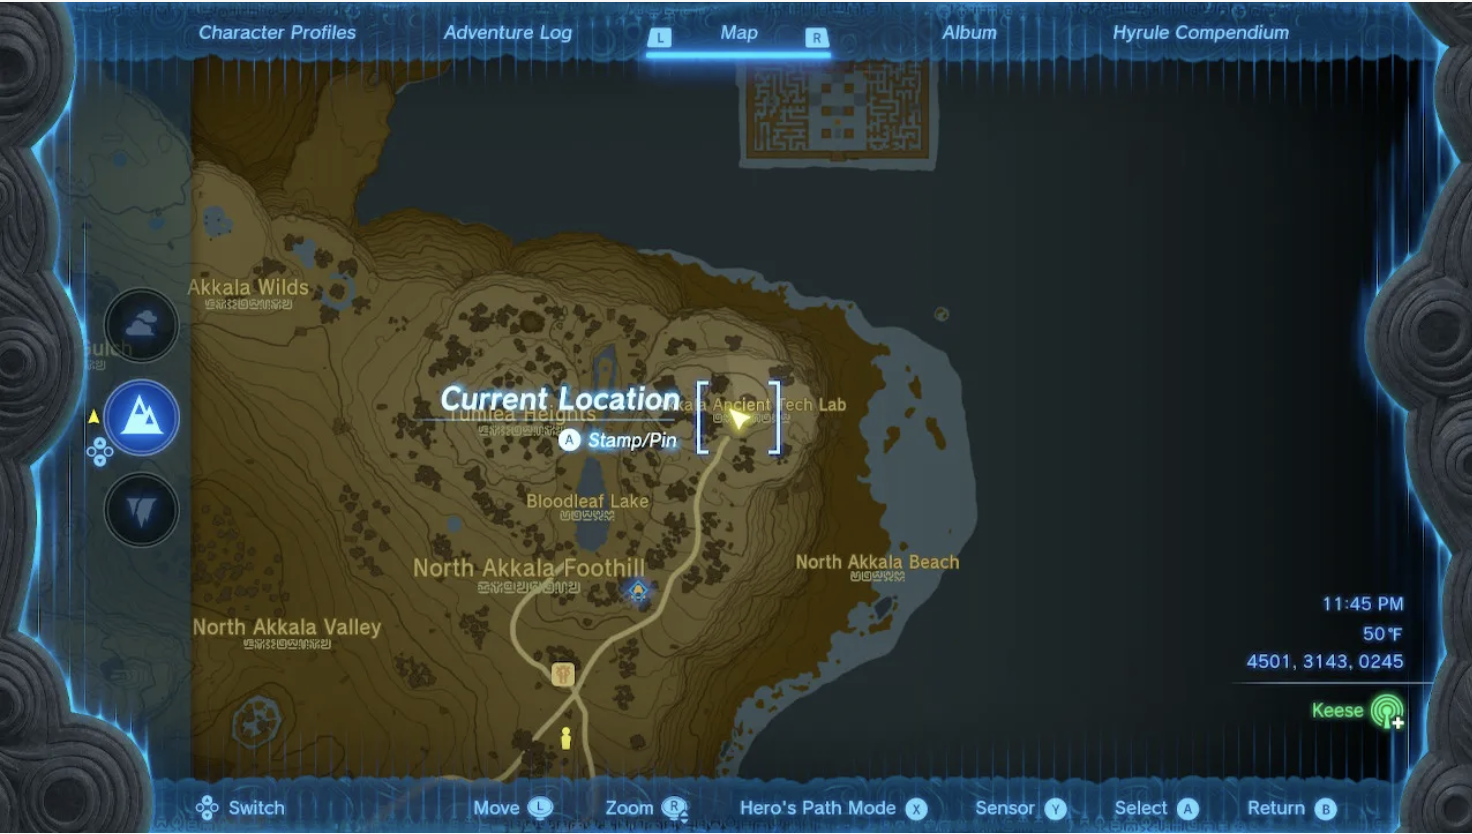
Though a job as a journalist is fun, it’s nothing compared to a stint as a spy. The Yiga Clan is a bumbling but dangerous clan that’s turned away from Hyrule to join Ganon’s forces of evil. They have to be infiltrated in order to be stopped and the only way to do so is to run around Hyrule collecting pieces of their armor so you can disguise yourself as one of them.
You can get these pieces of armor at various Yiga strongholds throughout the surface world. At each there will be a small army of Yiga that you have to defeat, rescuing the tailor that they have captured. As a reward, these tailors will make you a piece of the armor in question.
Once you have this armor, you can fool every member of the Yiga clan. This will let you head to their hideout in Gerudo and gain various items like the Lightning Helmet and Earthwake technique.
Hestu’s Concerns
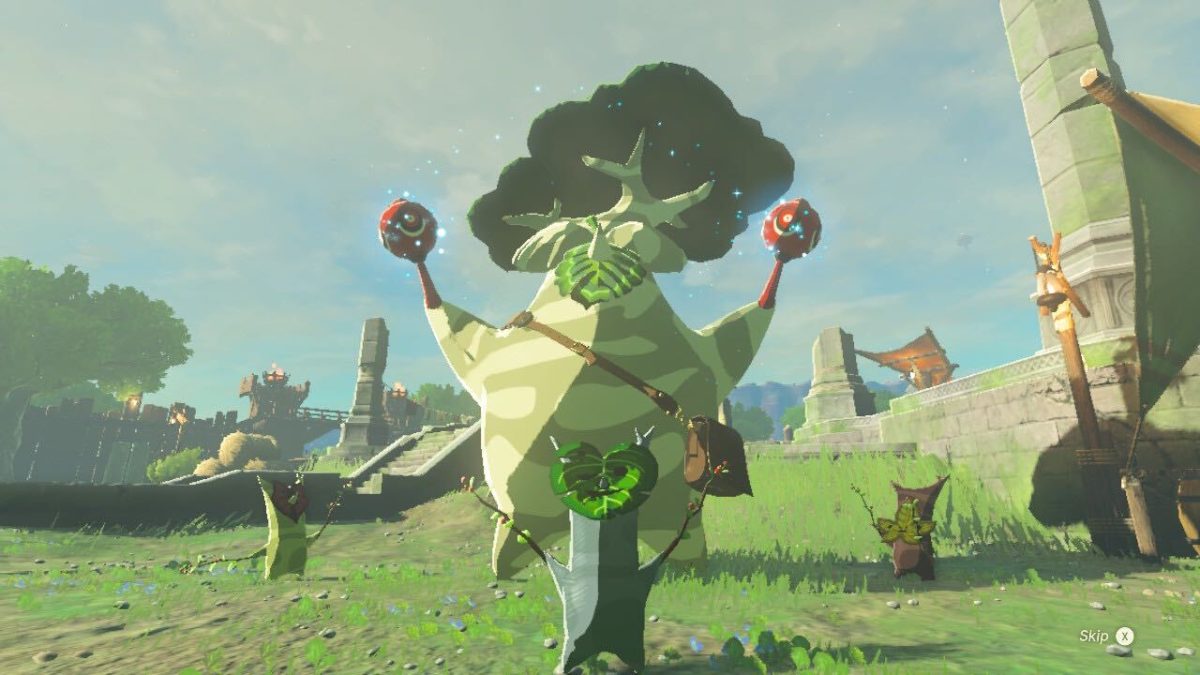
Hestu is a legacy character in the Zelda franchise, a giant Korok who has helped Link throughout his journeys. In this game he can be found in various locations and he has a mission for you to help complete.
He’s lost the Korok seeds that he uses in his Maracas to help them make sound to the Koroks, who then went and hid them around the world of Hyrule.
Your reward for this is a little song and dance performed by Hestu that allows you to fit one more item into your inventory. Though this quest is a little tedious, the expanded inventory is extremely useful—make this one a priority. The dance is cute as well, which is always a plus.
Hateno Research Lab
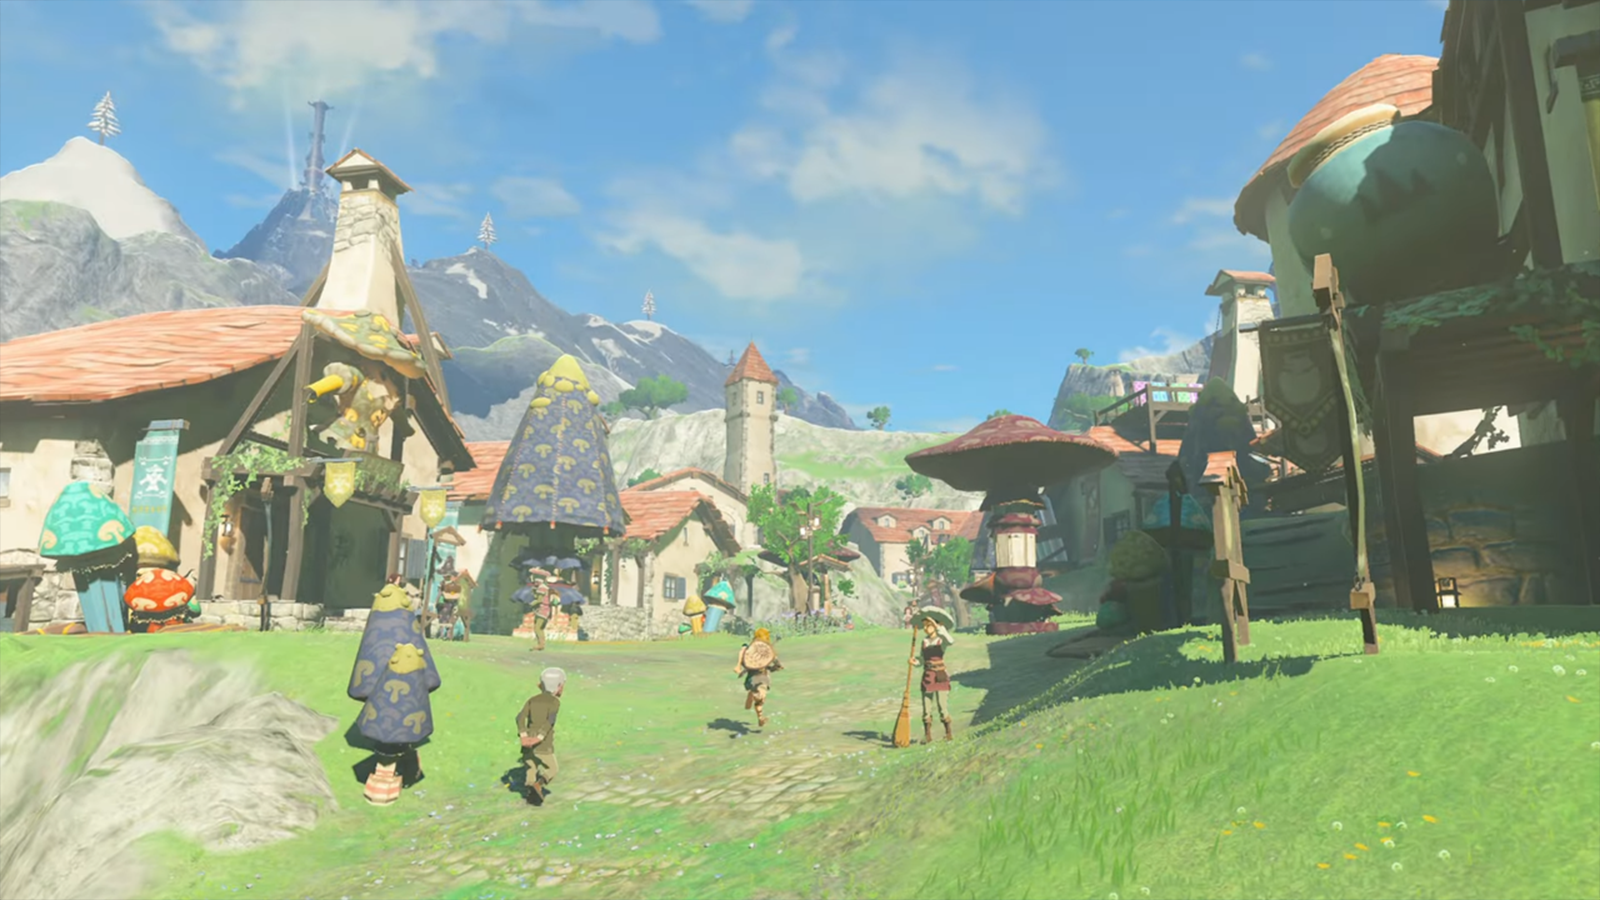
This side quest is more a family of side quests.
It sees Link aiding a character called Robbie. You can only access this quest after completing a few other Depths-related quests, but once you do you’ll get to go on this one, which proves to be one of the most rewarding in the game.
You can find Robbie in Hateno Village—eventually. You first need to complete the quests the Mystery in the Depths and Camera Work in the Depths for Josha in Lookout Landing, which will lead you to finding Robbie in the Depths beneath Hyrule. You can then head to Hateno Village and talk to Robbie to start the Hateno Village Research Lab side quest. You’ll learn that Robbie was the main architect of the Purah Pad and that he can help you upgrade yours.
Robbie will install a shrine sensor to your Purah Pad. From here, you’ll have to go track down a nearby shrine for Robbie.
For completionists who wish to find all of the shrines, this is invaluable. With 120 shrines across the game’s world, you’re going to need all of the help you can get.
Serenade to a Great Fairy
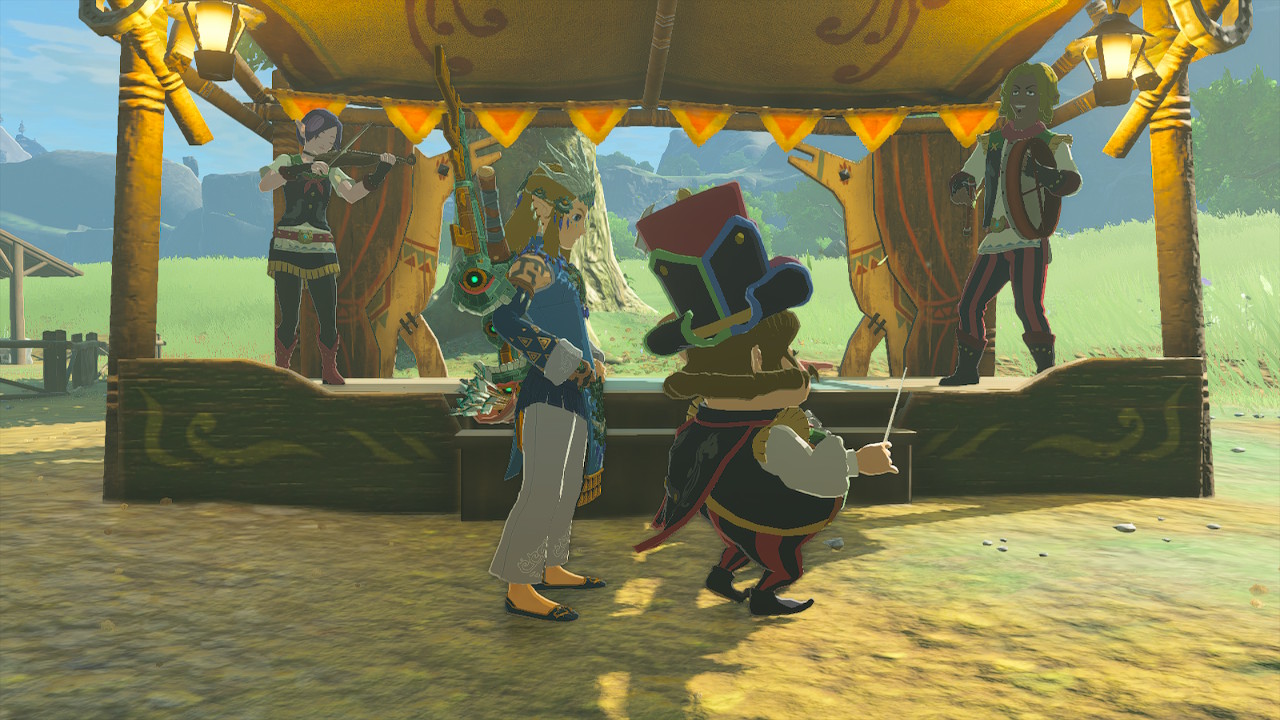
This quest sees Link teaming up with a band of musicians! To gain access to this quest, you need to have already began the Potential Princess Sightings! quest. It’s all about waking up one of the four Great Fairies scattered throughout the world of Hyrule.
After this, you can head to the Woodland Stable and meet up with the musicians. They’re a funny bunch of musicians, initially just a short man in a top hat conducting a young woman with a violin. As you unlock more Great Fairies, you’ll add to their band.
The first one up is Tera, who will tell you which instrument each Great Fairy wants to hear to be opened up. She’ll also help you upgrade your armor, which the other Great Fairies can do as well.
Misko’s Treasure

Rounding out our list is the Misko’s Treasure side quest, which can give you access to the Fierce Deity armor, one of the strongest sets of armor in the game.
There are a few quests that take up the “Misko’s Treasure” saga throughout the game, and you can even find these treasures without taking any specific side quest. Different characters throughout Hyrule will give you hints about loot hidden by a famous bandit named Misko after you complete the Misko’s Cave of Chests sidequest.
You can also find utilitarian armor sets like the Rubber Armor and Climbing Gear by following these suggestions. Though you don’t ultimately need to talk to these folks to find these pieces of armor, we recommend using them just because they’re helpful.





Published: Sep 27, 2023 12:27 pm