
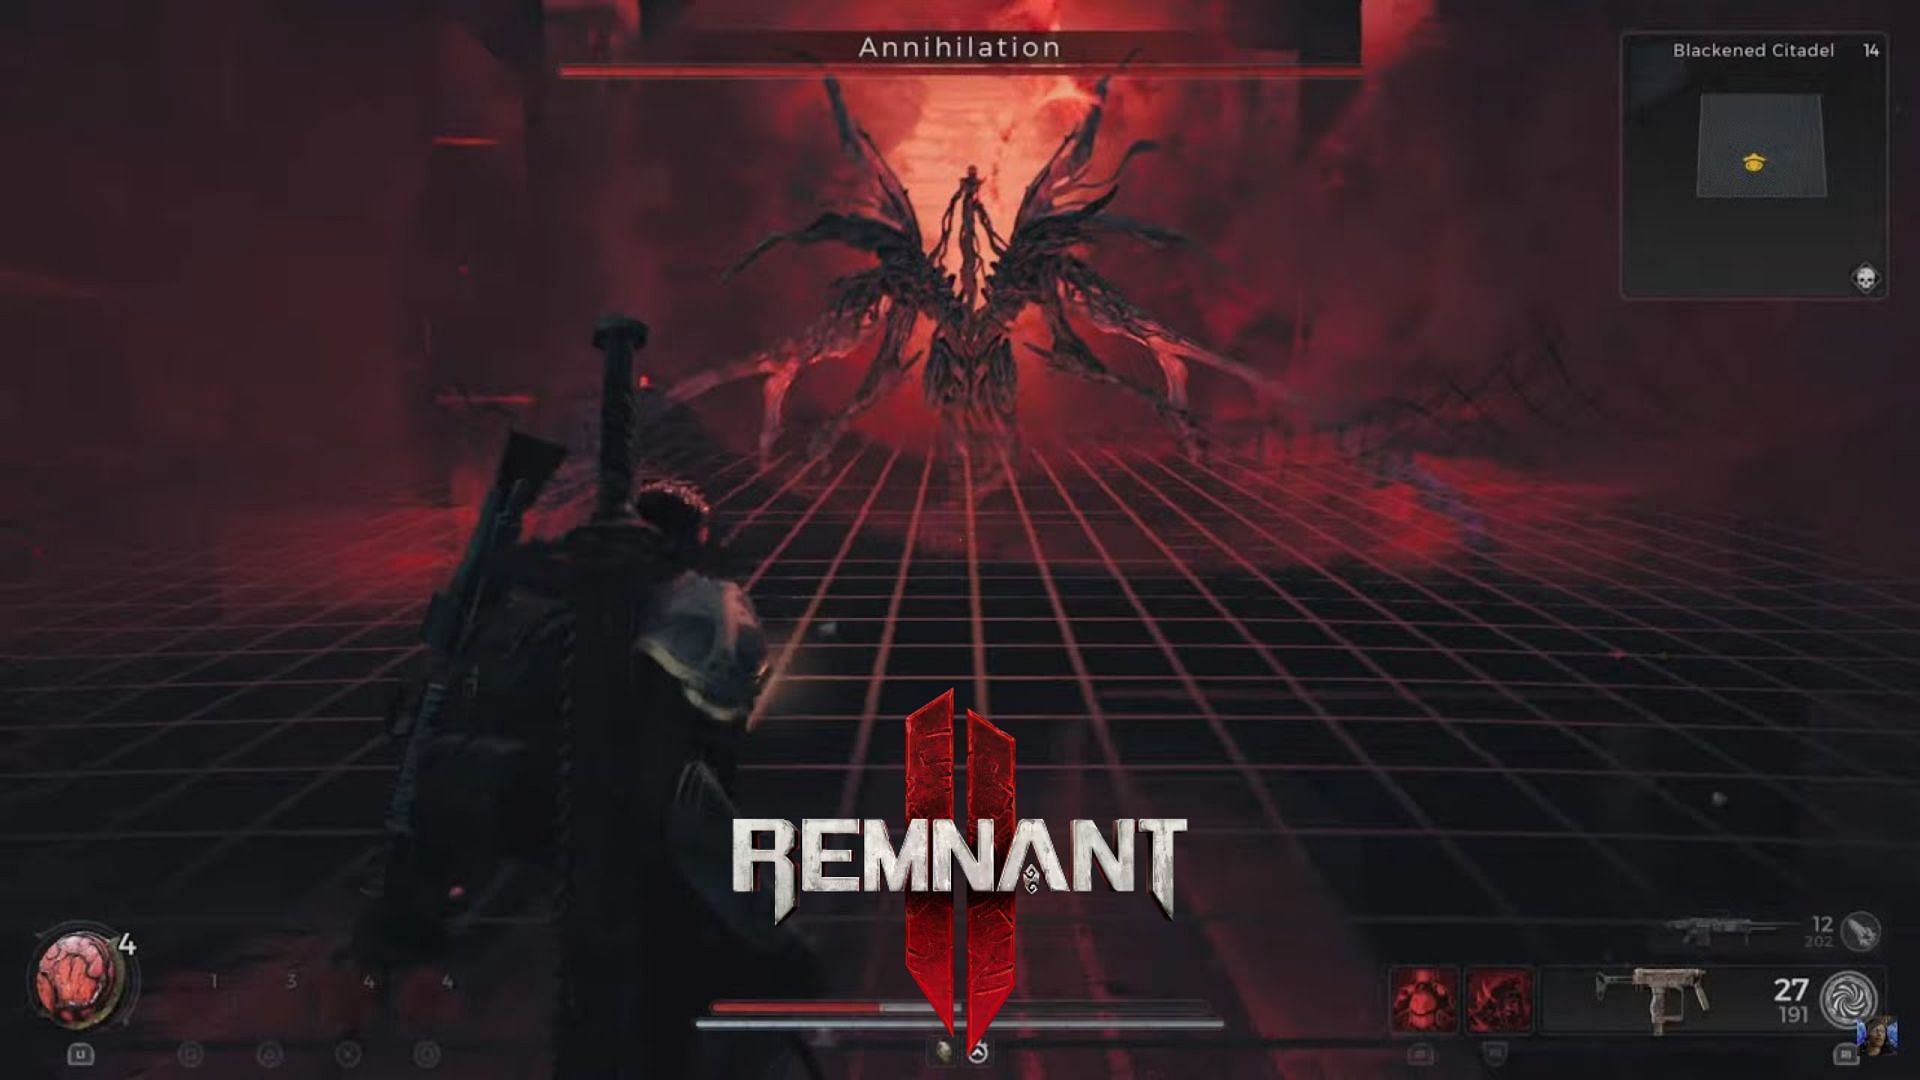
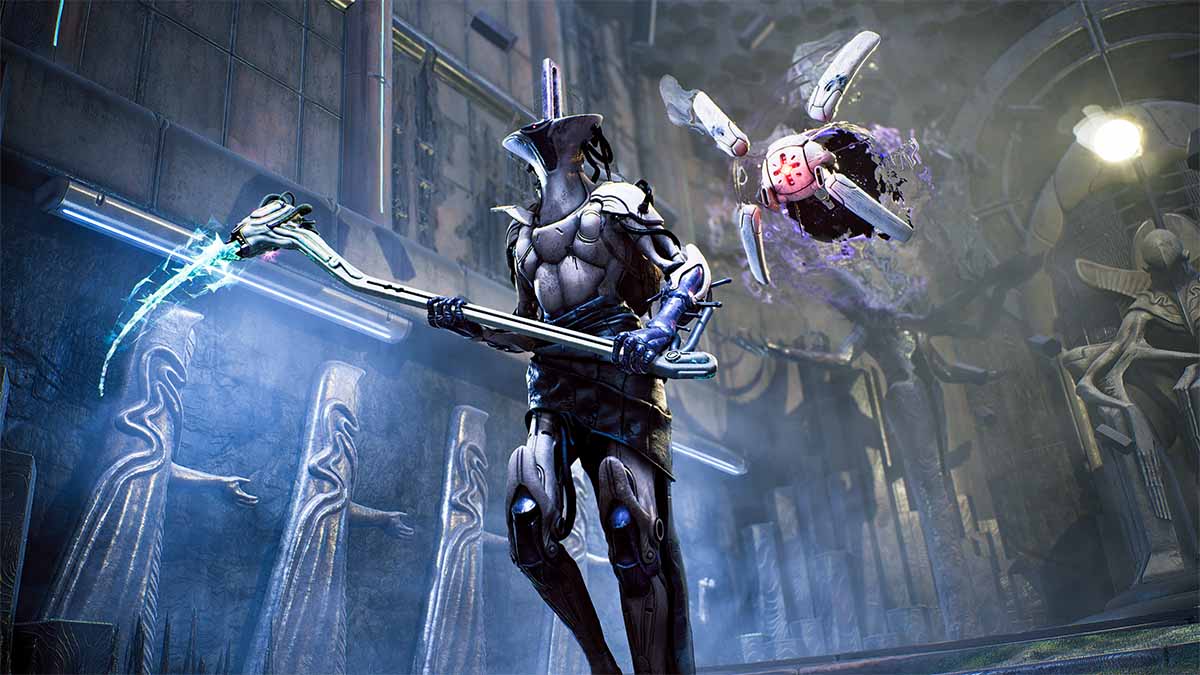
You’ve finally made it through to the end of Remnant 2, and what a challenge it has been. Unfortunately for you, the last encounter increases the challenge threefold. Annihilation is the final boss of Remnant 2, and it’s without doubt the toughest boss in the game.
To beat this hellish monstrosity, you’ll need all the help you can get, and our guide will give you the edge you so desperately need.
Where to find Annihilation and how to prepare for the boss fight in Remnant 2
You’ll find the final boss of the game hanging out at the Blackened Citadel in Root Earth. Brace yourself for a tough, drawn-out battle, and it’s crucial to be well-prepped. Build a solid setup, pick the slickest mods, mutators, relics, and rings to give you that edge. And hey, perks matter too.
Can’t decide on an Archetype? Go with Handler or Medic for that extra survivability. Grab your buddies to join the showdown and divvy up roles for a killer team effort. Get set for the faceoff by digging into the boss’s bag of tricks, of which there are many. Taking down Annihilation in Remnant 2 involves tackling three phases, so we’ll kick off with the first.
How to defeat Annihilation in Remnant 2
Phase one
The majority of the first phase revolves around evasion. The boss gracefully maneuvers around the arena, so pay close attention to its attack animations and sequences. While its blows pack a punch, they’re distinctly telegraphed and all have clear audio cues. Getting hit can be problematic, though, since Annihilation often follows up with another strike.
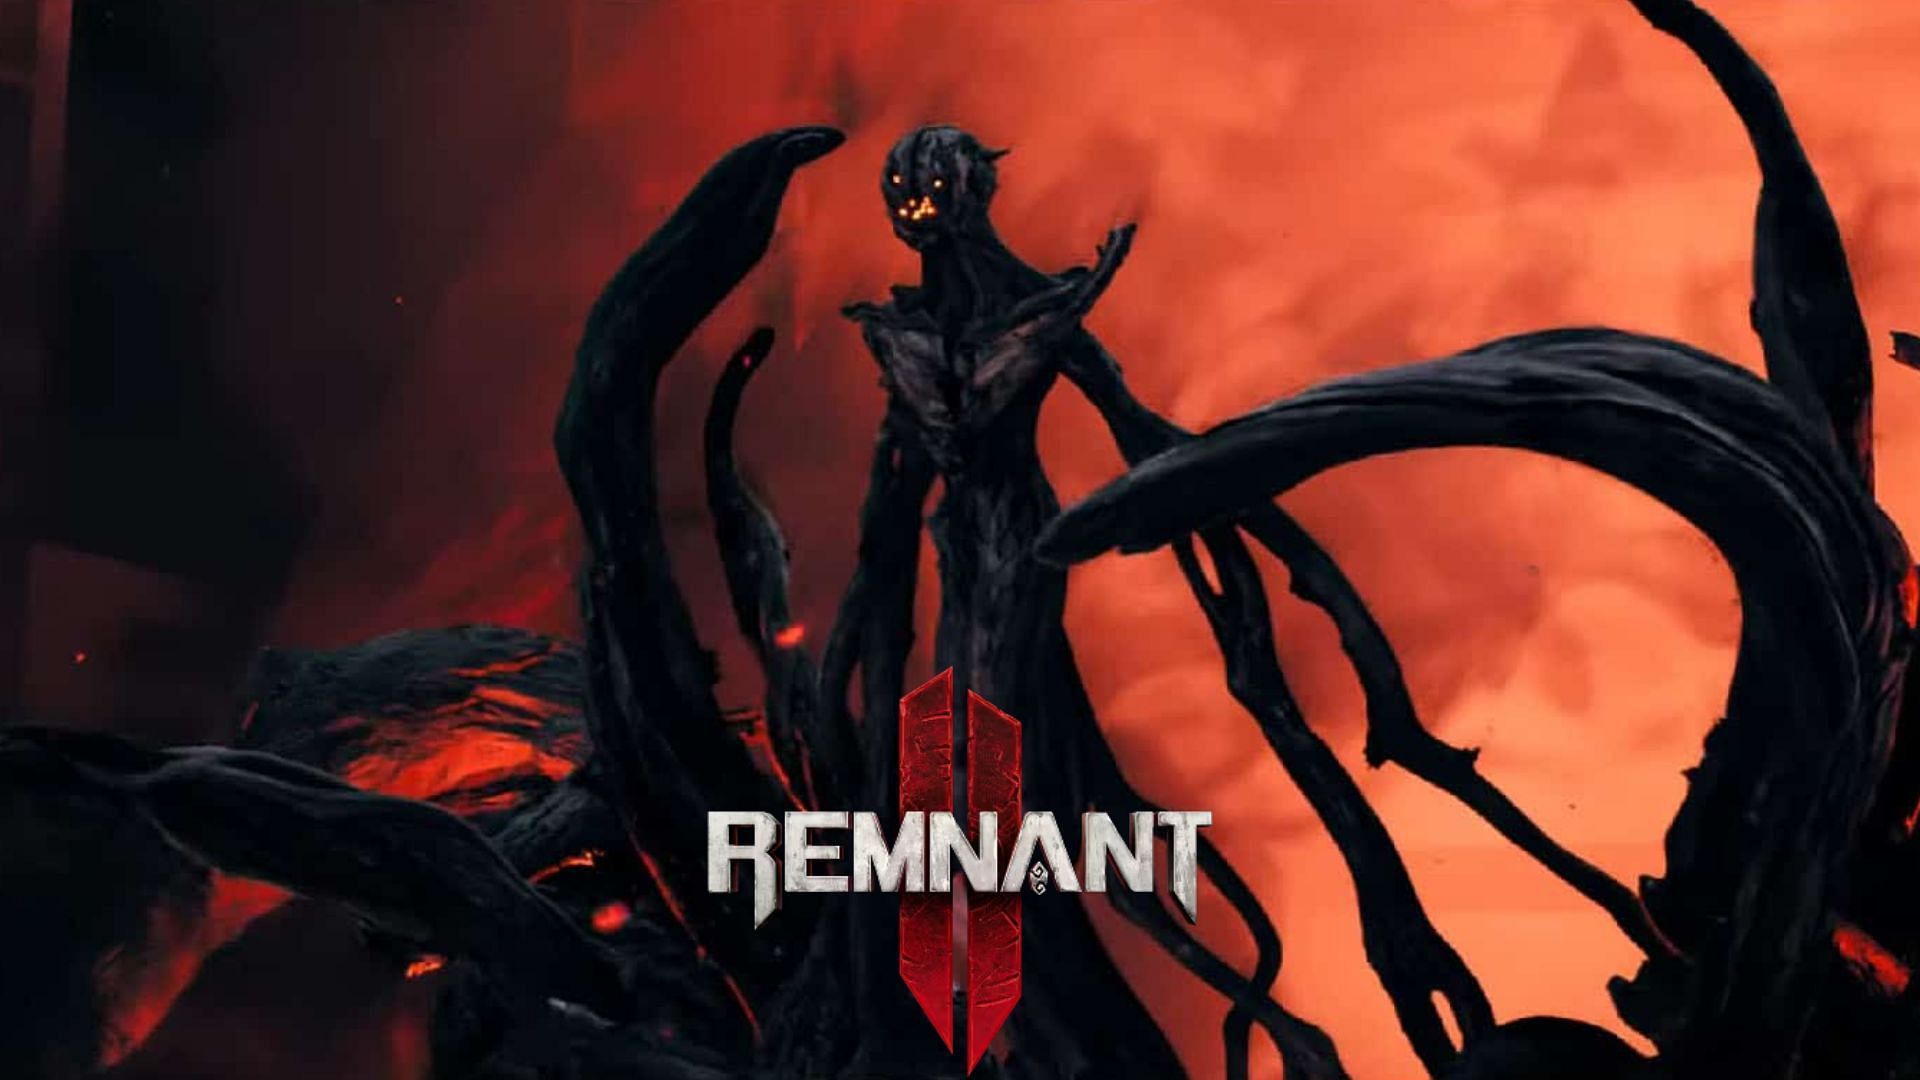
When you do attack the boss in this phase, aim for its head. Annihilation’s noggin is its weak spot in phase one, causing the boss to take increased damage when you directly attack it.
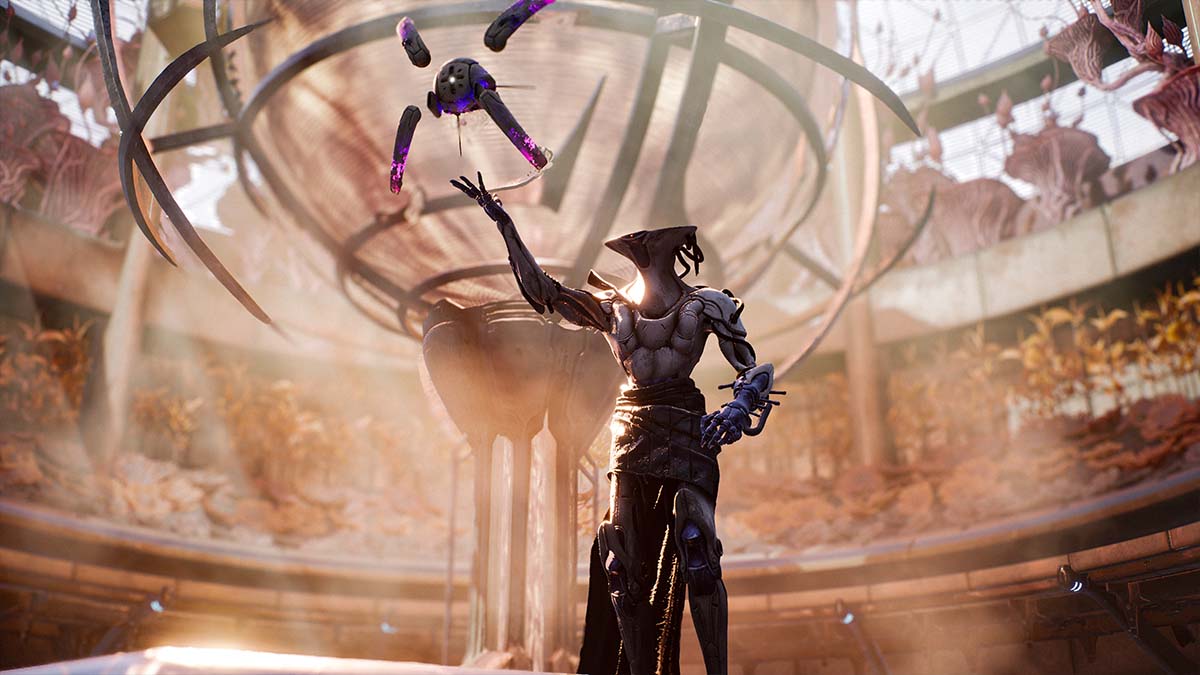
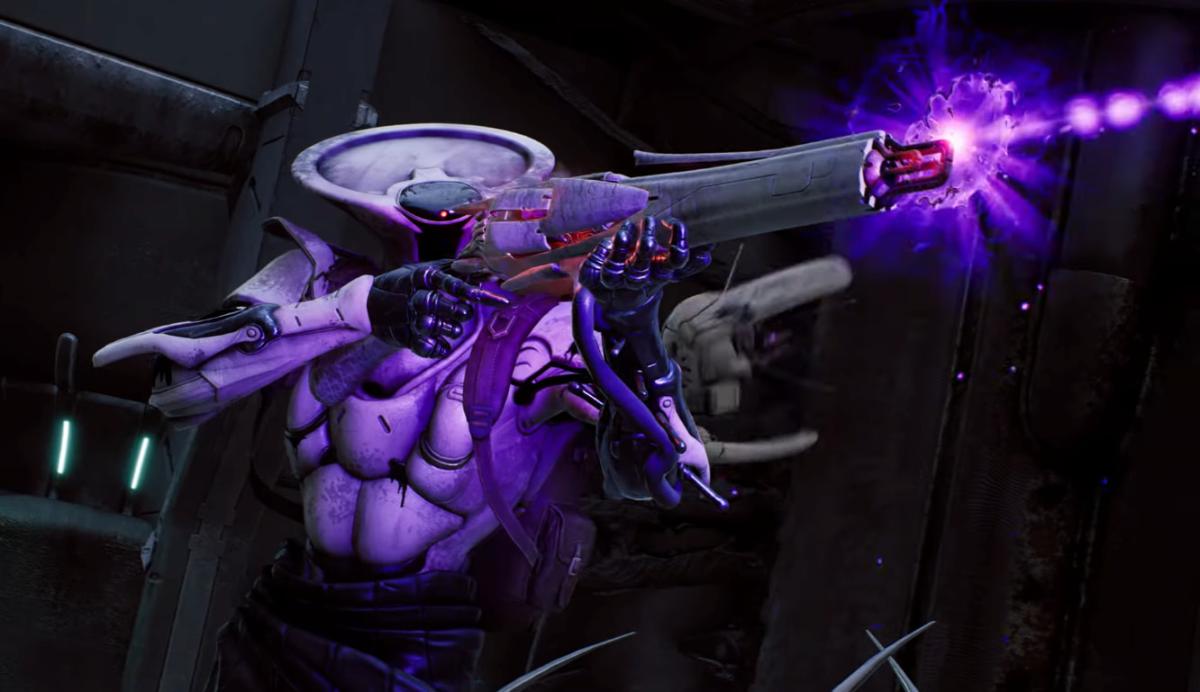
Your biggest challenge in phase one is dealing with the orb spell, which summons about six lethal orbs that need your attention. Take your time shooting them down, then dodge out of the way just as the remaining orbs swoop toward you. Beyond this, Annihilation unleashes various attacks, mainly wielding its colossal sword. It slams it down with brief pauses in the first phase. Some of these moves are straightforward slams, while others generate shockwaves.
The key takeaway for this phase is mastering the timing of its sword slashes. Each slash comes with a delay that you must learn to avoid. After absorbing this info, it would be wise for you to have a few practice runs of the boss fight to just get a feel for the speed of its sword slashes and get used to evading them. This preparation will pay off later.
Below are all of Annihilation’s moves in the first phase of the boss fight and how to avoid them:
| Move | Description | How to dodge |
| Flying Swing | Annihilation will thrust its sword into the ground and swiftly approach you. When the blade is near, it retrieves the sword from the ground and soars back into the sky. | Move away by rolling or running from where the sword will strike. |
| Multiple Slash | The boss ascends above you and rapidly slashes its sword in your direction. It sometimes repeats this attack multiple times consecutively. | Evade the initial hit, then continue dodging until the boss concludes the attack. |
| Immobilizing Wave | This move involves the boss slamming the ground with one of its claws, generating a shockwave that travels across the battlefield. This attack poses a significant threat and can kill you in a single hit. | Roll or run away from the site of impact. |
| Deadly Orbs | The boss summons several floating orange orbs connected by energy, that eventually start moving toward you to inflict damage. While these orbs are present, the boss refrains from directly attacking you. | Swiftly eliminate them to prevent damage. |
| Lightning Barrage | Lastly, the enemy marks the battlefield with red circles, and if you’re within their range, you’ll be struck by lightning. | Steer clear of the designated red circle zones. |
Phase two
Once that’s out of the way, the second phase is where things get tricky. This phase is likely where your ego will be taken down a couple of notches, since you’ll probably be killed almost immediately when entering the second phase on your first few attempts. Don’t worry, though, as Annihilation is leagues above every other boss you’ve faced so far, so initially struggling is completely natural.
Just like the first phase, Annihilation has a weak spot you can exploit in the second phase as well. Instead of striking its head, aim for its humanoid body this time around to deal more damage.
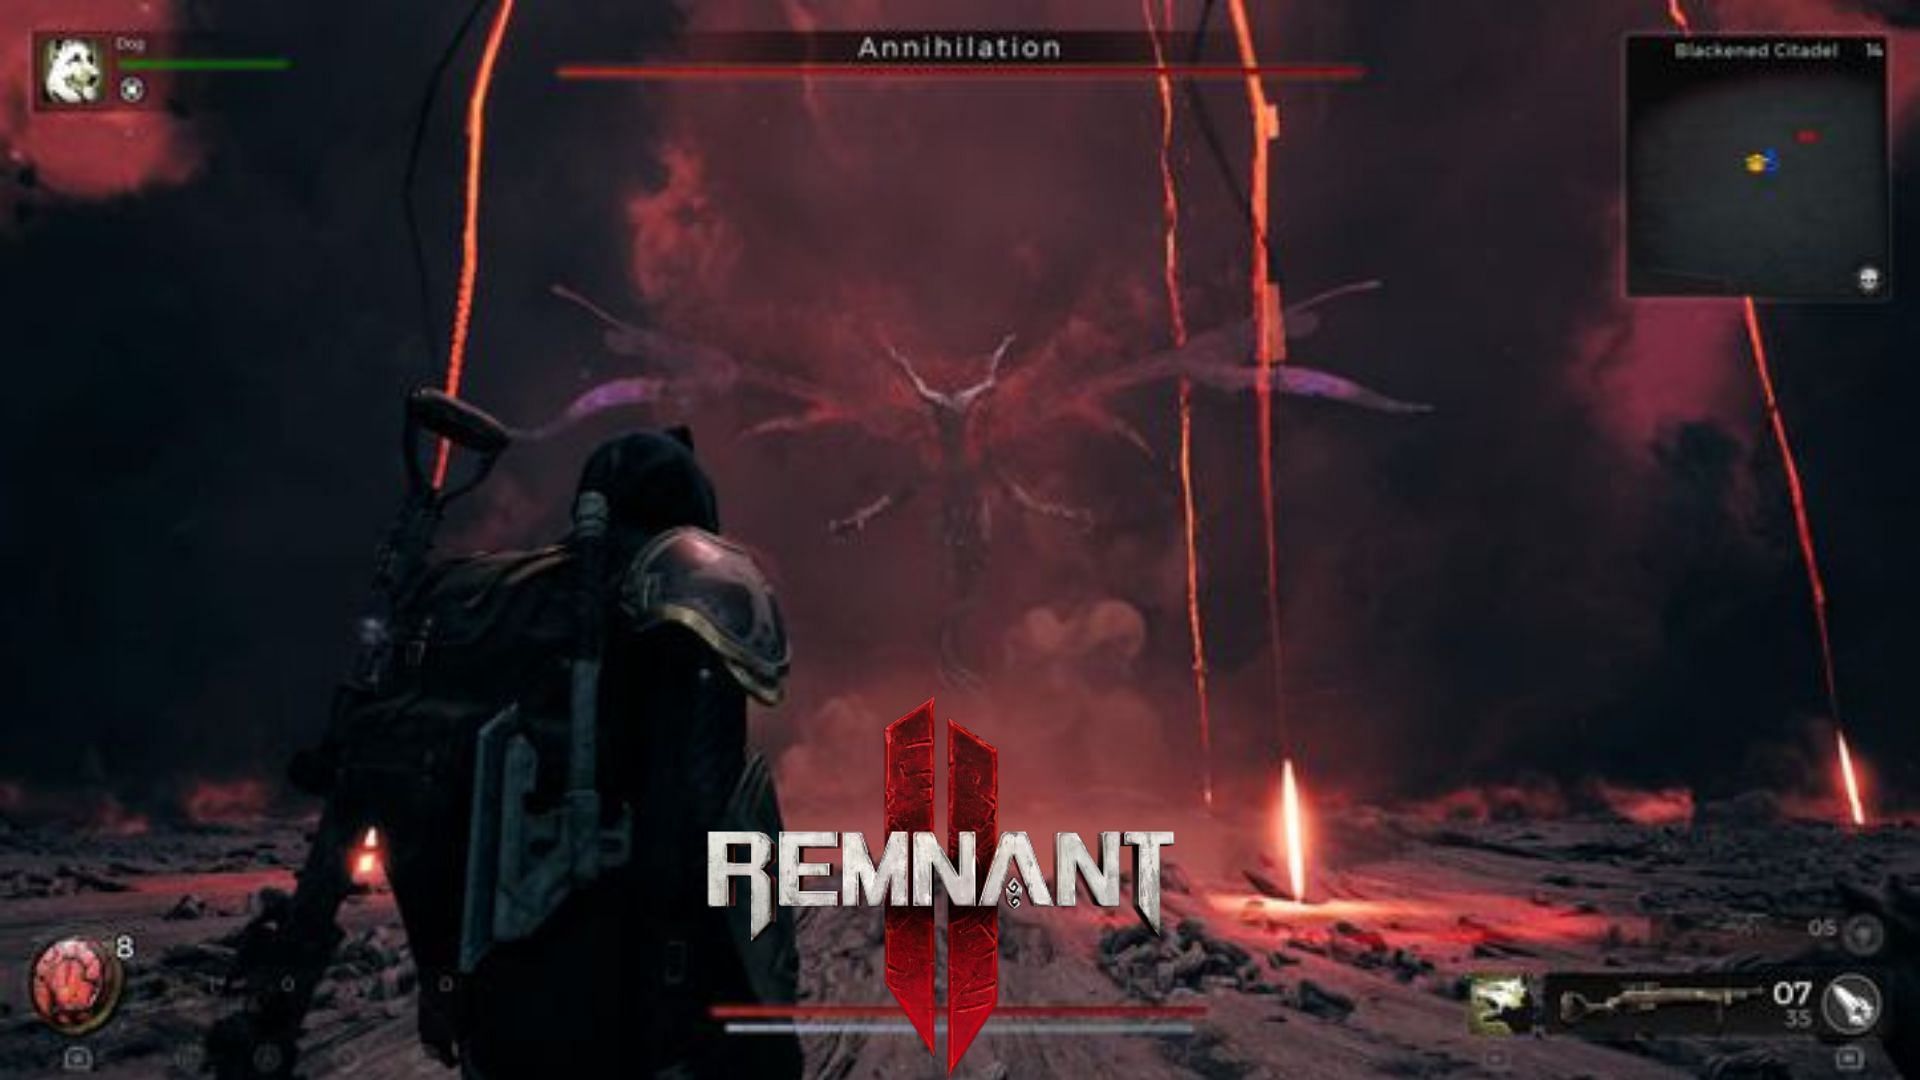
Annihilation’s main attack is its downward slam, followed by a swing to the side after a delay. Otherwise, it’ll slam down its tentacles to block your movement, or shoot lightning sparks to damage you.
During this phase, you should worry very little about damaging the boss for reasons I’ll get into later. Instead, focus on avoiding all of its attacks. The sword swings will always slide toward you after slamming down, with a chime playing half a second before it sweeps the arena. Listening for that chime is your key to success.
As for Annihilation’s tentacle attacks, the red boxes that spawn near them aren’t damage fields. These are telegraphs showing where the tentacles will slam down, so you can move through them beforehand without issue. For the lightning sparks, standing between four of them can serve as an immunity spot. Otherwise, you can dodge toward where the sparks are starting to explode to avoid damage.
The final attacks to worry about might be a bit more daunting. The damage grid the boss throws at you is straightforward when it’s just the vertical lines, but with the actual grid, you can dodge when it’s set to fly at you instead of trying to crouch. It’ll help you afterward when Annihilation follows it up with other attacks. The boss’s other attack summons lots of energy balls: Focus these down before doing anything else as they can easily kill you.
Partway through certain attacks, Annihilation will send you back to the first phase of the fight for a bit. This is the best time to dish out as much damage as possible, especially since you already are so well-versed in the first phase from running it so much. You can get some damage in during the second phase, but this will be your main opportunity.
Below are all of Annihilation’s moves in the second phase of the boss fight and how to avoid them:
| Move | Description | How to dodge |
| Malware Orb Storm | This onslaught of an attack closely mirrors Malware Orbs, only this time, their are more of them. | It’s essential to get rid of them. Once you do, the boss takes a breather for a moment, letting you dish out some damage. |
| Tendrils | Enormous tentacles emerge from the ground on the right and left sides of the battlefield. While they don’t attack continuously, they can damage you at the most inconvenient moments. | Keep an eye on them and evade them when they start moving. |
| Malware Blocks | Over the course of this attack, the boss summons lines of flying blocks and sends them toward you. There are two variations of this attack, one horizontally and the other vertically. | For the horizontal dodge, just shift to the right or left of their path. To dodge the vertical one, crouch down. |
| Energy Rain | The enemy generates red circles across the battlefield, organizing them into three rows, followed by a barrage of lightning striking these designated zones. | When the enemy gears up for an attack, make a quick move to get some distance. |
Phase three
After successfully emptying Annihilation’s health bar, a cutscene will unfold, ushering in the third phase focused on sheer survival.
Annihilation no longer has a health bar. Instead, a horde of Root Creatures will flood the scene. Your objective is to endure this infernal parade for approximately 30 seconds, fending off enemies or utilizing healing abilities like the Medic’s Wellspring. After the designated time elapses, the final boss will meet its demise.
All rewards for beating Annihilation in Remnant 2
Beating Annihilation in Remnant 2’s climactic boss fight will net you a bunch of neat rewards:
- Forgotten Memory – Used to craft the Alpha/Omega long gun.
- Broken Compass – Used to unlock the Explorer class.
- Scholar trait – Increases XP gains by up to 15 percent at level 10.
- 1x Tome of Knowledge
- 6x Lumenite Crystal
- 825x Scrap


Published: Dec 9, 2023 06:28 am